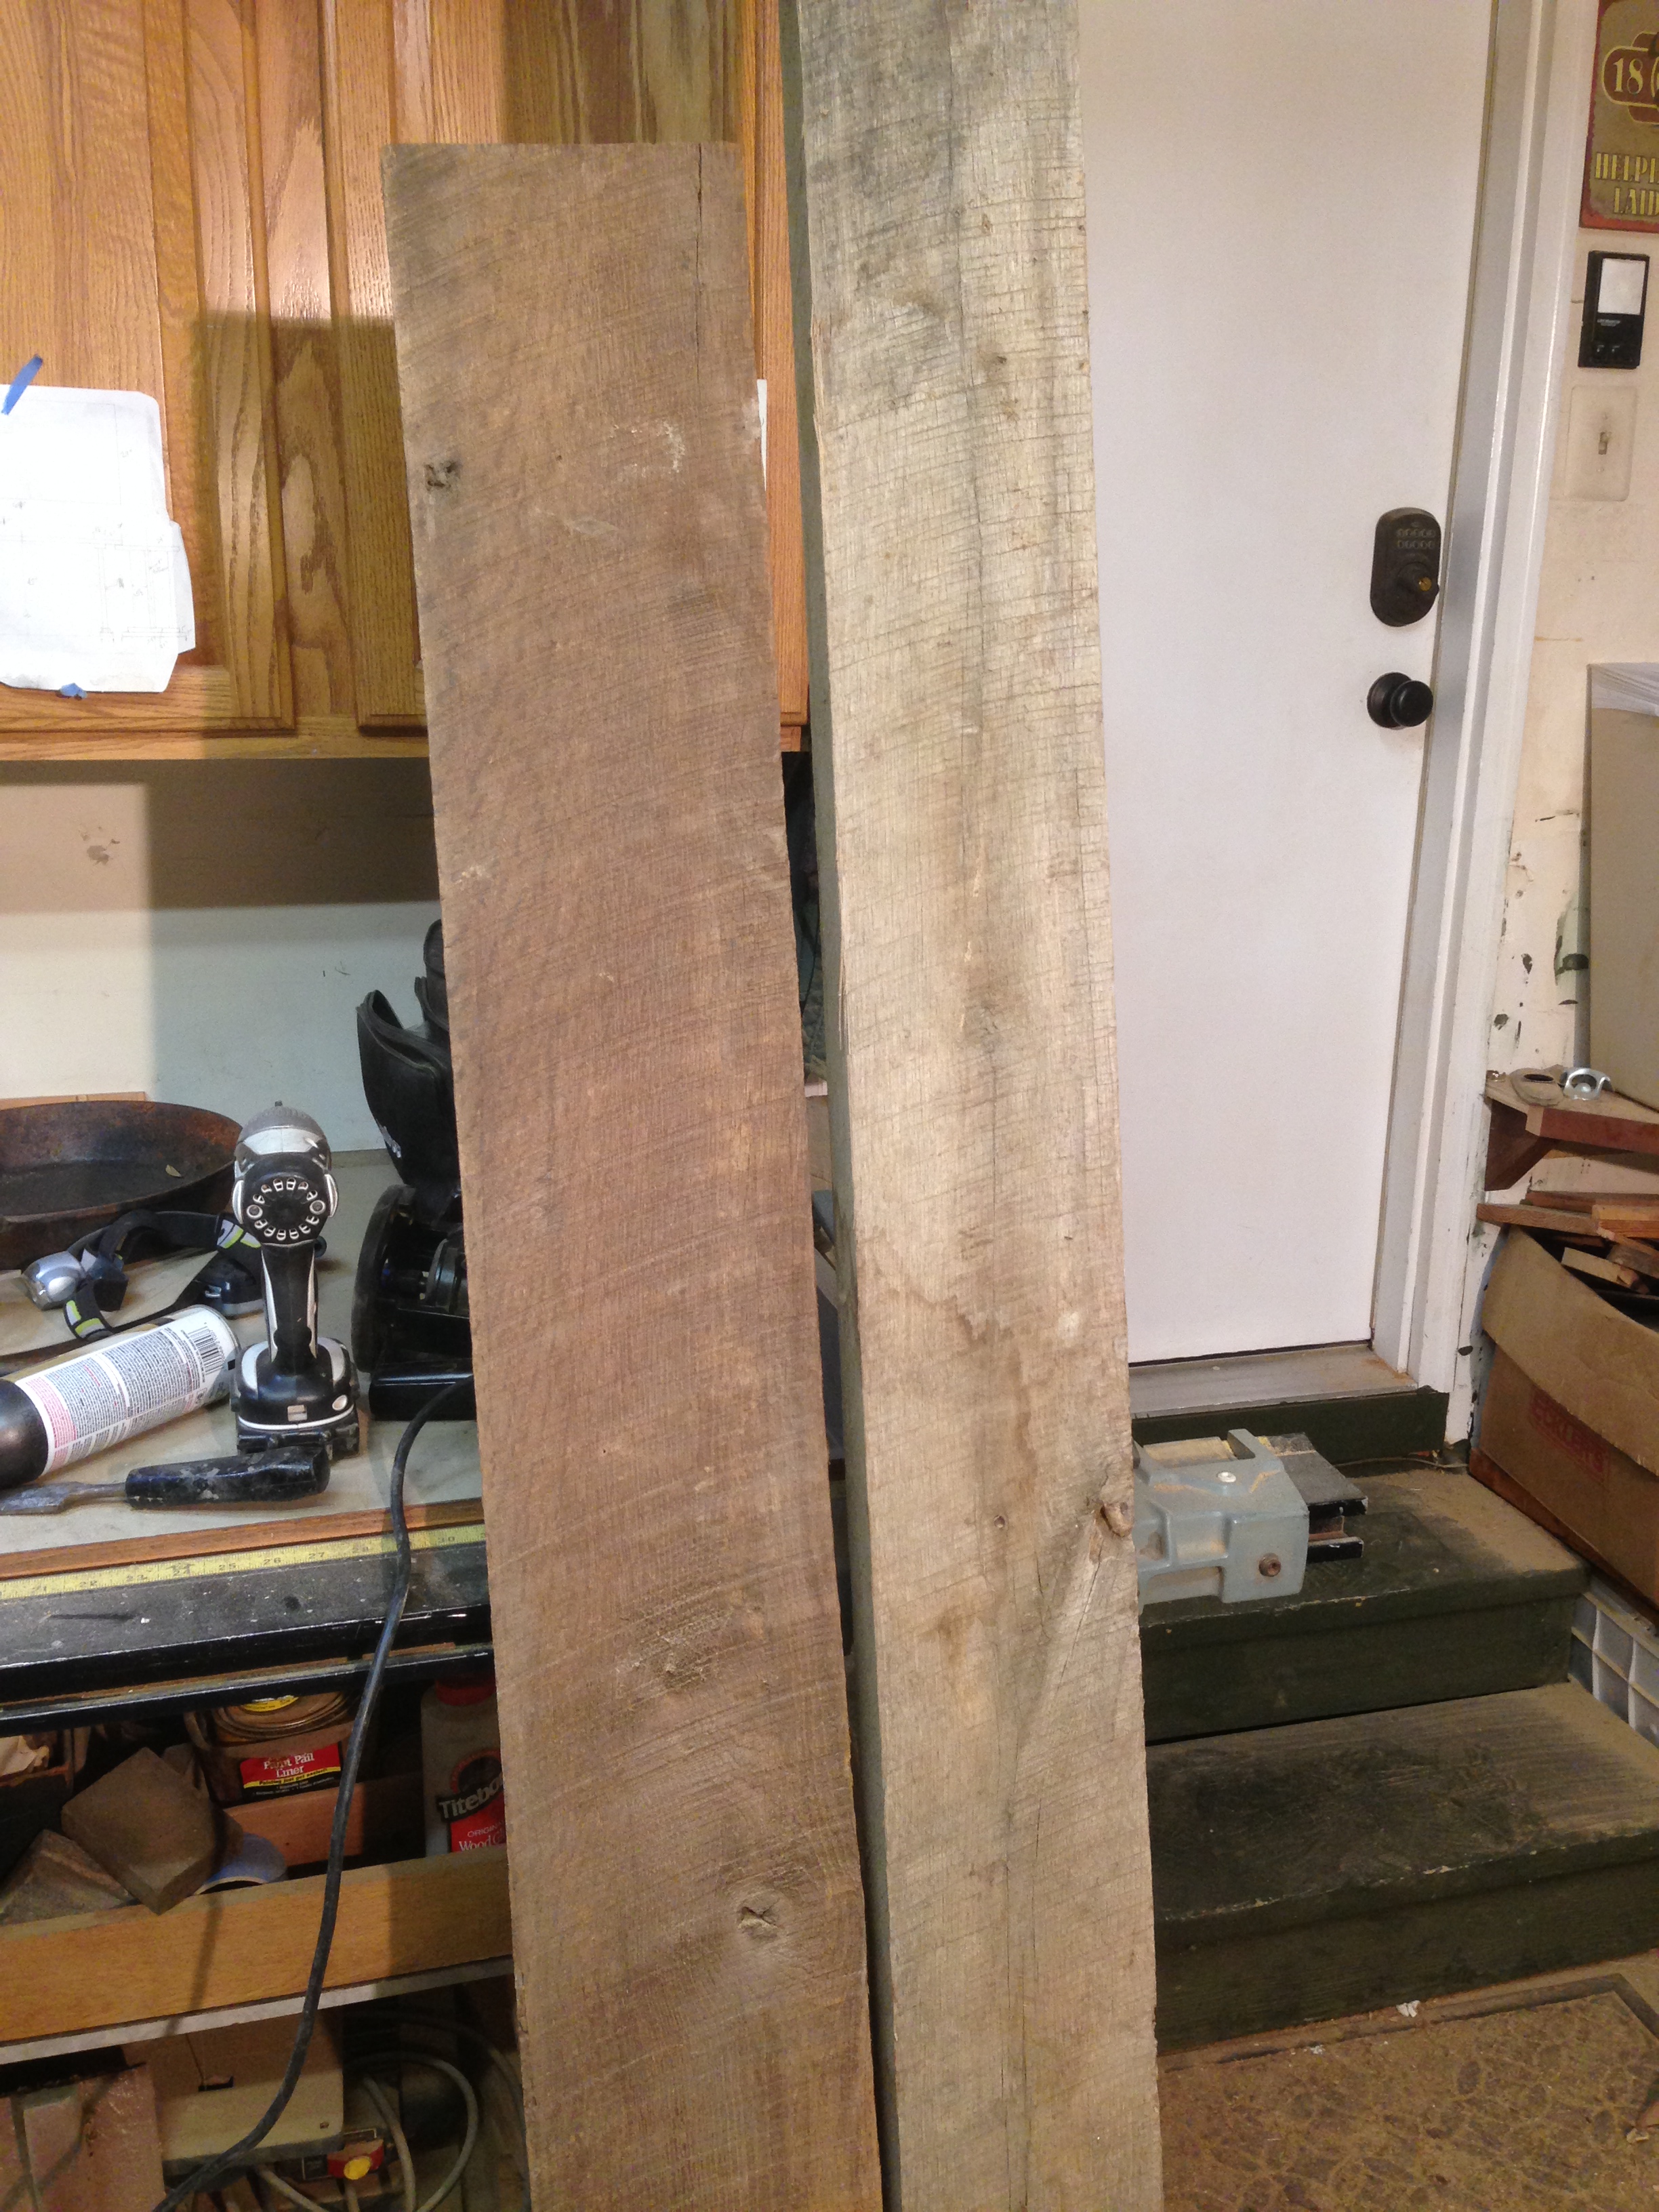
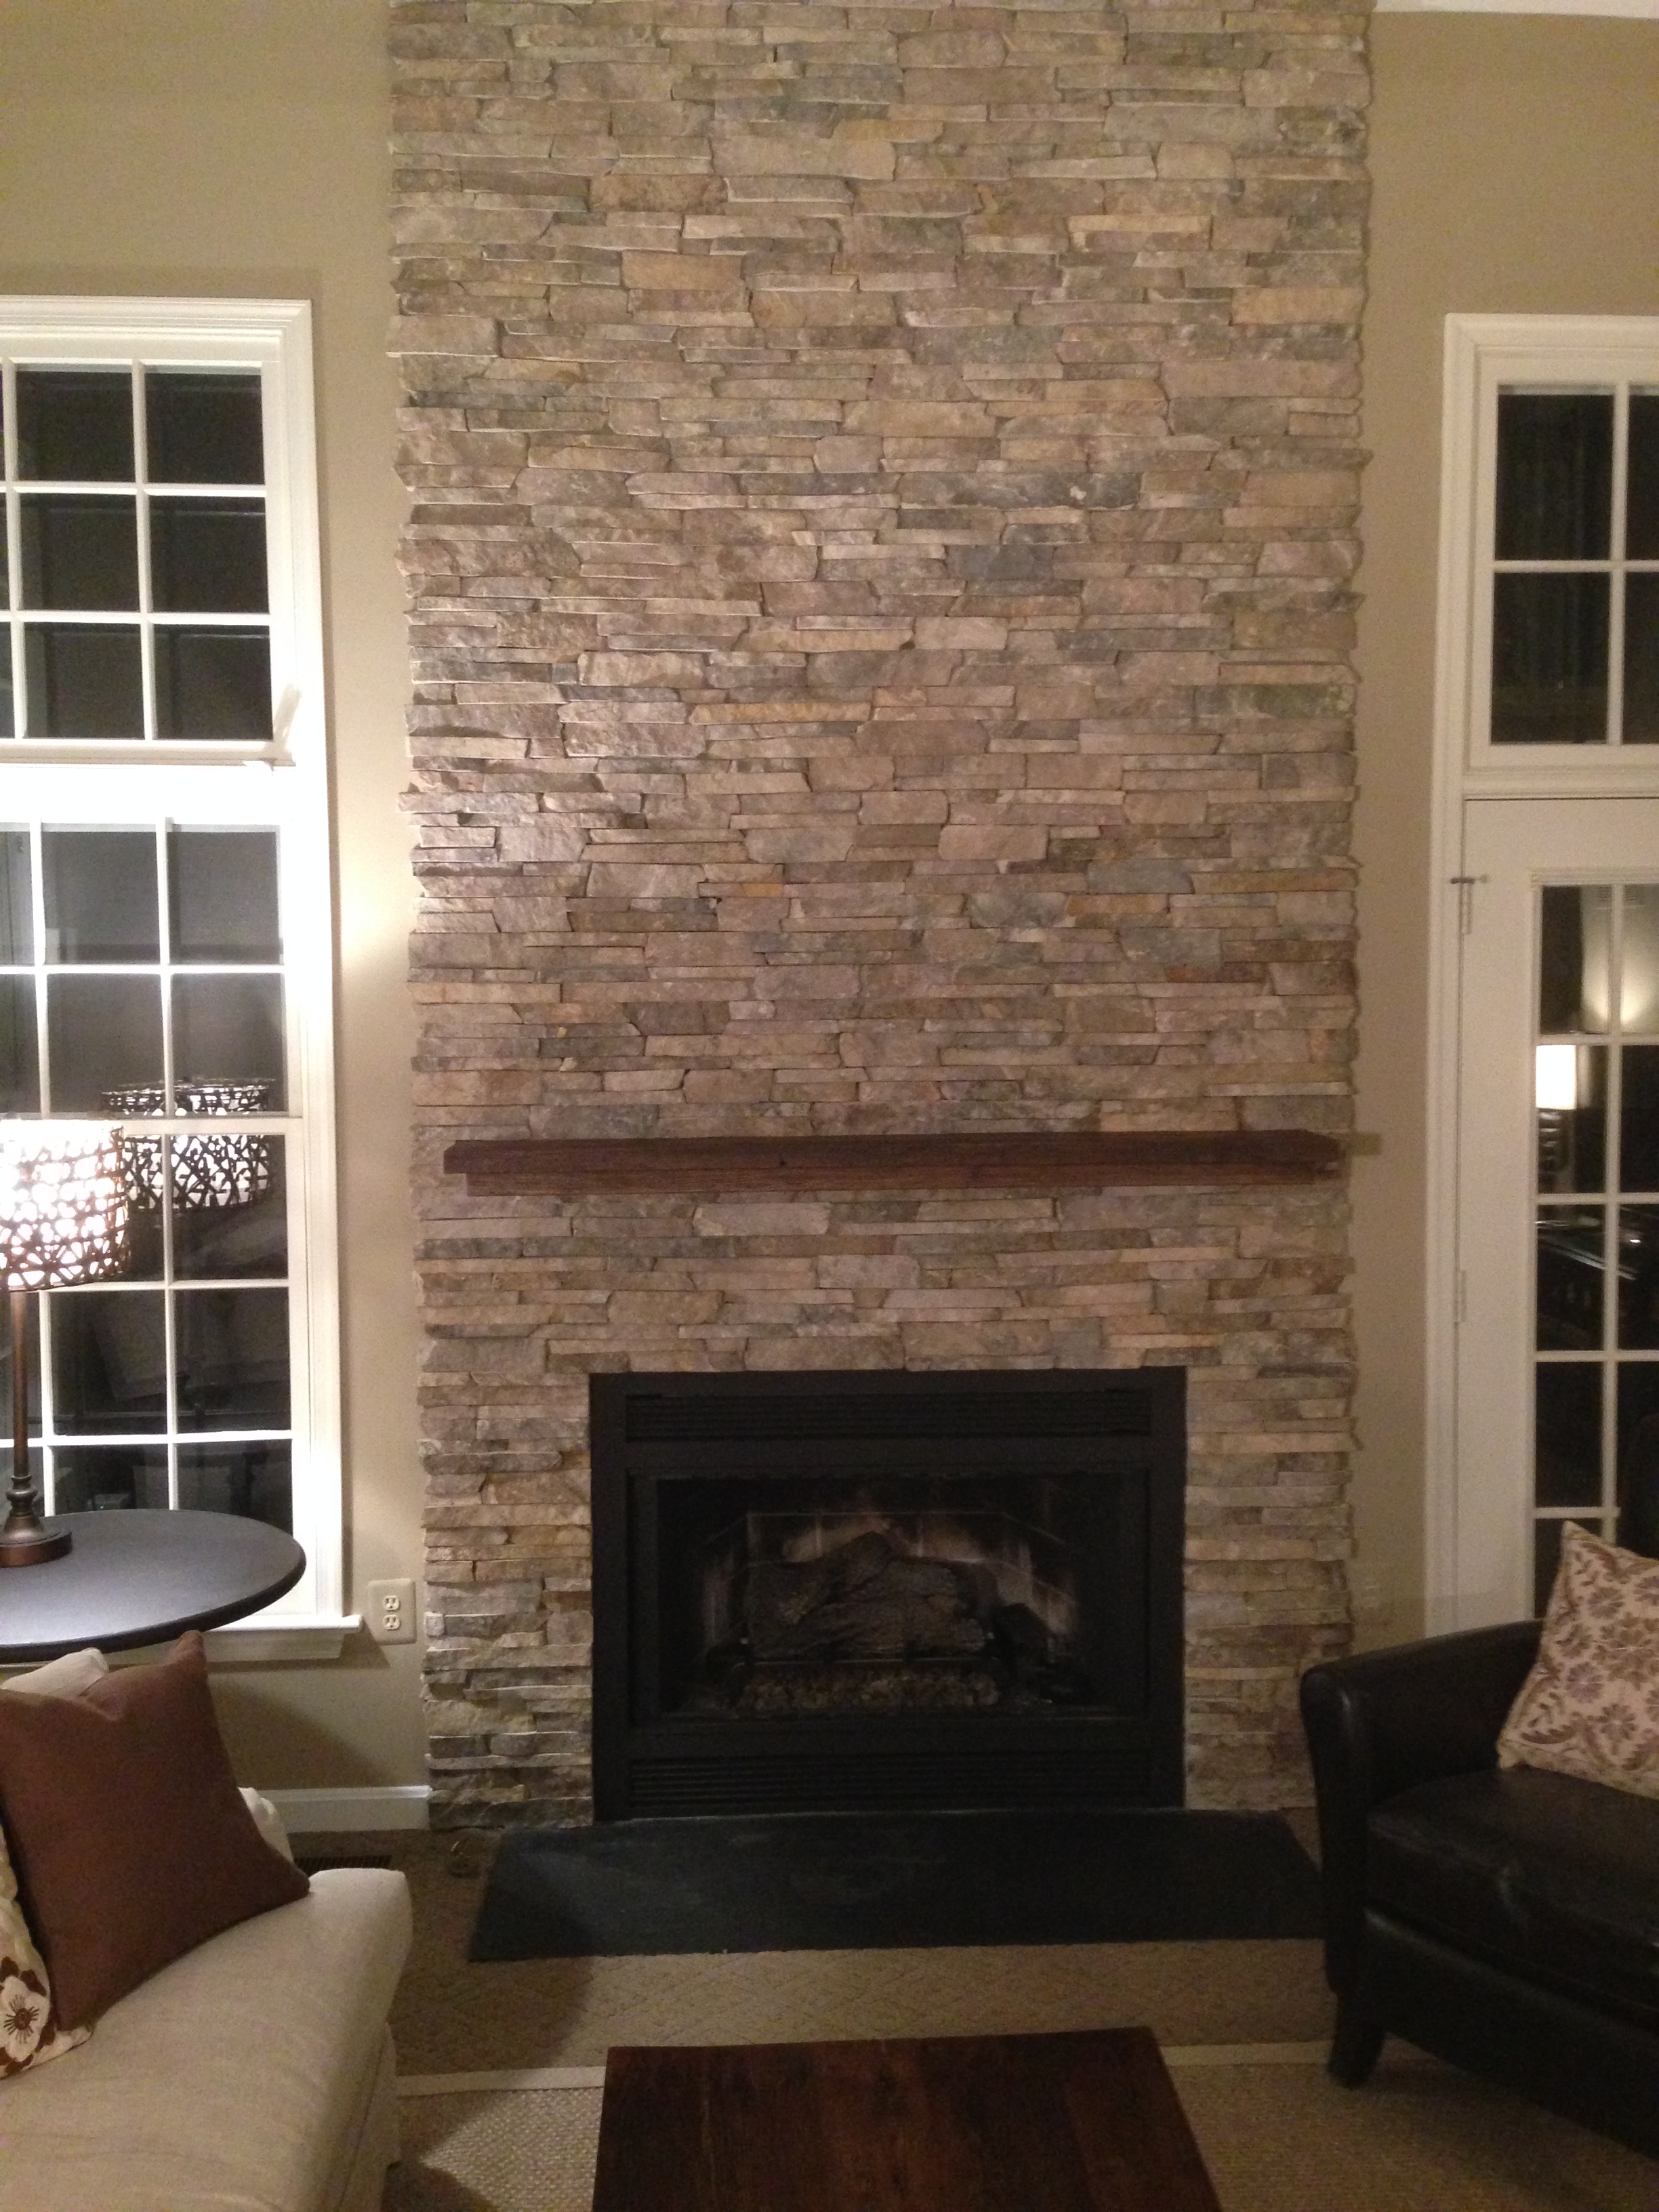
As part of our continued house update project, we decided to have the original fireplace mantle removed and to add a stacked stone wall and new mantle. I wanted to continue the rustic theme that we have been following and decided to select a couple of pieces of 2×8 oak from my reclaimed barn wood stock and build my own replacement mantle.
The mantle piece will not be a fireplace surround but a simple free floating mantel above the fireplace. I want a simple, clean and rugged design, with not visible brackets or supports. There are many ways to accomplish this goal, also considering that there will be stone surrounding the mantle. The most popular two are to 1) create a cleat or ledger that is proud of the stone and allows a box mantle to fit over the cleat and be attached from the top and bottom, and 2) use rods inserted into the mantle and into a combination of a flush-mounted cleat and wall studs to create a cantilevered support system. Since my mantle would be build from solid oak pieces, option 2 was the obvious choice.
So here’s how I did it.
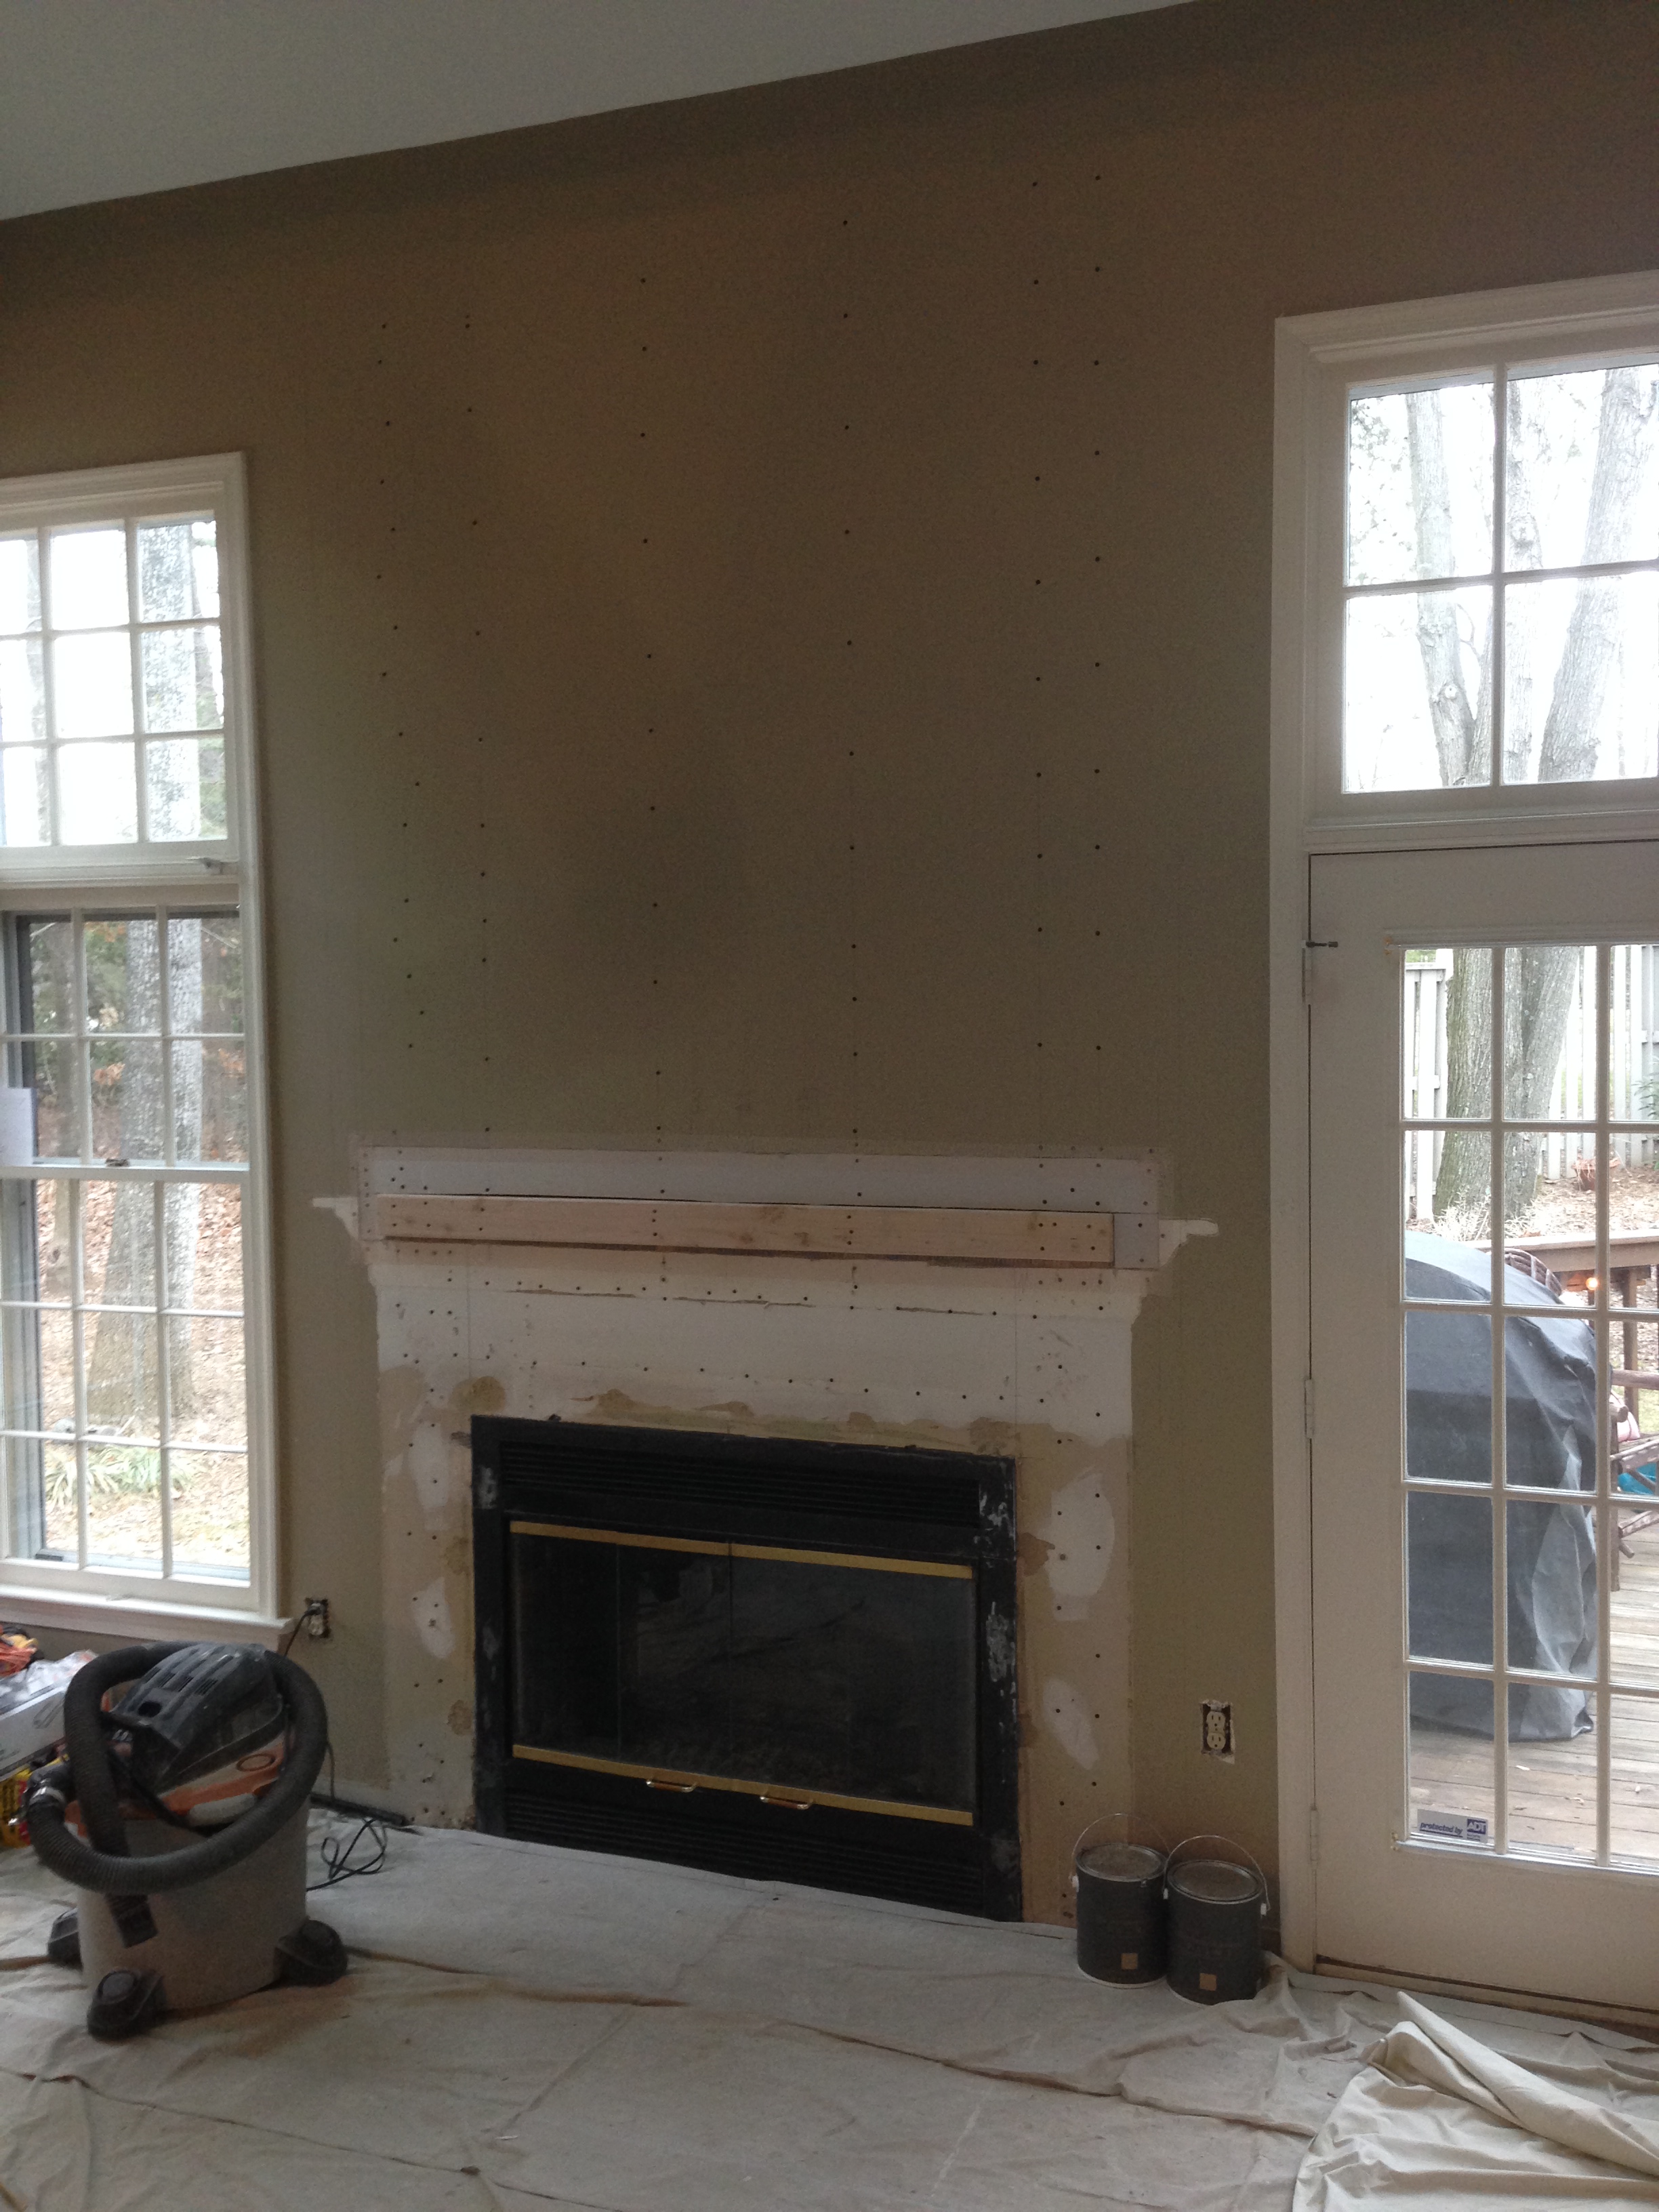
First, I determined the length and height of the mantle. The height was 55″, consistent with the previous mantle and generally the proper height above the top of the fireplace opening. My stacked stone wall was determined to be 76″ in width, so I wanted to size the mantle proportionally for the wall. I determined that the top piece of the mantle would be 66″ and the lower piece would be 63″.
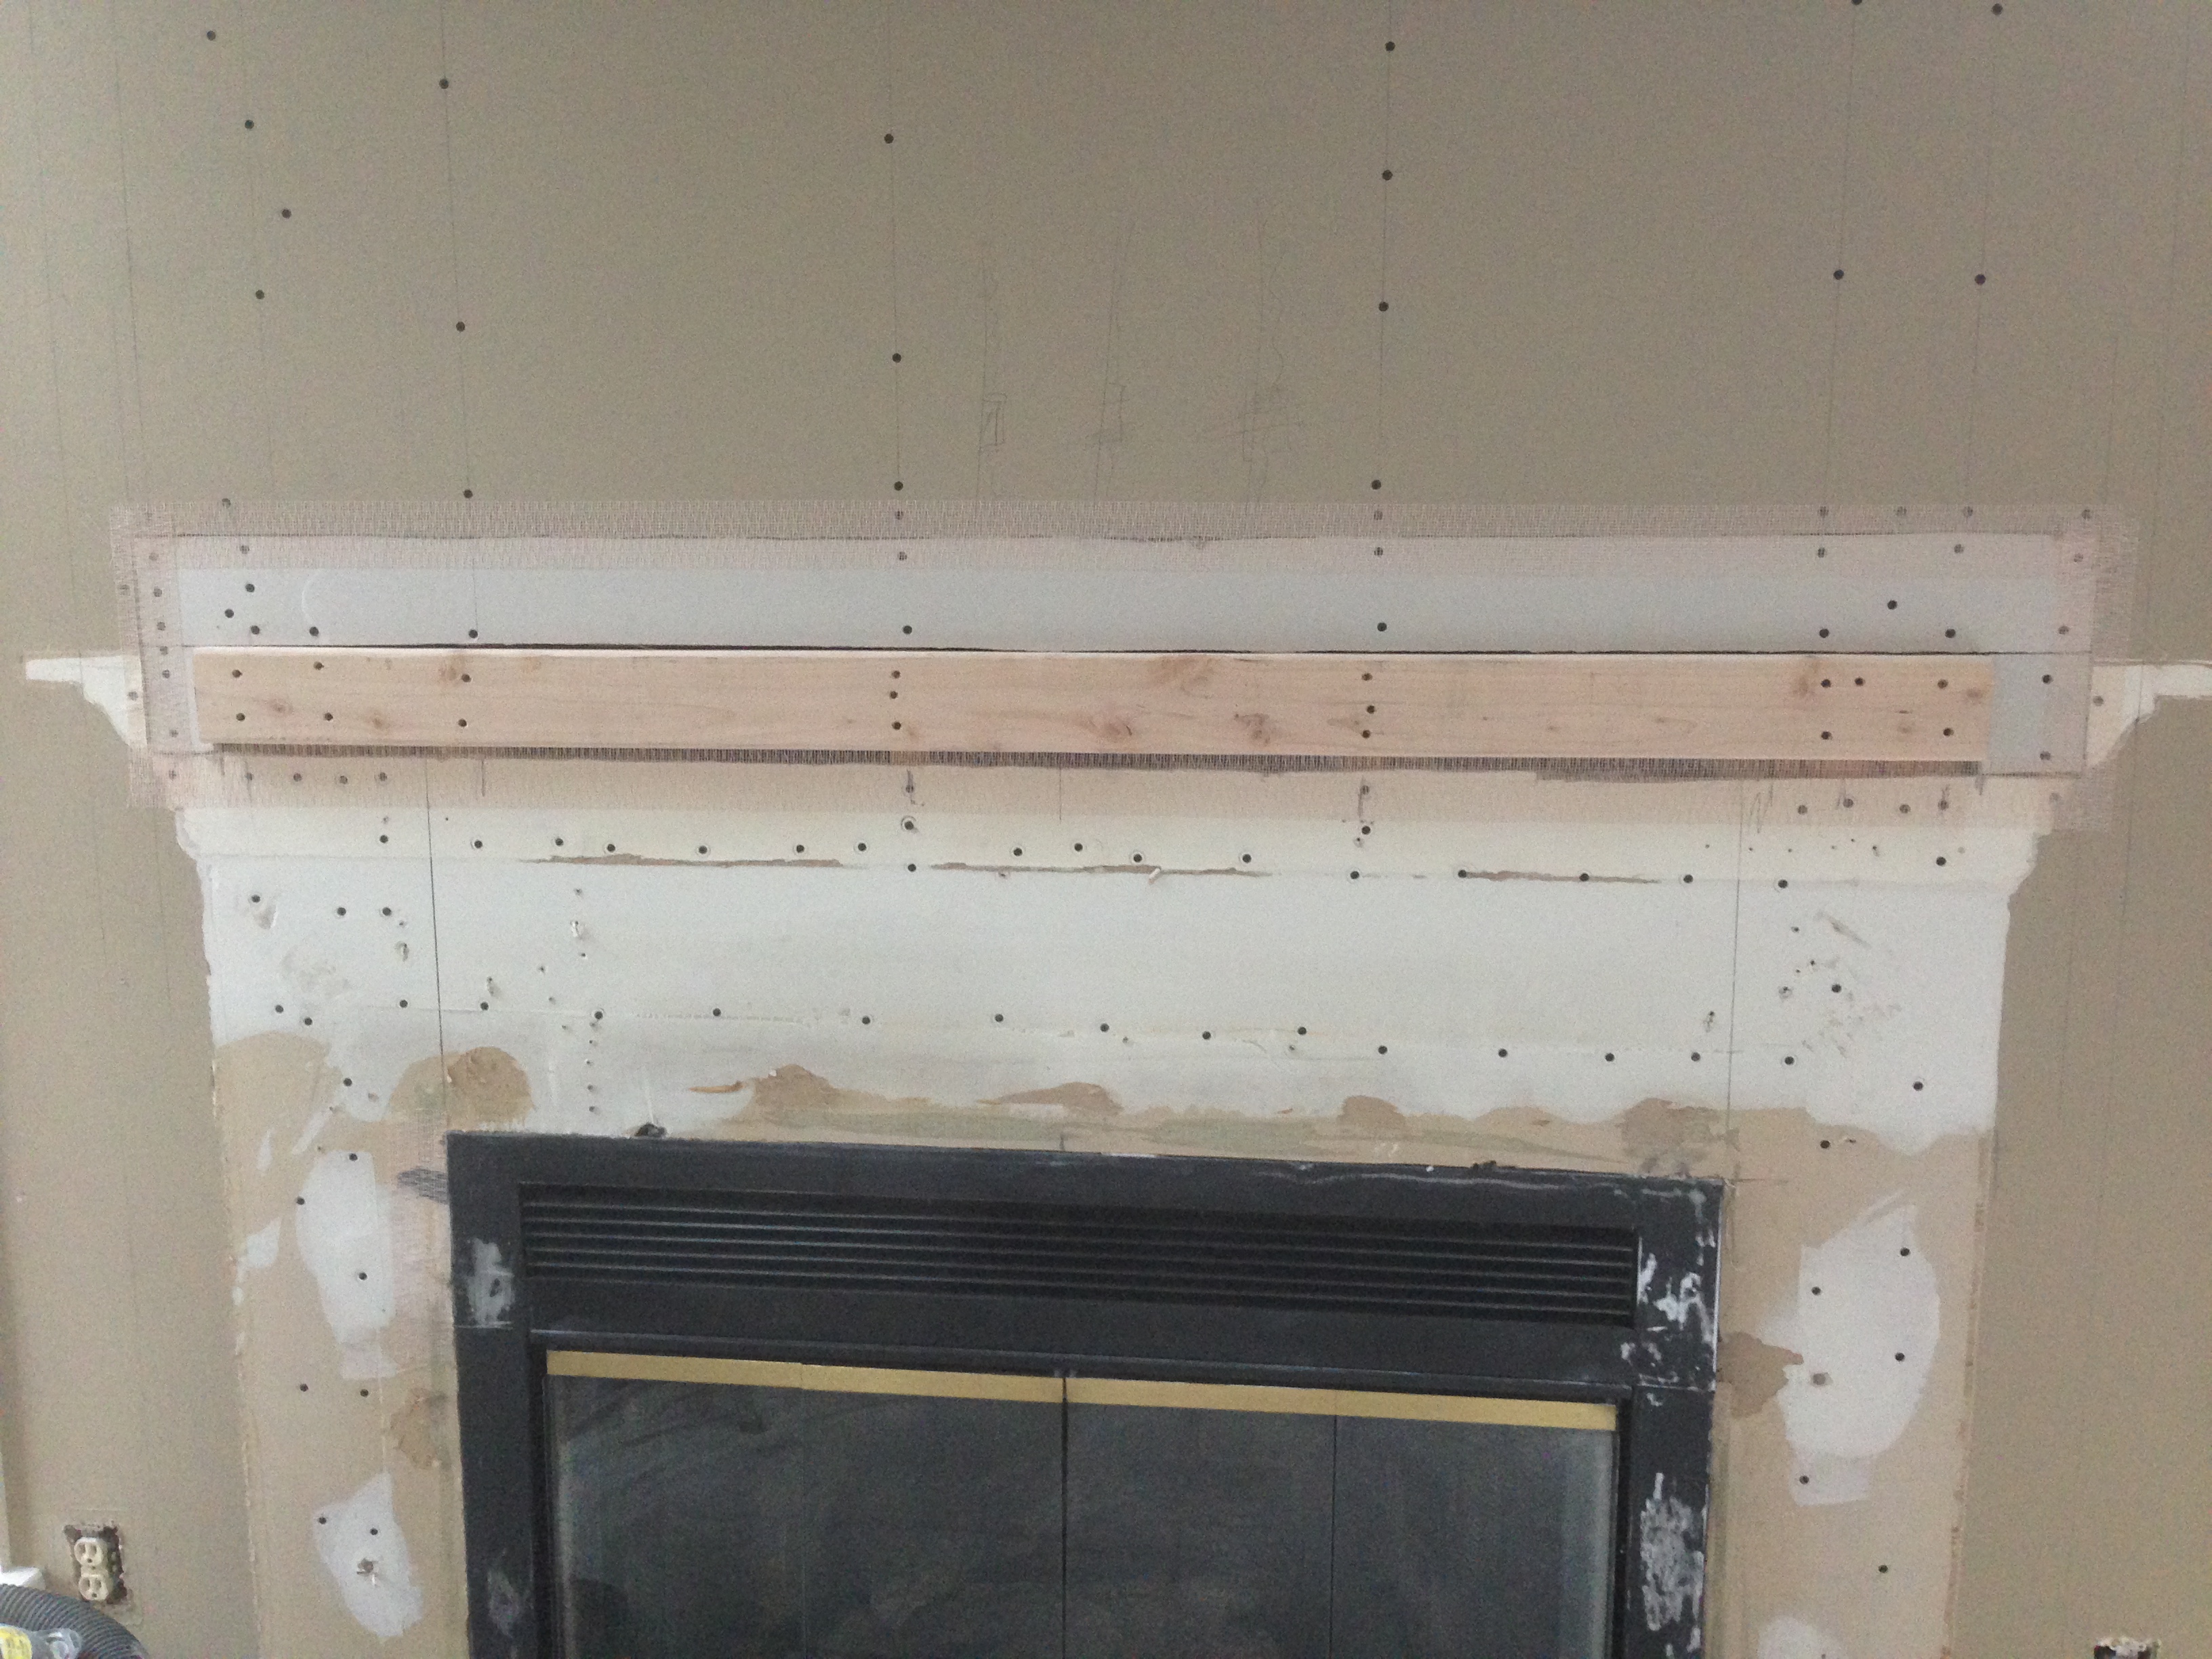
With those dimensions in mind, I continued to prep the mantle wall and attach a 2×4 cut to the length of the mantle. The 2×4 was attached directly to the wall studs, by first removing the drywall and then securely attaching at every wall stud with 4″ drywall screws. The 2×4 is only slightly recessed from the eventual stone depth and will be the mounting surface for the mantle.
Next, with the mantle length determined, I headed to the shop to build and prepare the mantle. I first selected two lengths of 2×8’s that would be cut and planed to construct the mantle.
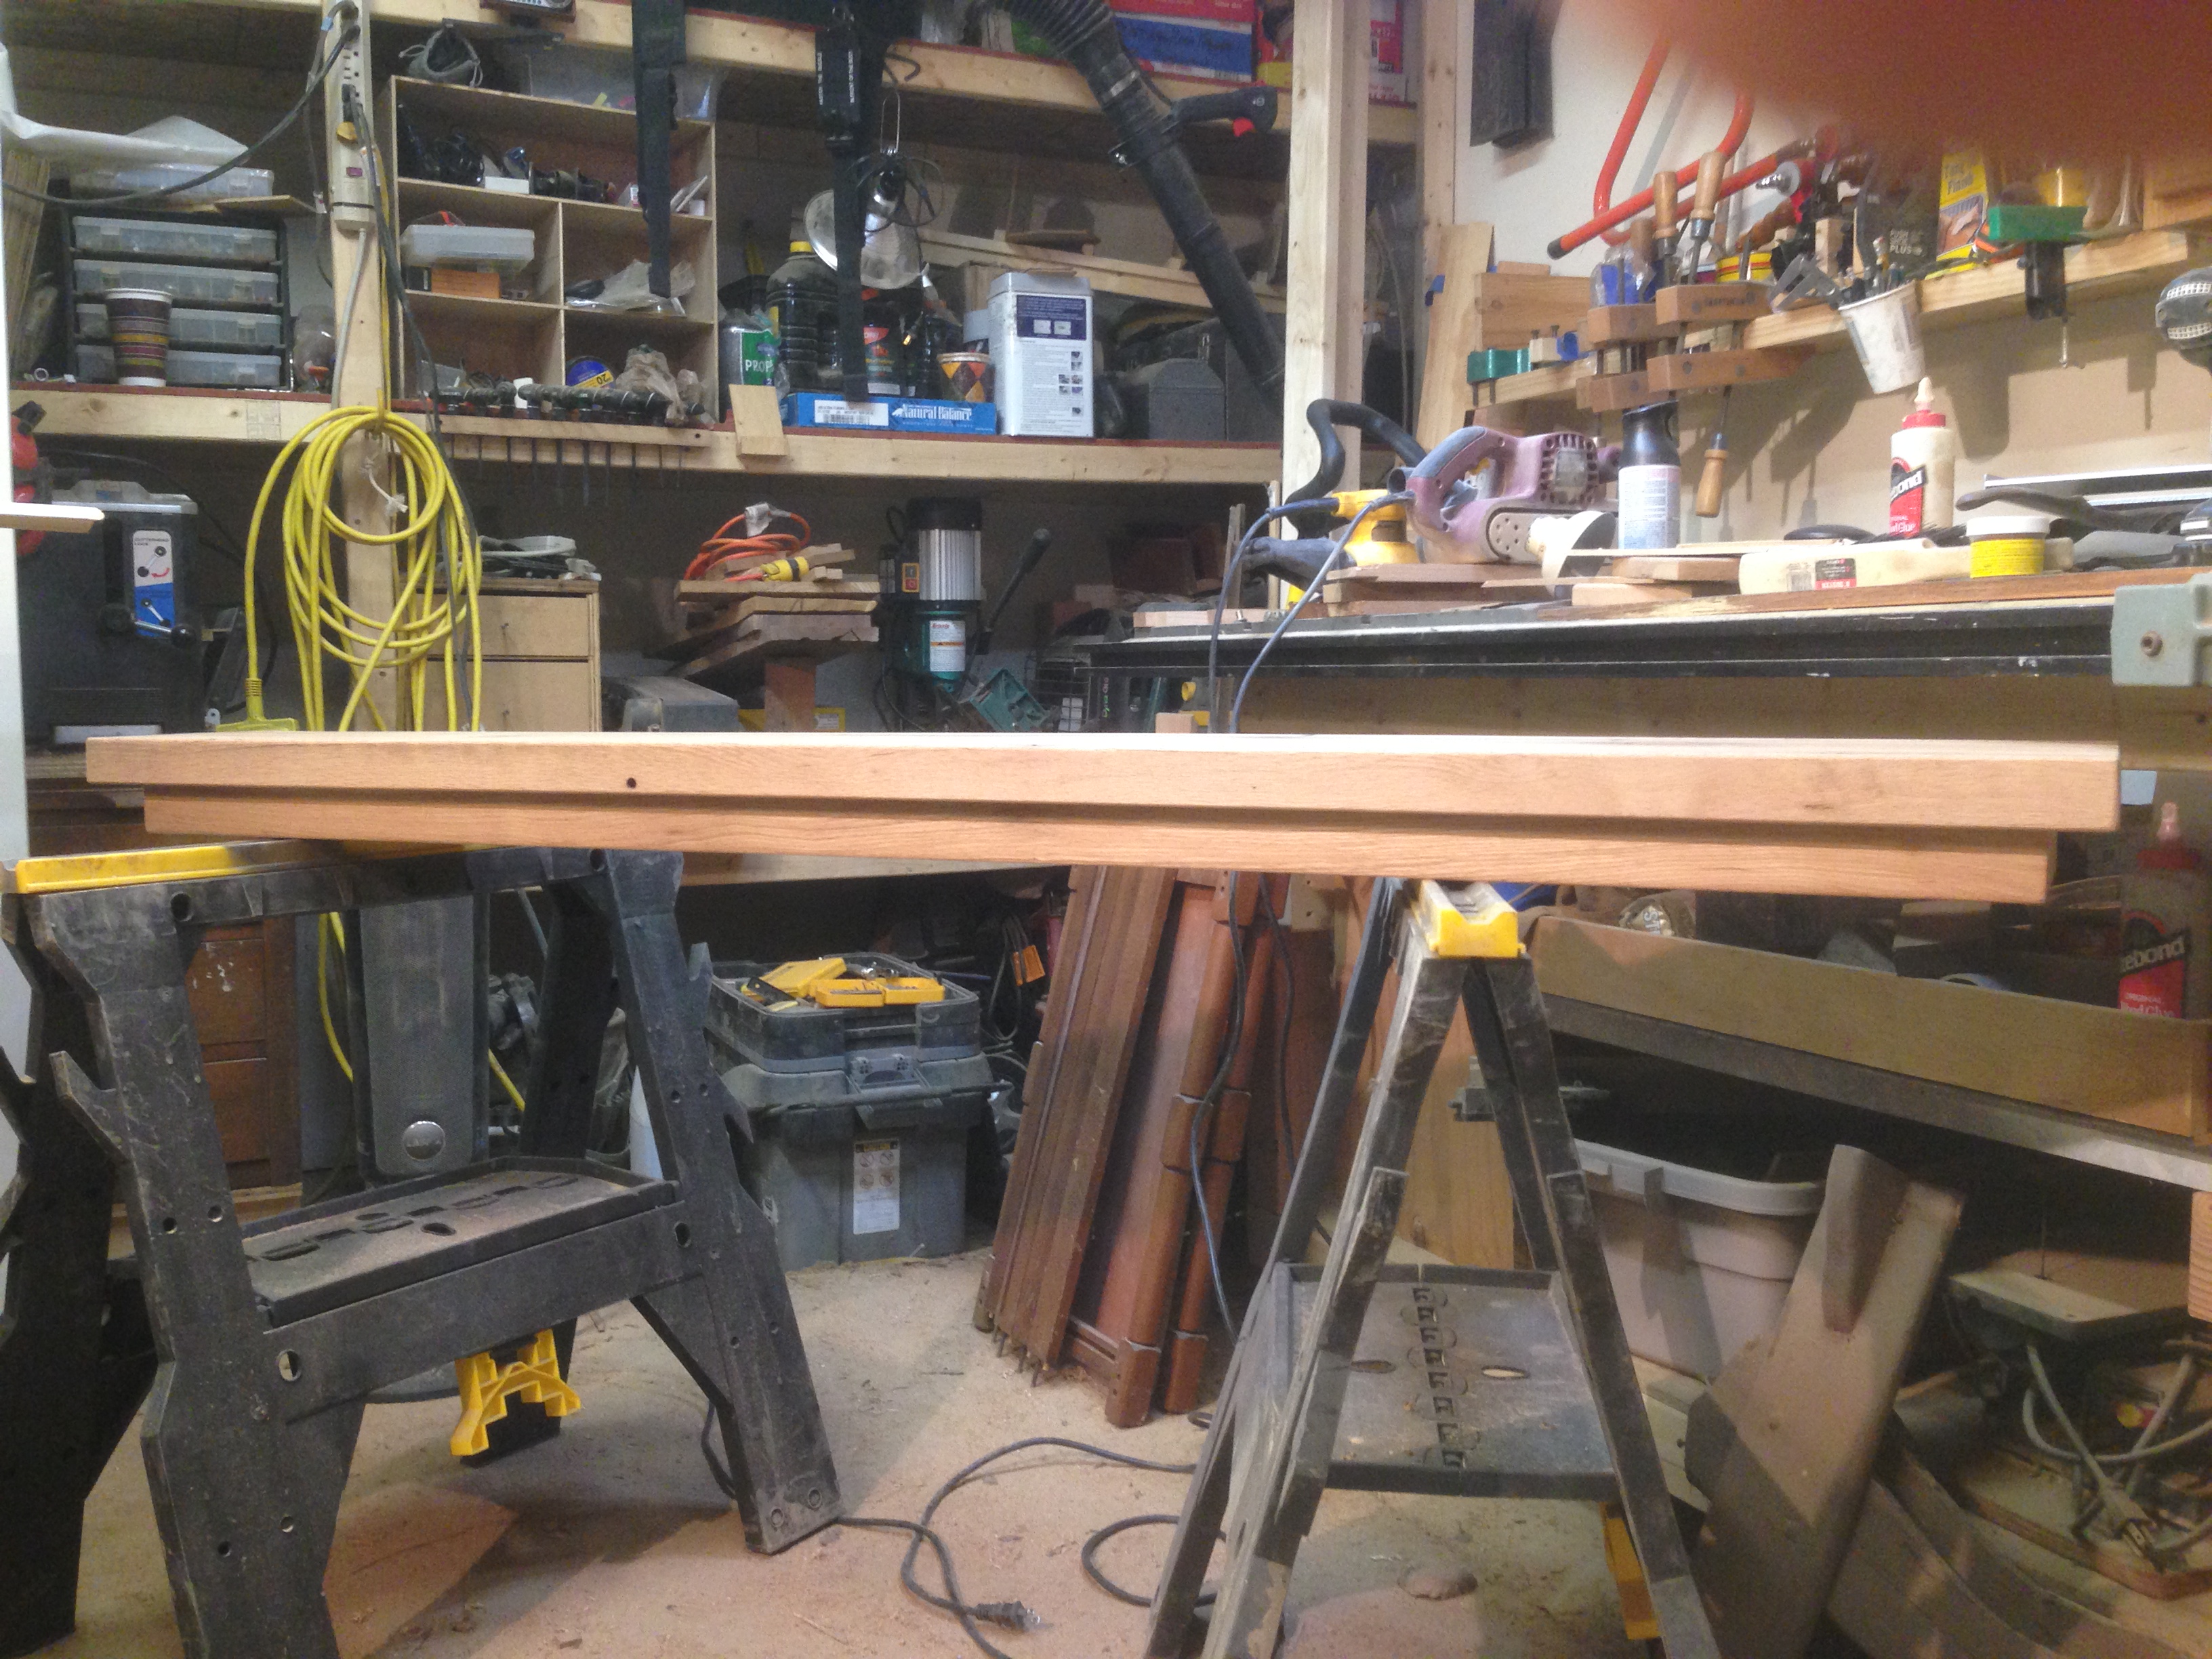
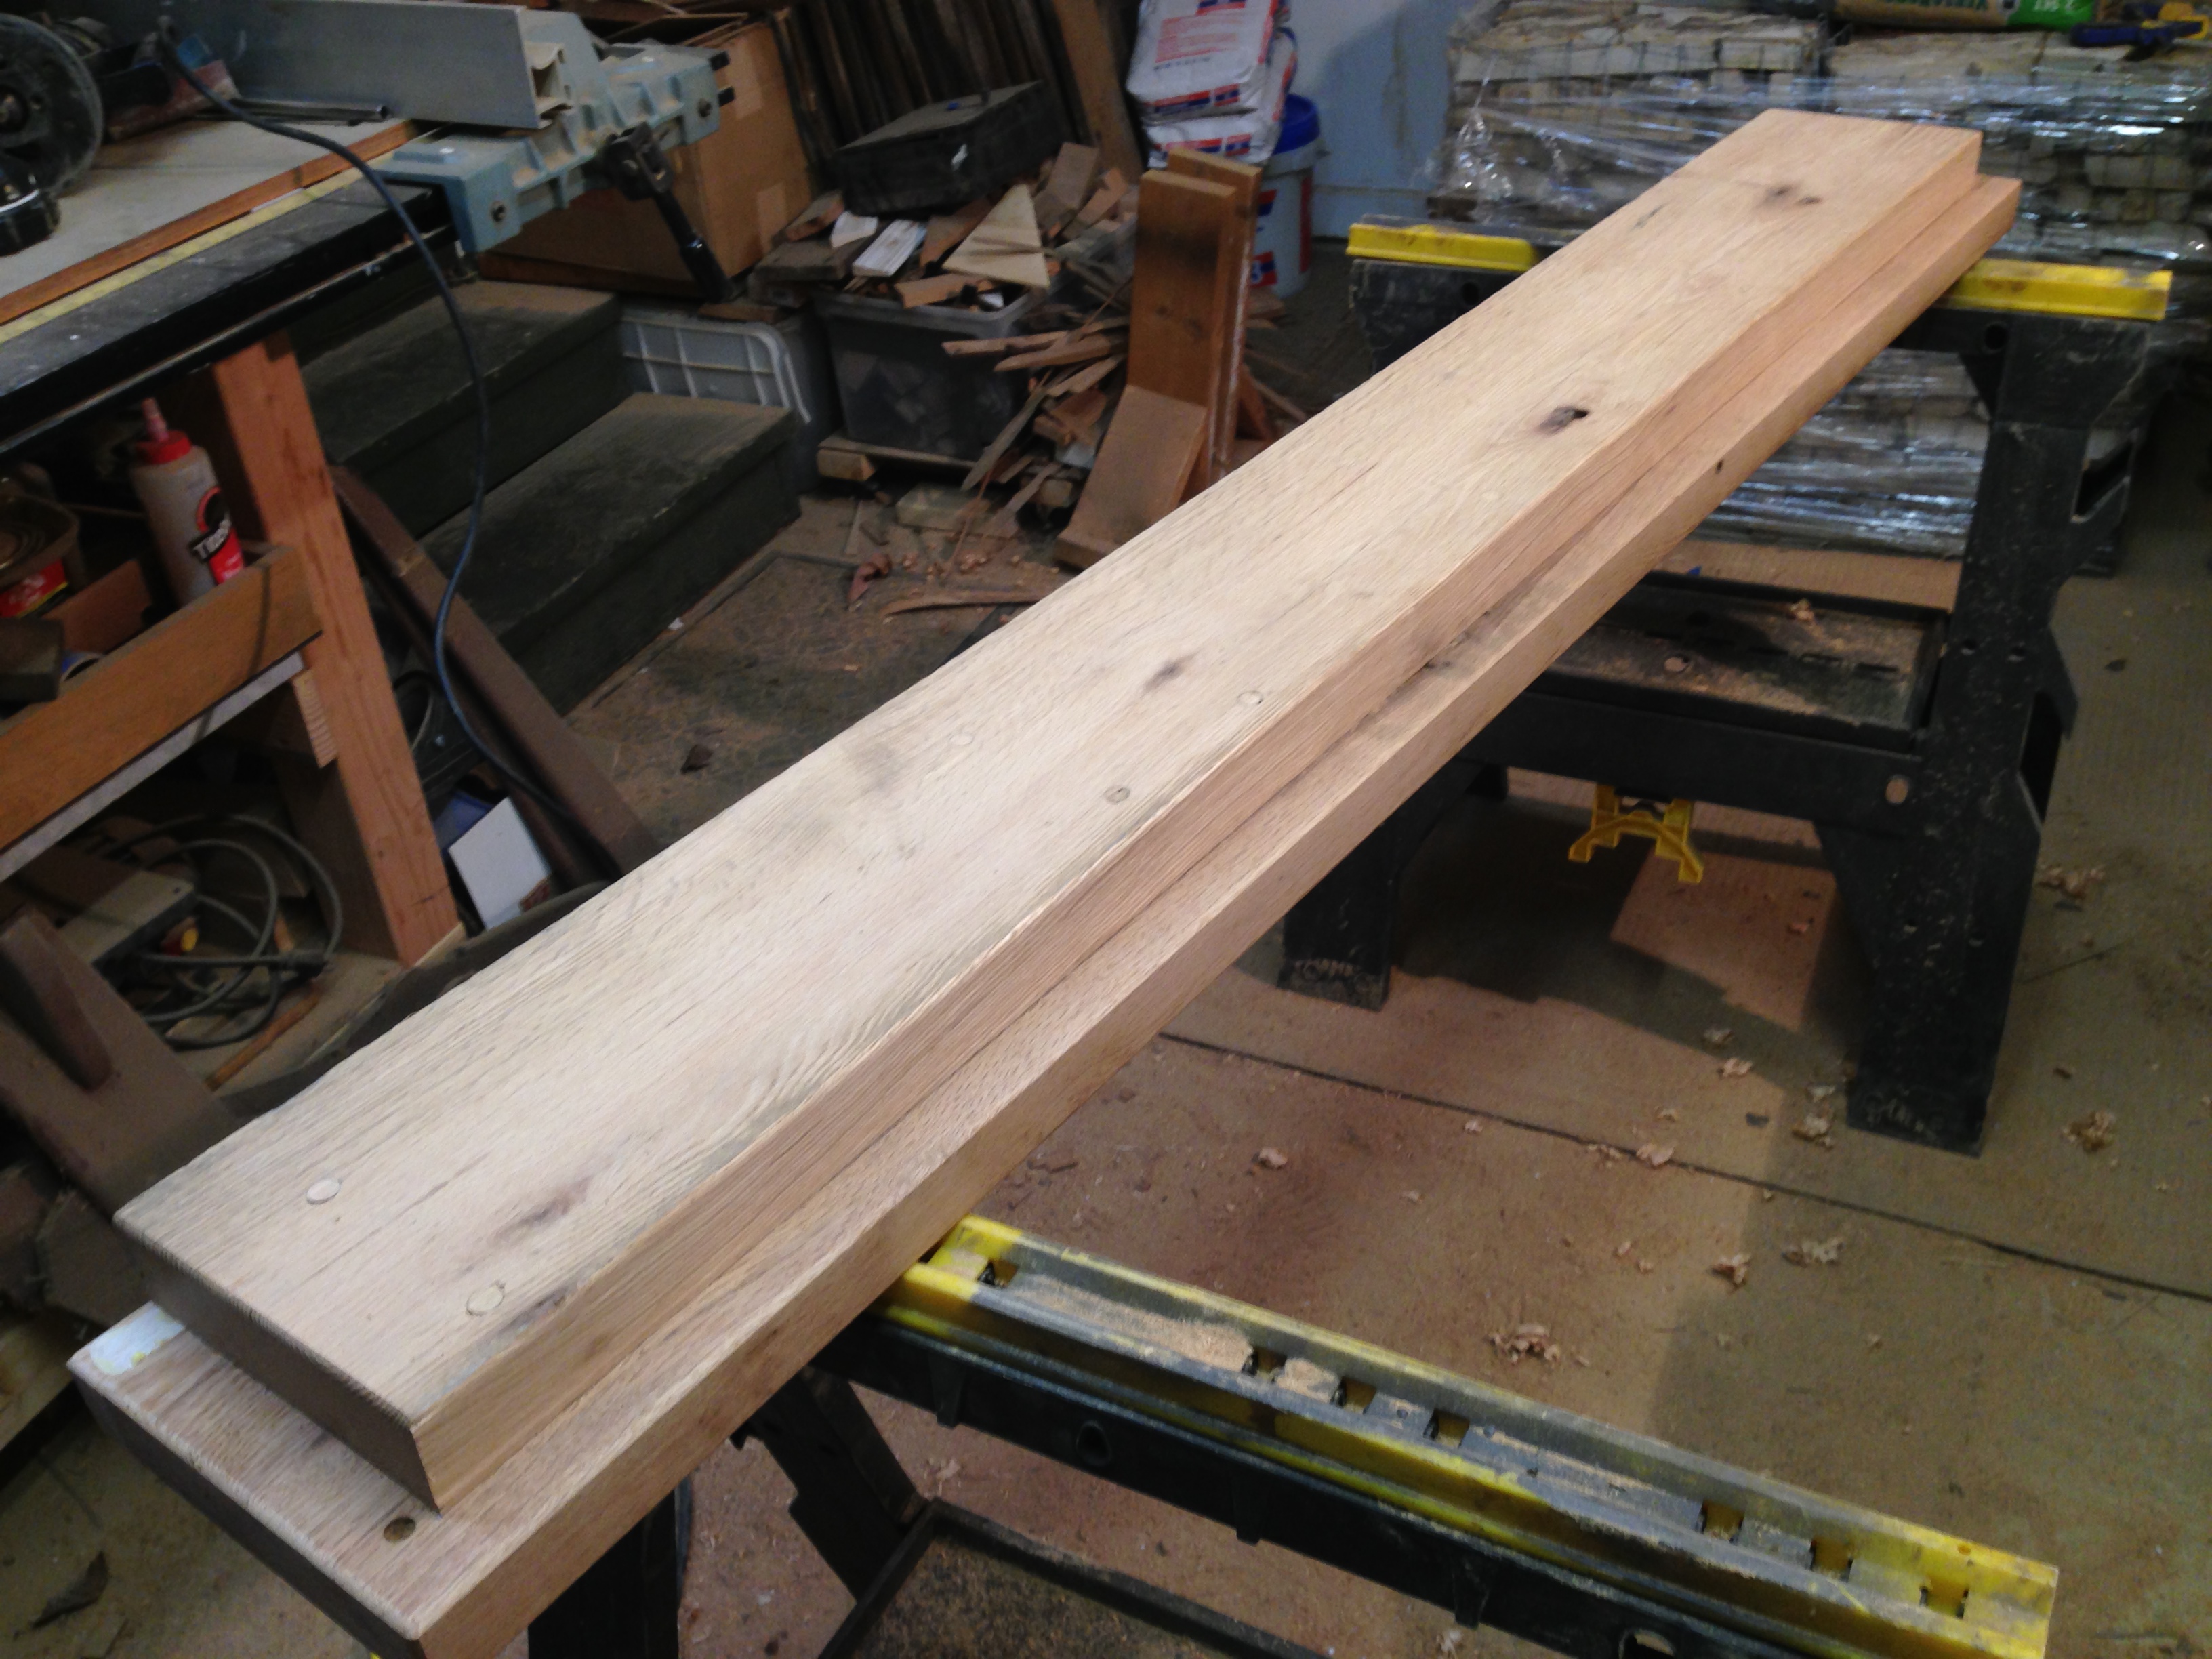
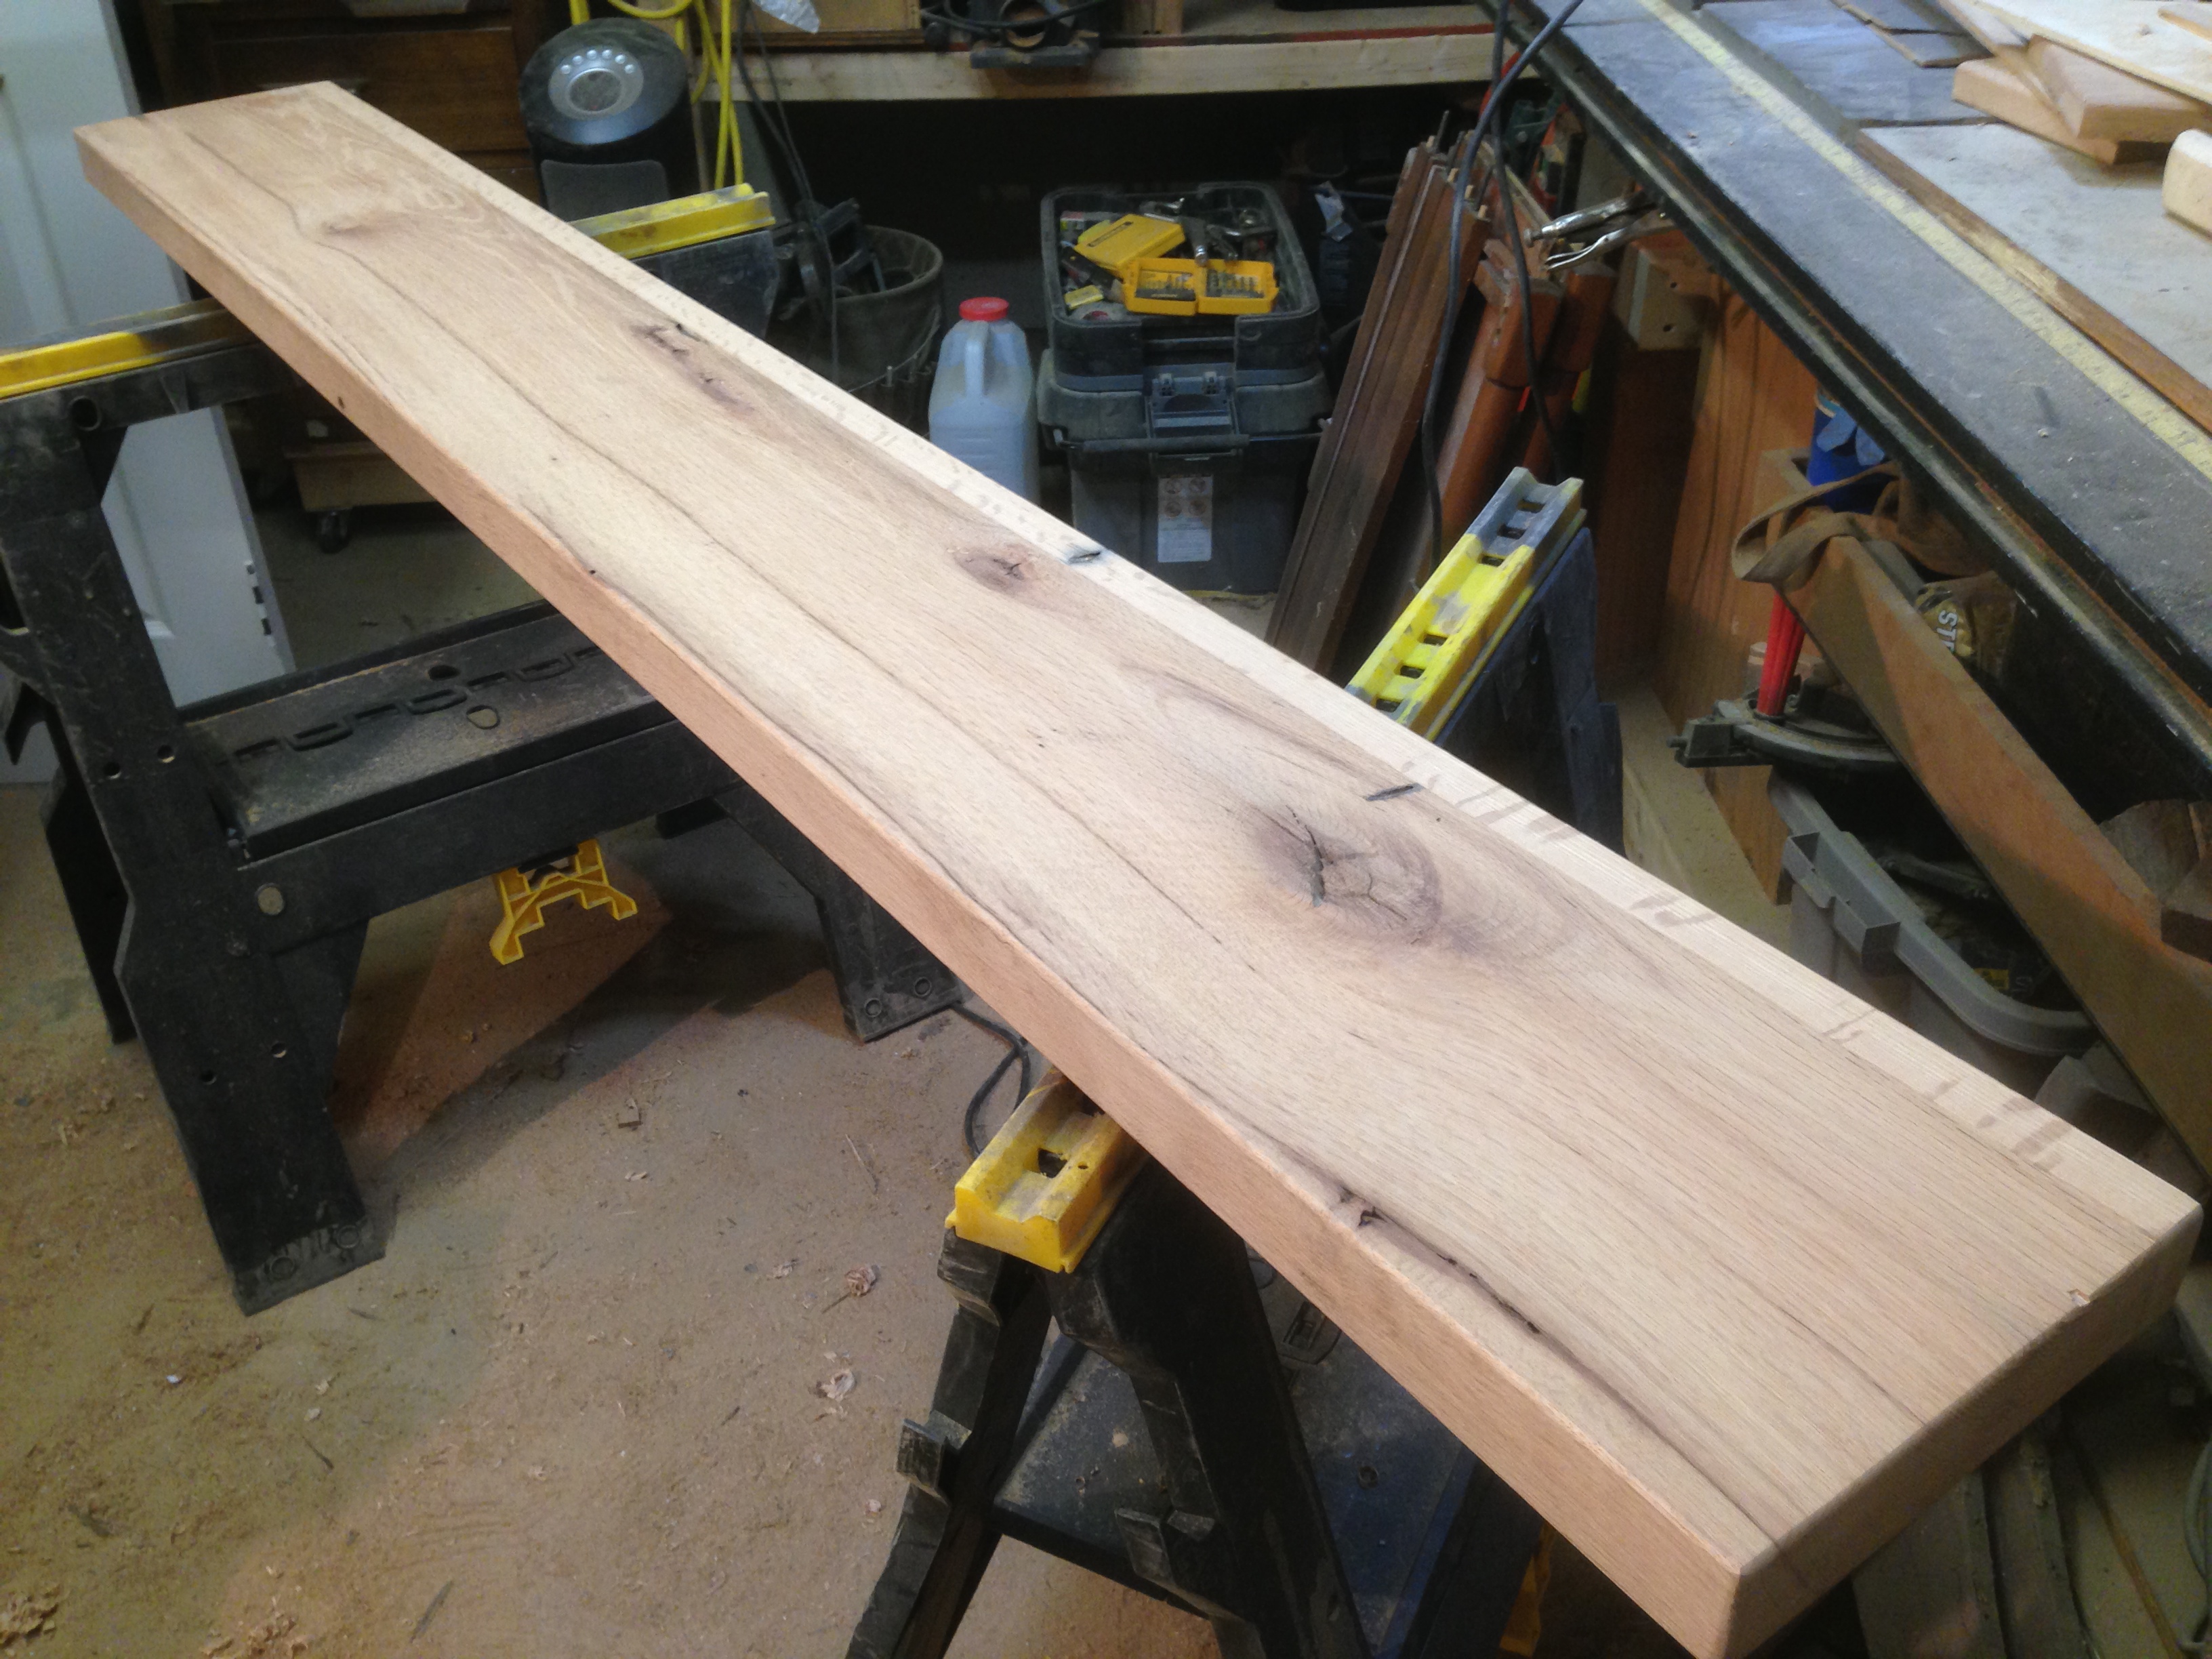

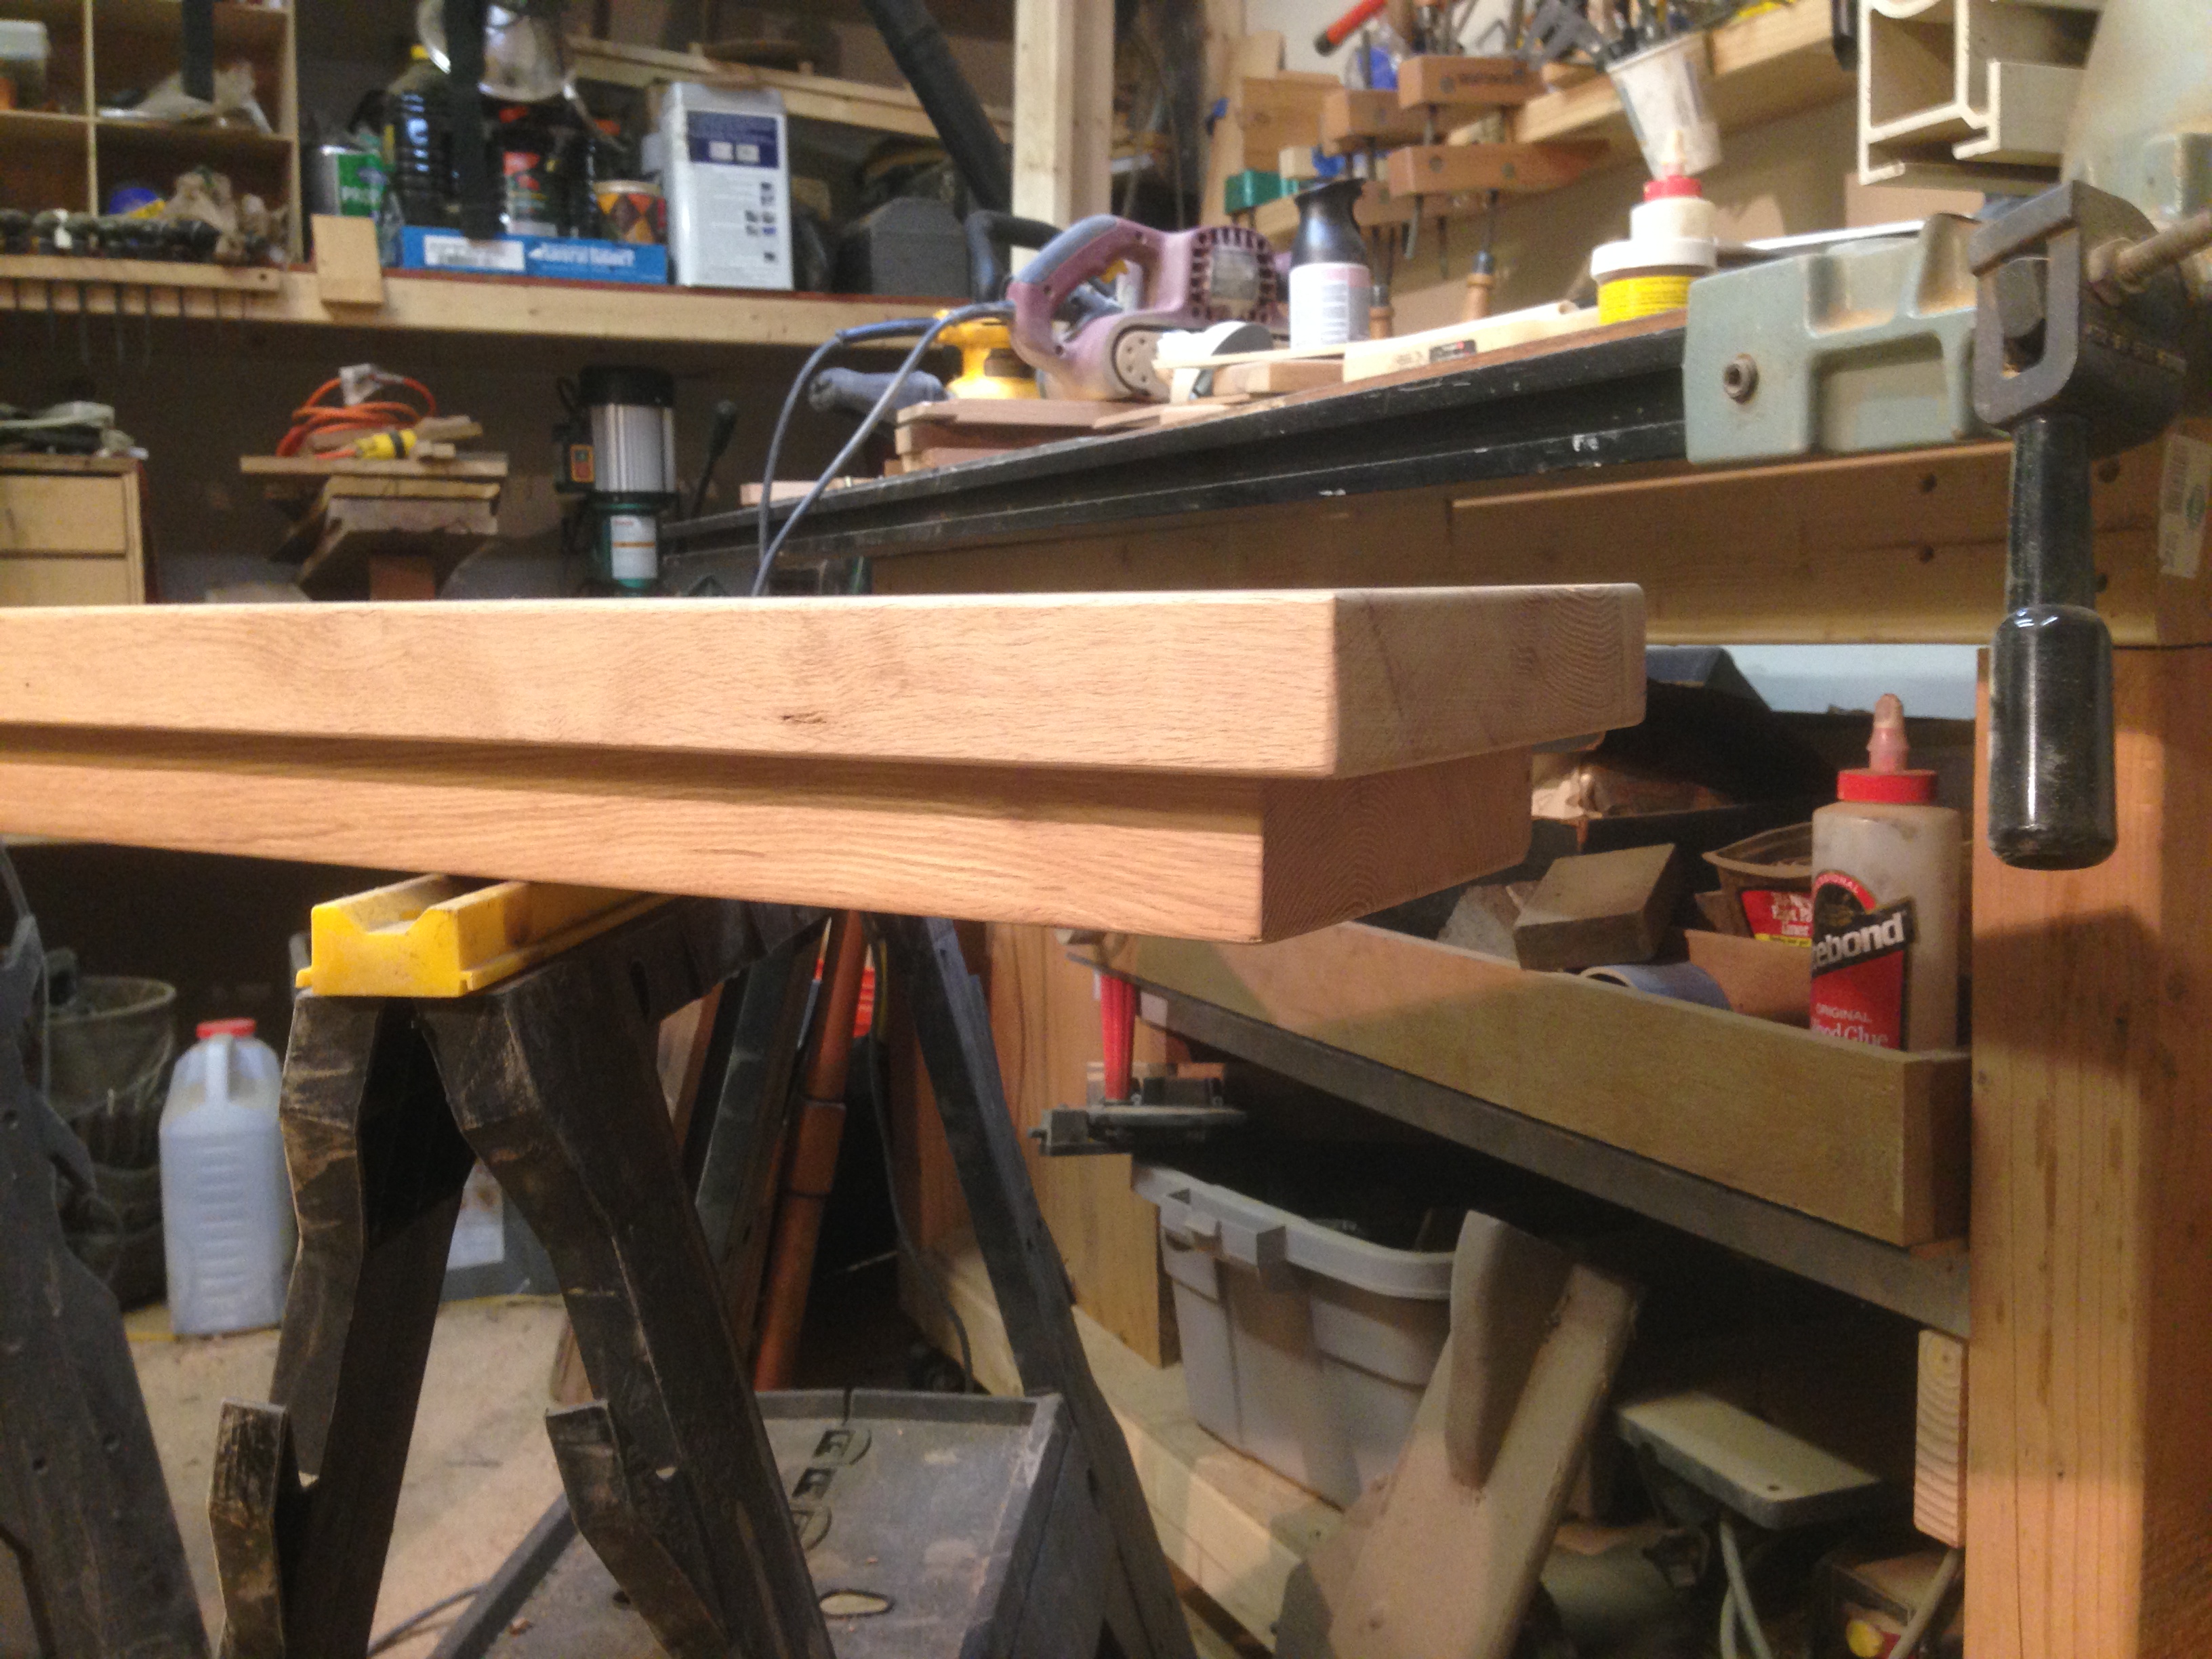
The design was a simple Craftsman Style mantle using two layers of 2x oak with the top overhanging the bottom by 1 1/2″ on all sides. The two piece are planed flat and glued together, then reinforced with countersunk screws. Countersinks were then plugged and sanded flat. In order to maximize the width of the mantle, I offset the top piece by 1 1/2″ and added a filler strip at the back of the top piece equal to the overhang in the front. A 1/4″ roundover router bit was used to relieve the edges
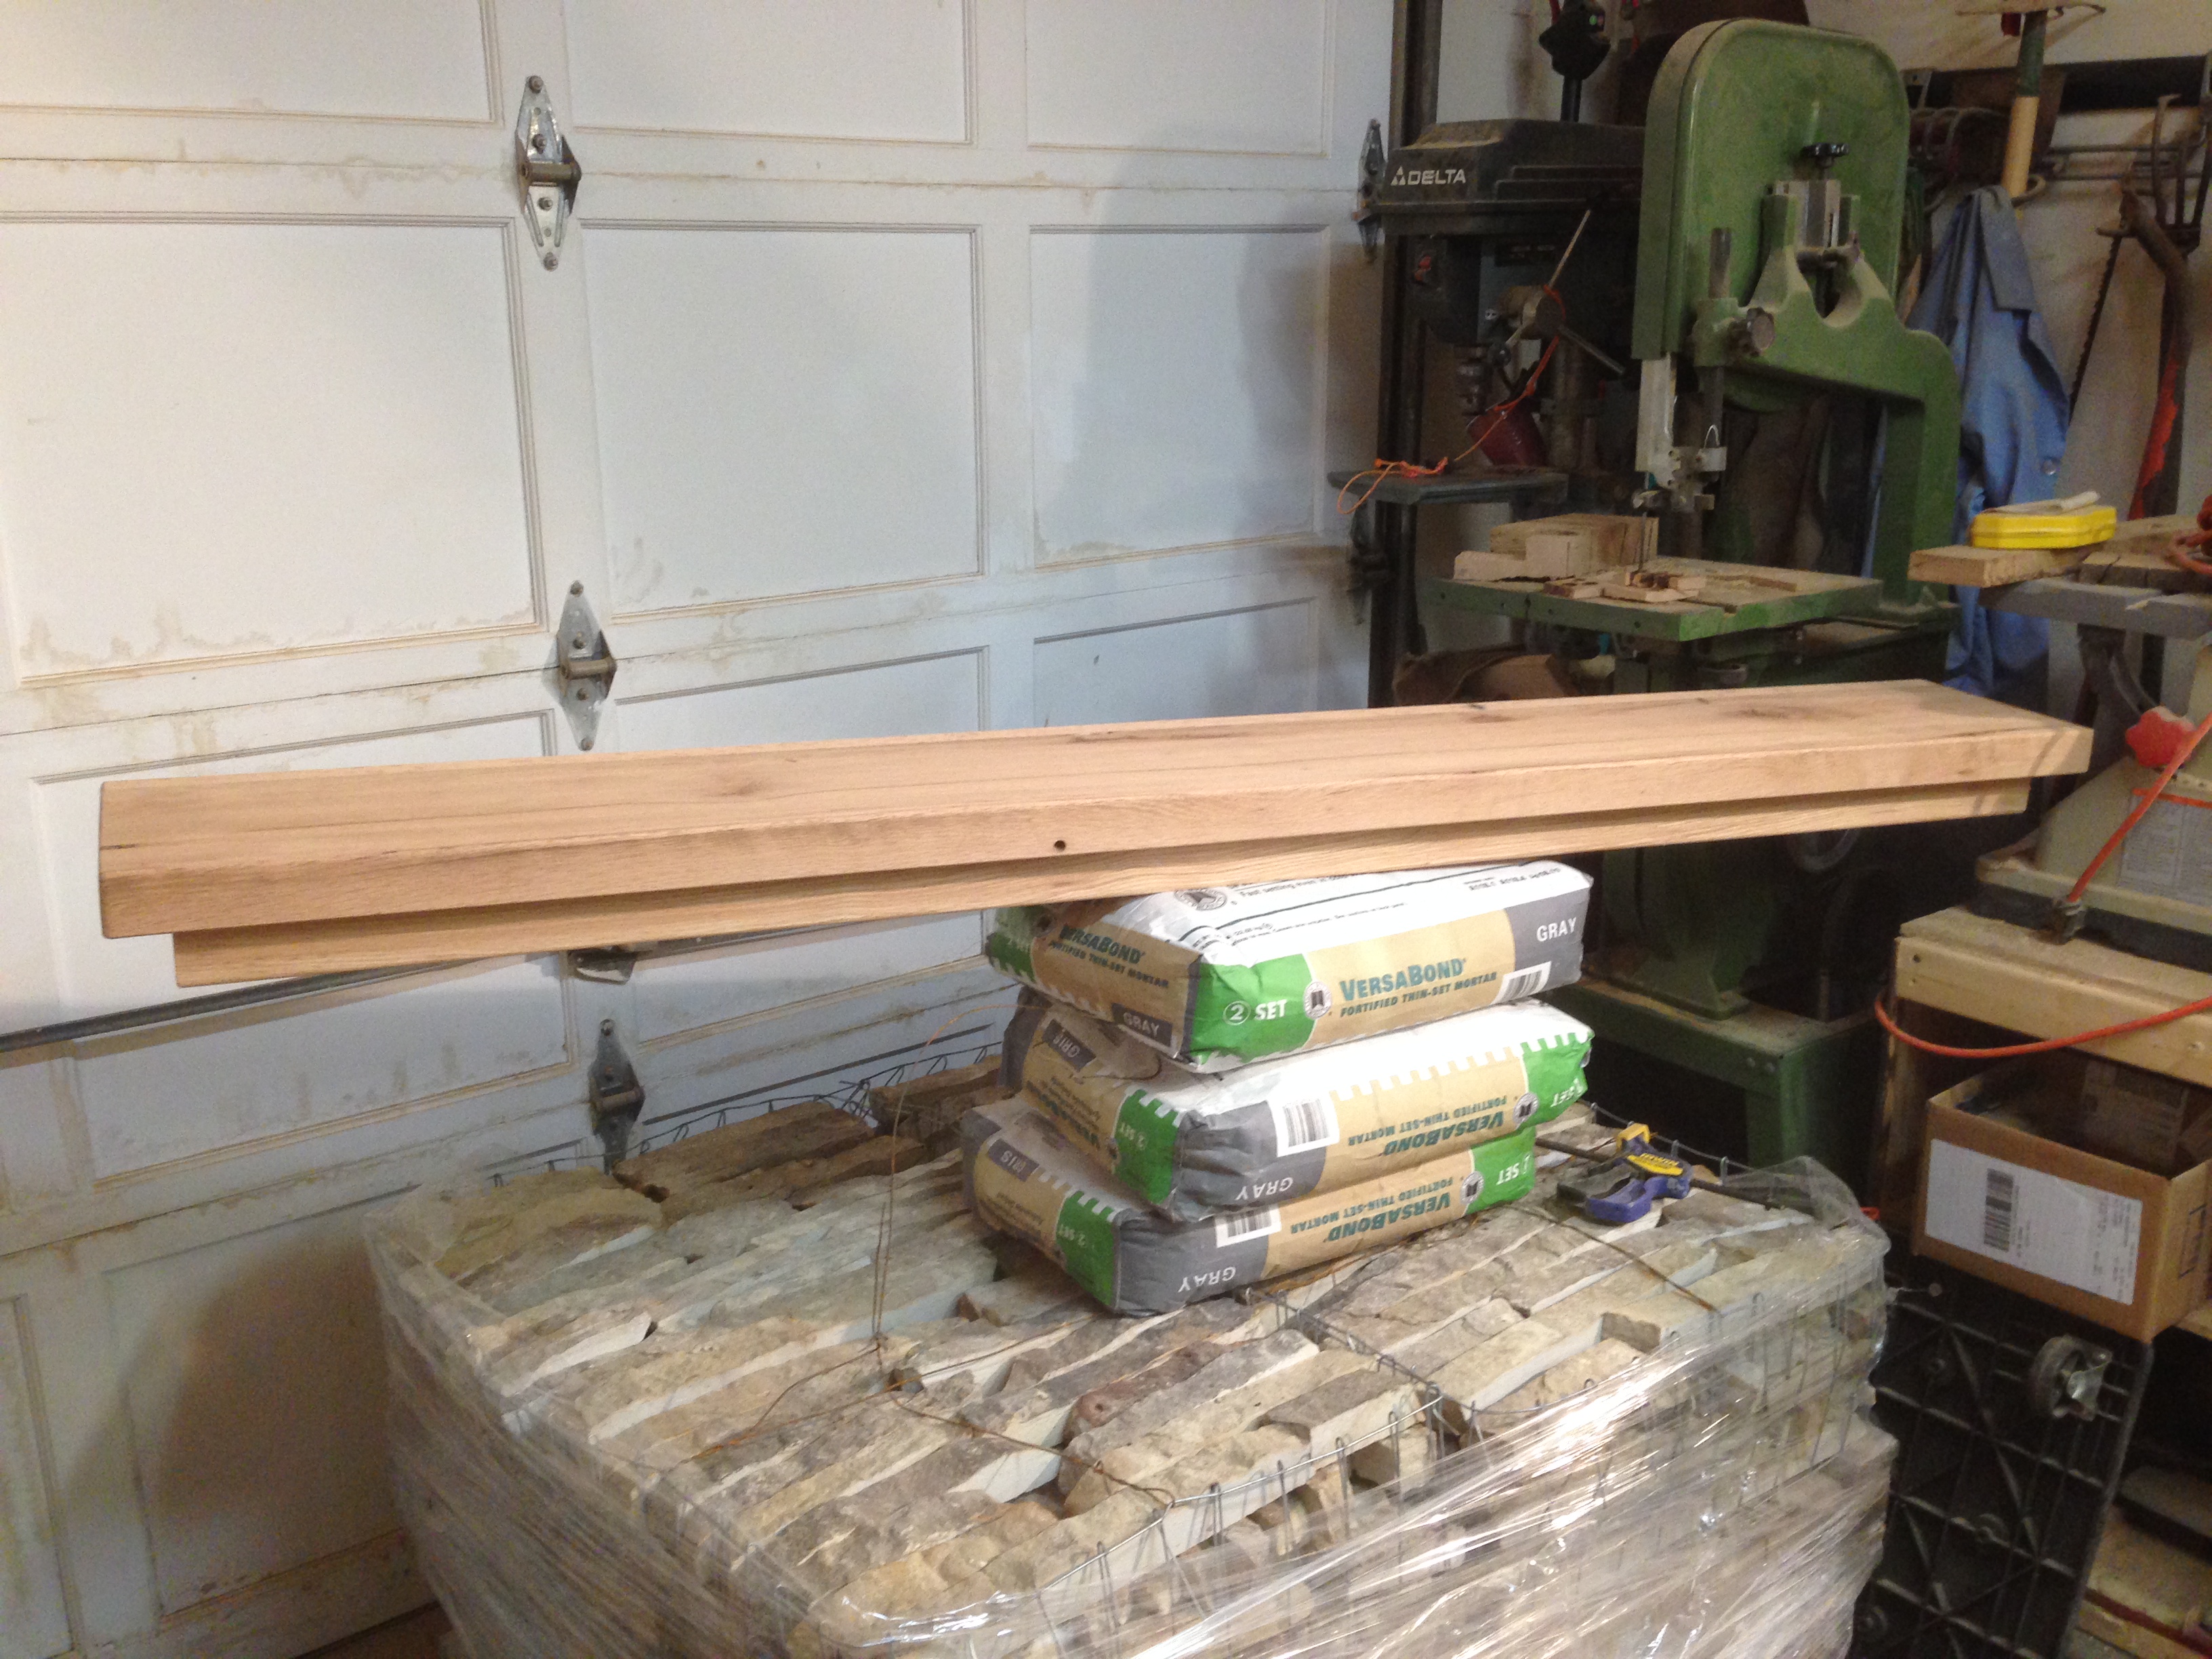
Progressive grades of sandpaper were used to bring the surfaces smooth and tight in preparation for finishing..
The finish would be equally simple with three progressive coats of ebony Minwax oil-based stain, light sanding in between coats, and two coats of Tung Oil.
In order to mount the mantle, the following process was followed.
1) Identify and mark the stud locations
2) Cut a “story pole” to the same length as the 2×4 mantle ledger attached earlier.
3) Attach the “story pole” to the 2×4 and mark on the pole, the location of the center of each stud. Drill a pilot hole, at each marked location, through the story pole and into the 2×4 stud behind.
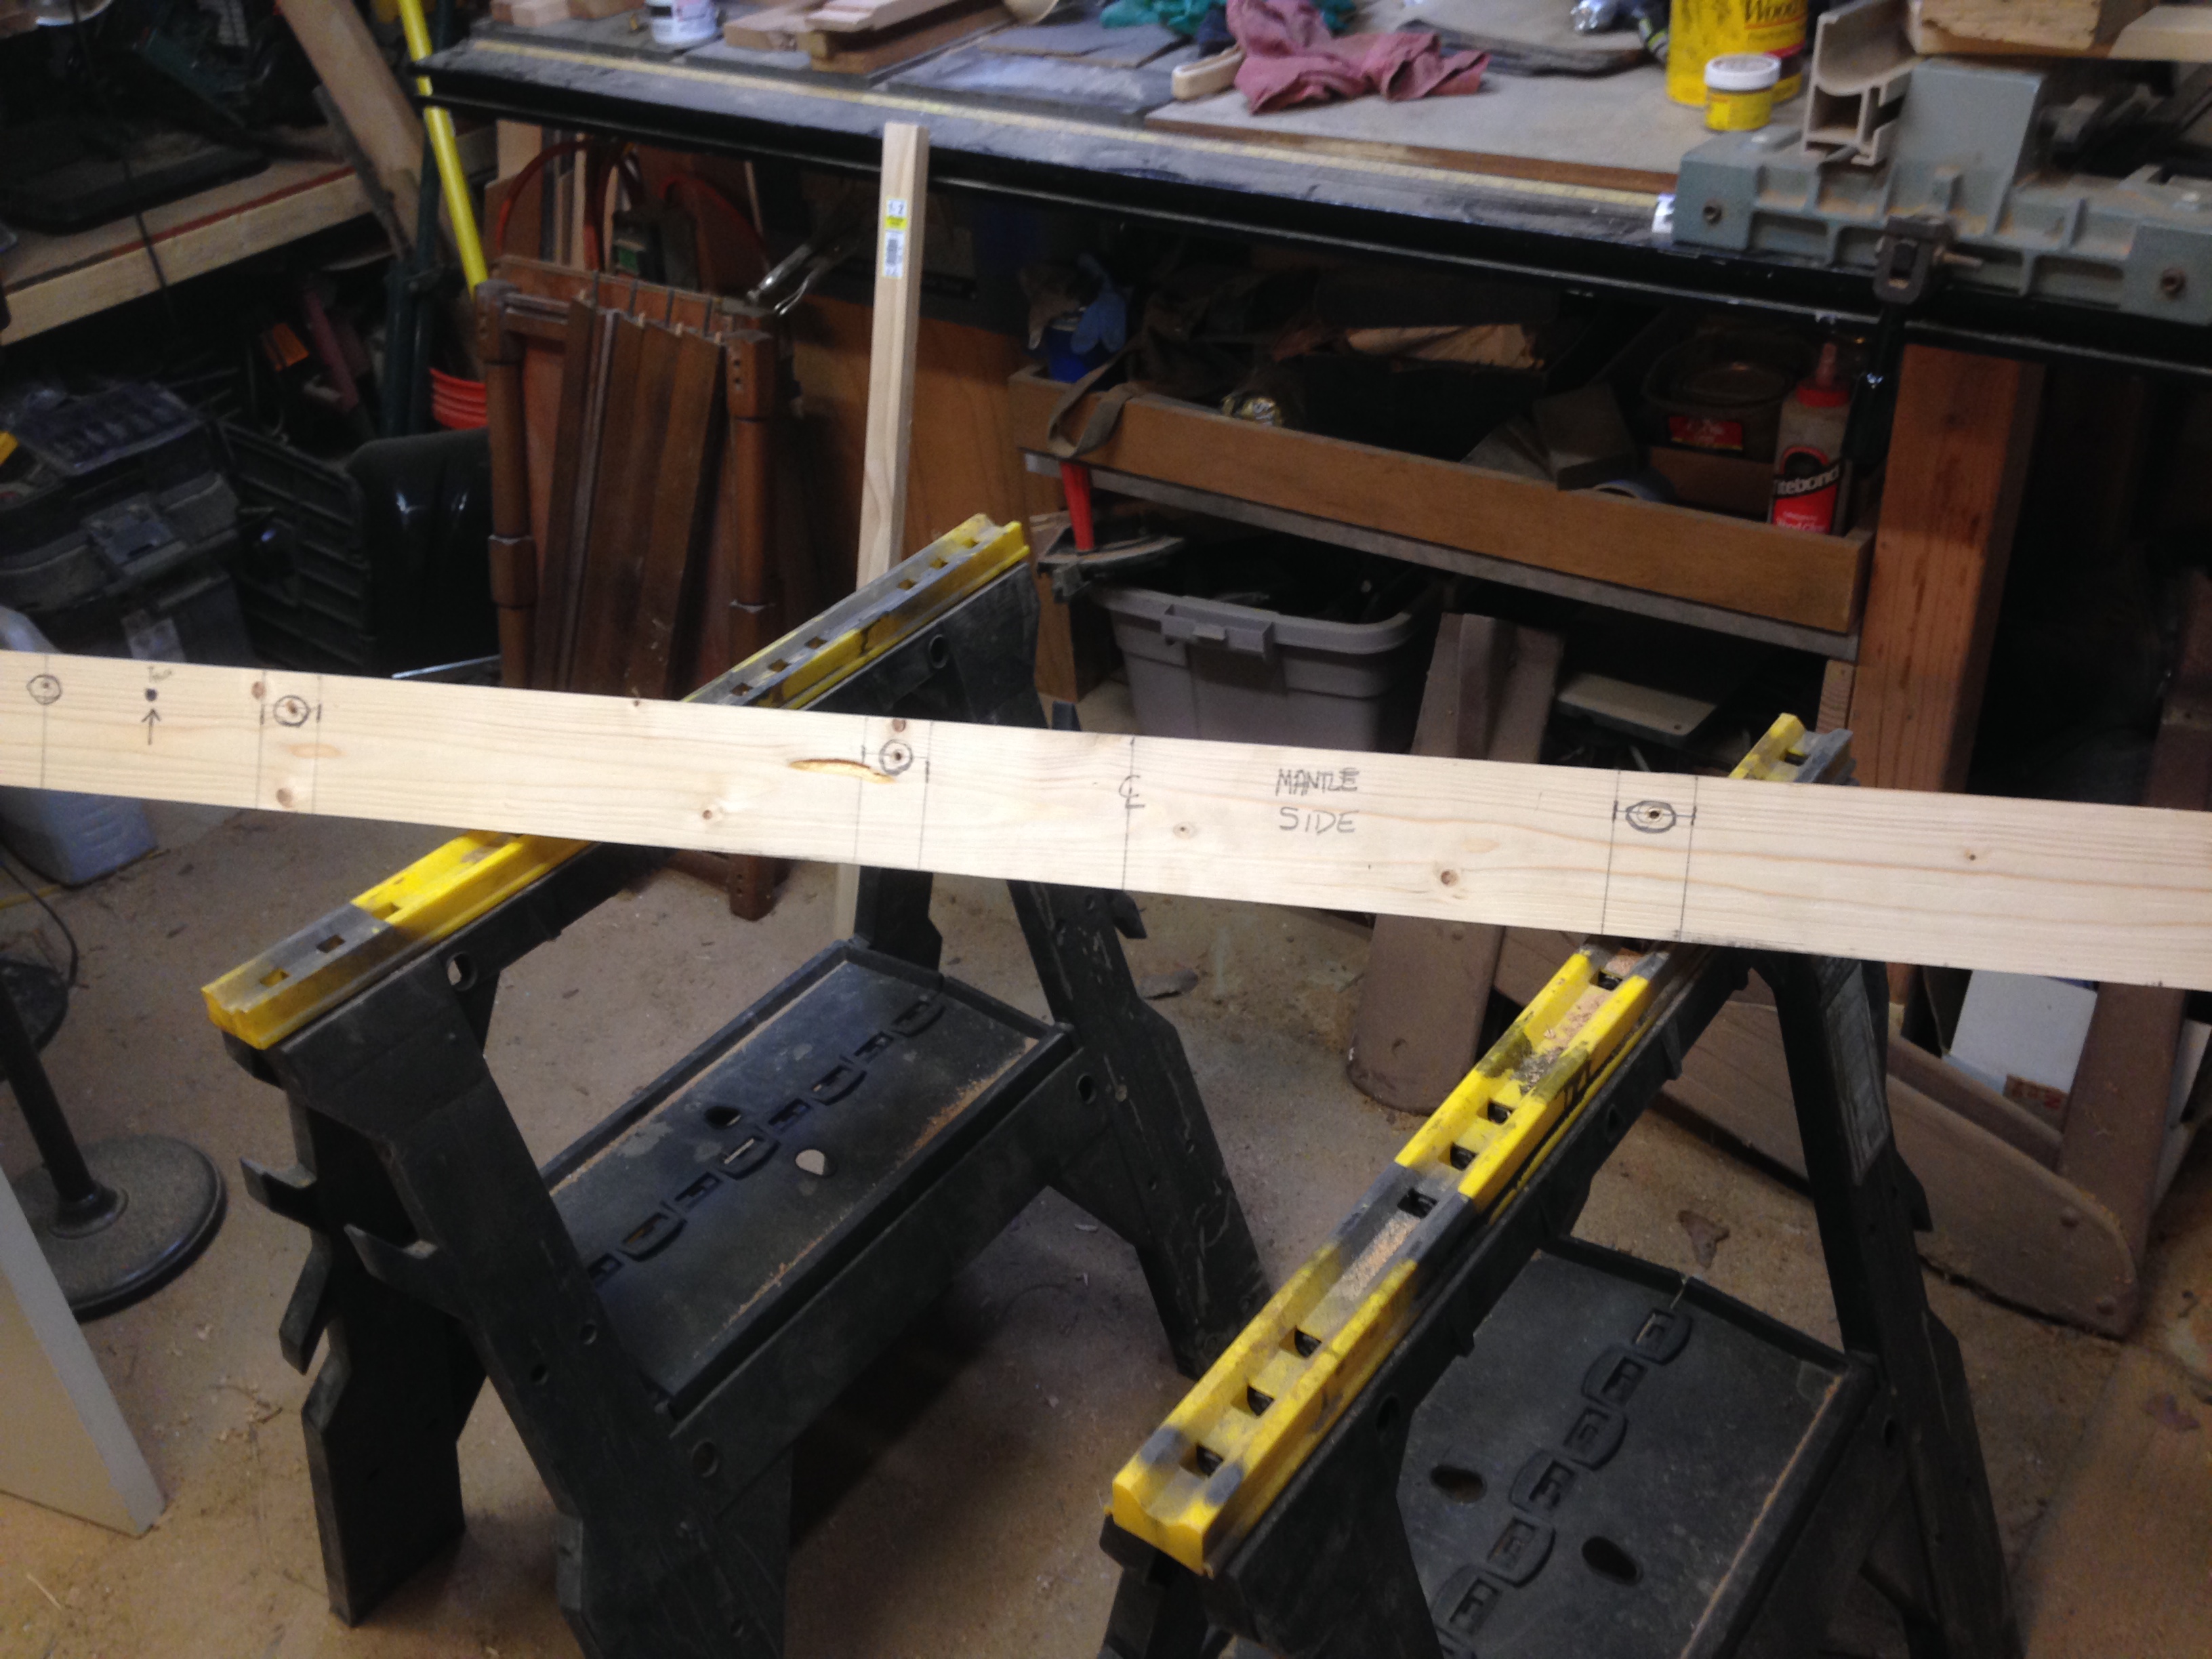
4) Remove the story pole and attach it to the rear of mantle, making sure to mount the face of the story pole to the back of the mantle. As the mantle, in this case, is the same dimensions as the story pole and the 2×4 mounted to the wall, the alignment will be very straightforward.
5) With the story pole attached to the back of the mantle, locate the previously drilled pilot holes in the story board and using them as a guide drill holes into the mantle. Remove the story board.
6) The mantle will be attached to the 2×4 ledger with rods, that will secure the mantle to the wall at each 2×4 stud. The choice and size of the rods is a function of the mantle weight and the number of available studs. I chose 1/2″ all-thread that I cut to 9″ lengths, but could have used lag bolts with the heads cut off or whatever is available. The threaded rods I chose had an additional value as the threads gripped the oversized holes in the studs and made the simple physical connection very secure without any adhesive.
7) Next, at each pilot hole in the mantle and studs, drill a 1/2 holes to accept the threaded rods. I drilled each 5″ deep to accept the 9″ rods without worrying about interference. Special care needs to be taken to make sure the holes are drilled perpendicular to the wall and mantle. The fit will be very precise and a small error will make mounting the mantle more difficult.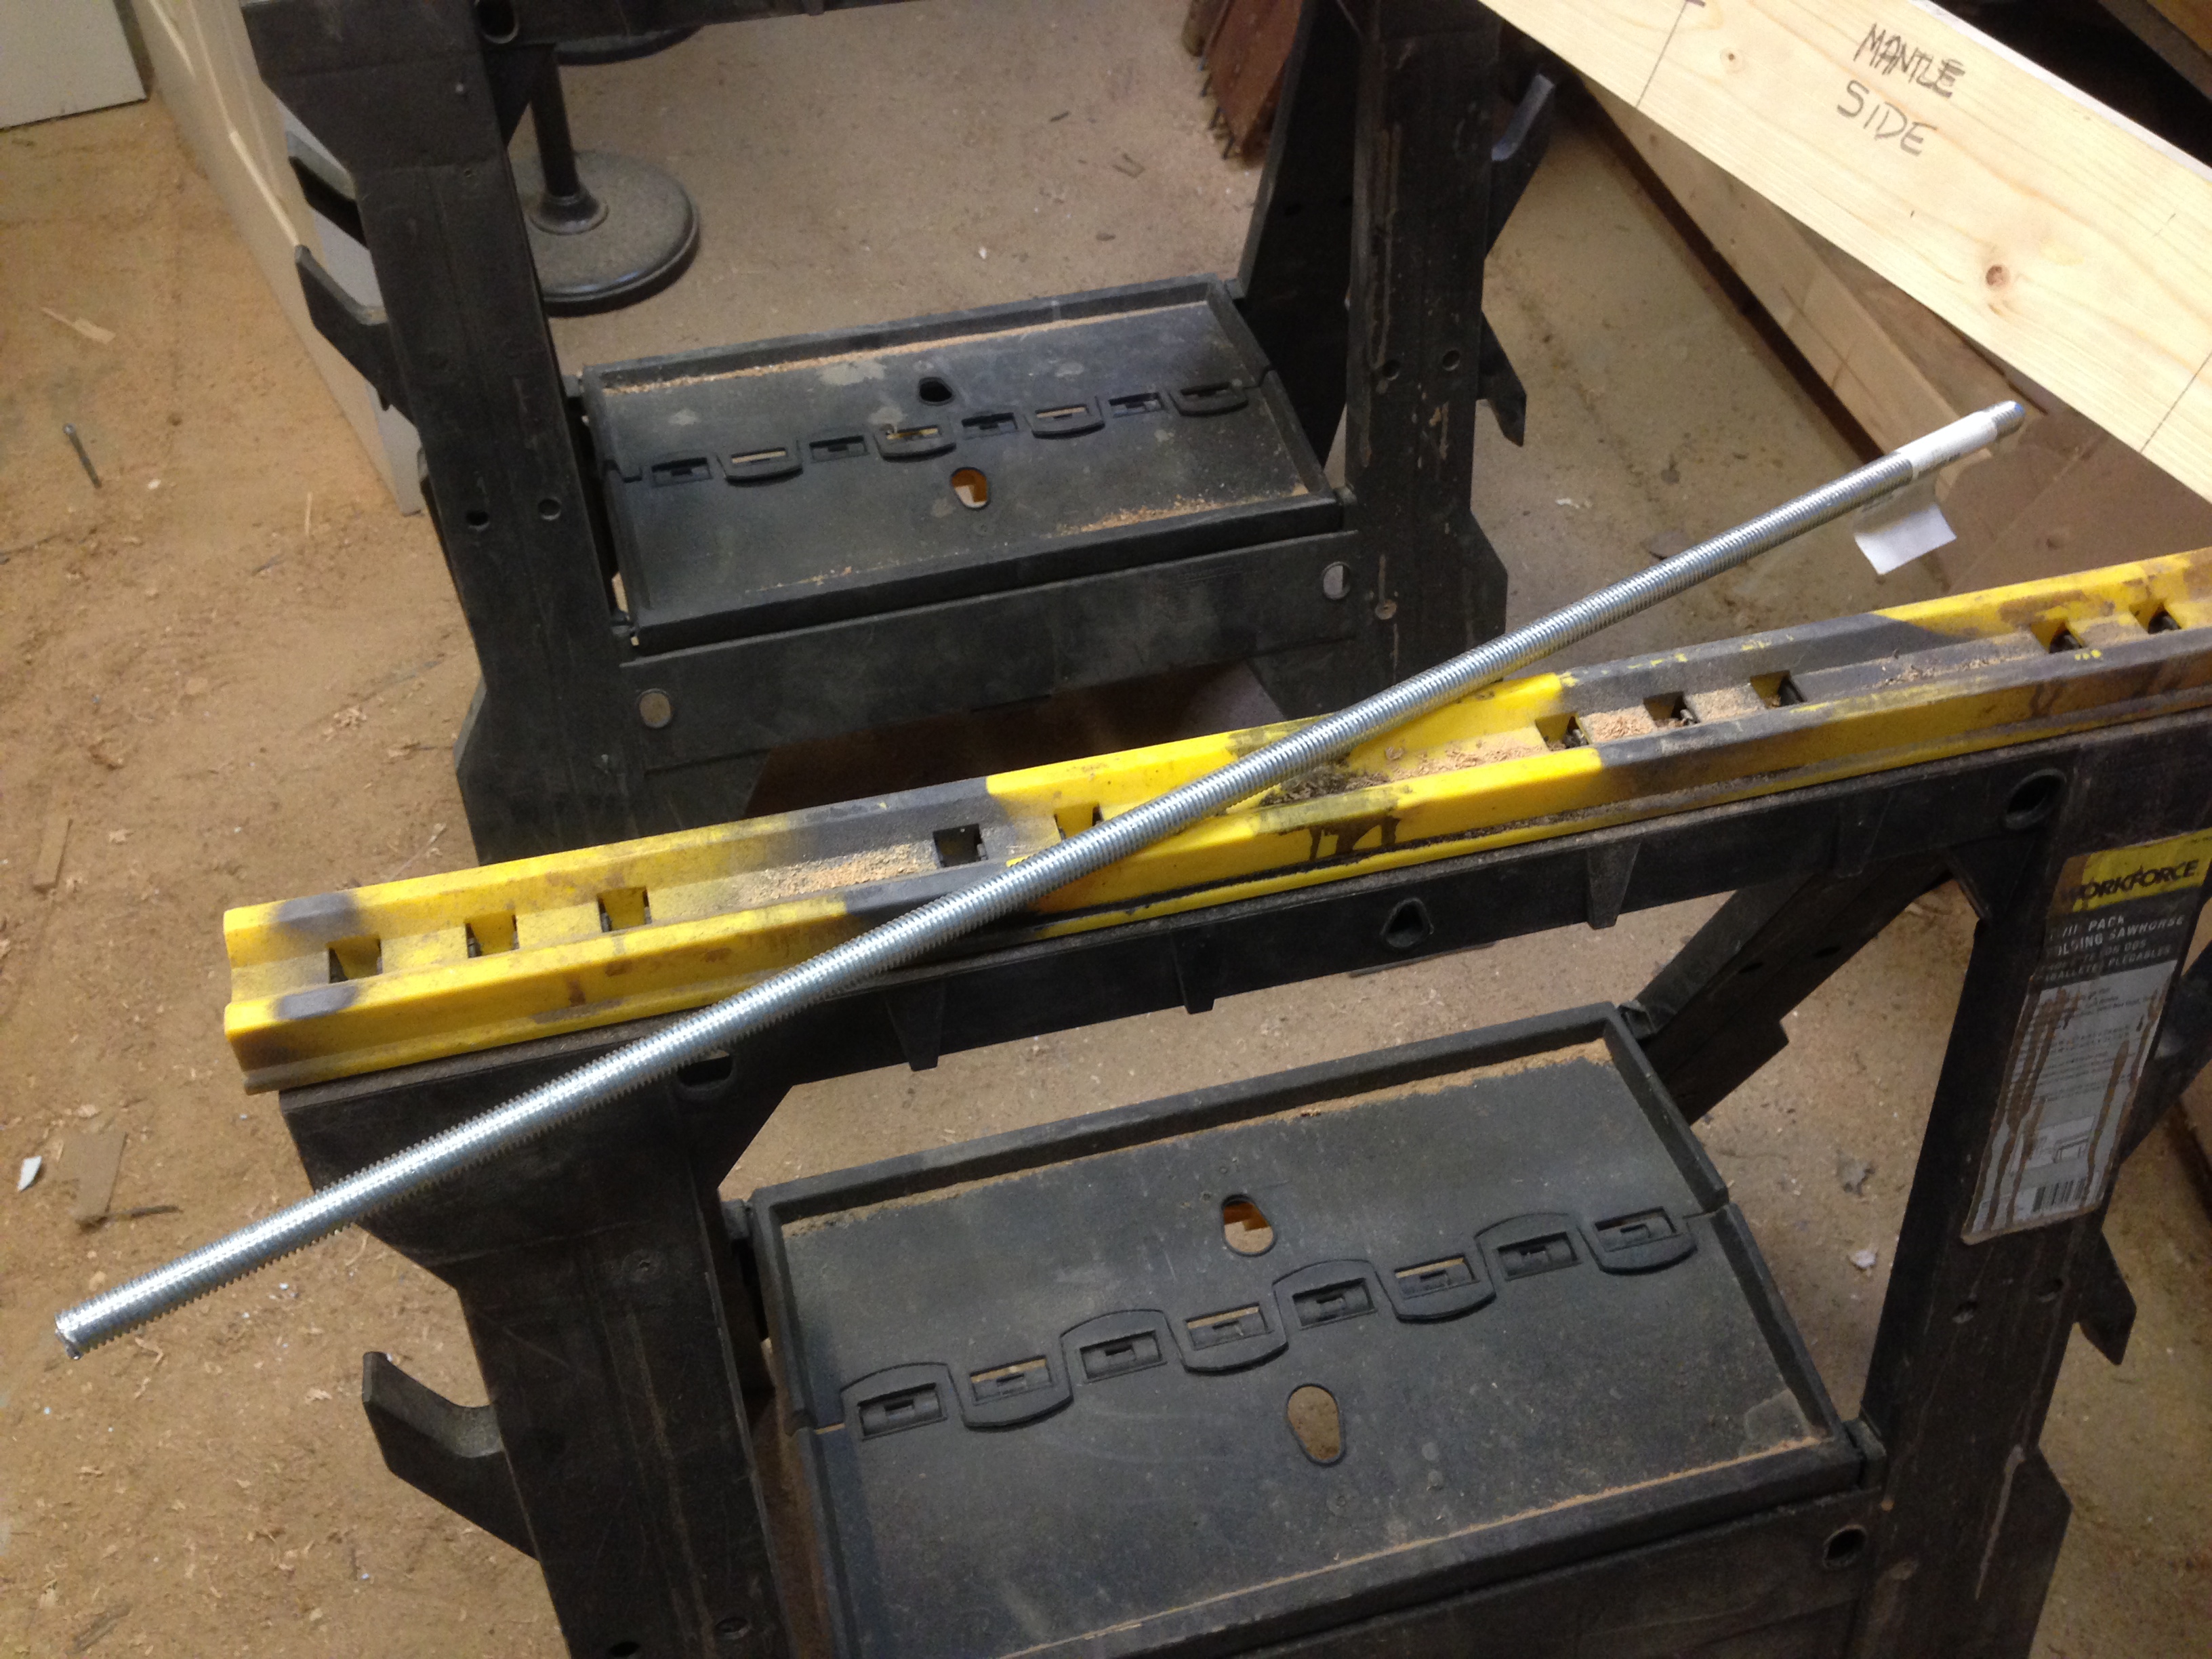
8) Once the holes are drilled, insert the threaded rods into the mantle, in my case 5 total rods. If they are loose fitting, carpenters glue or liquid nails can be used.
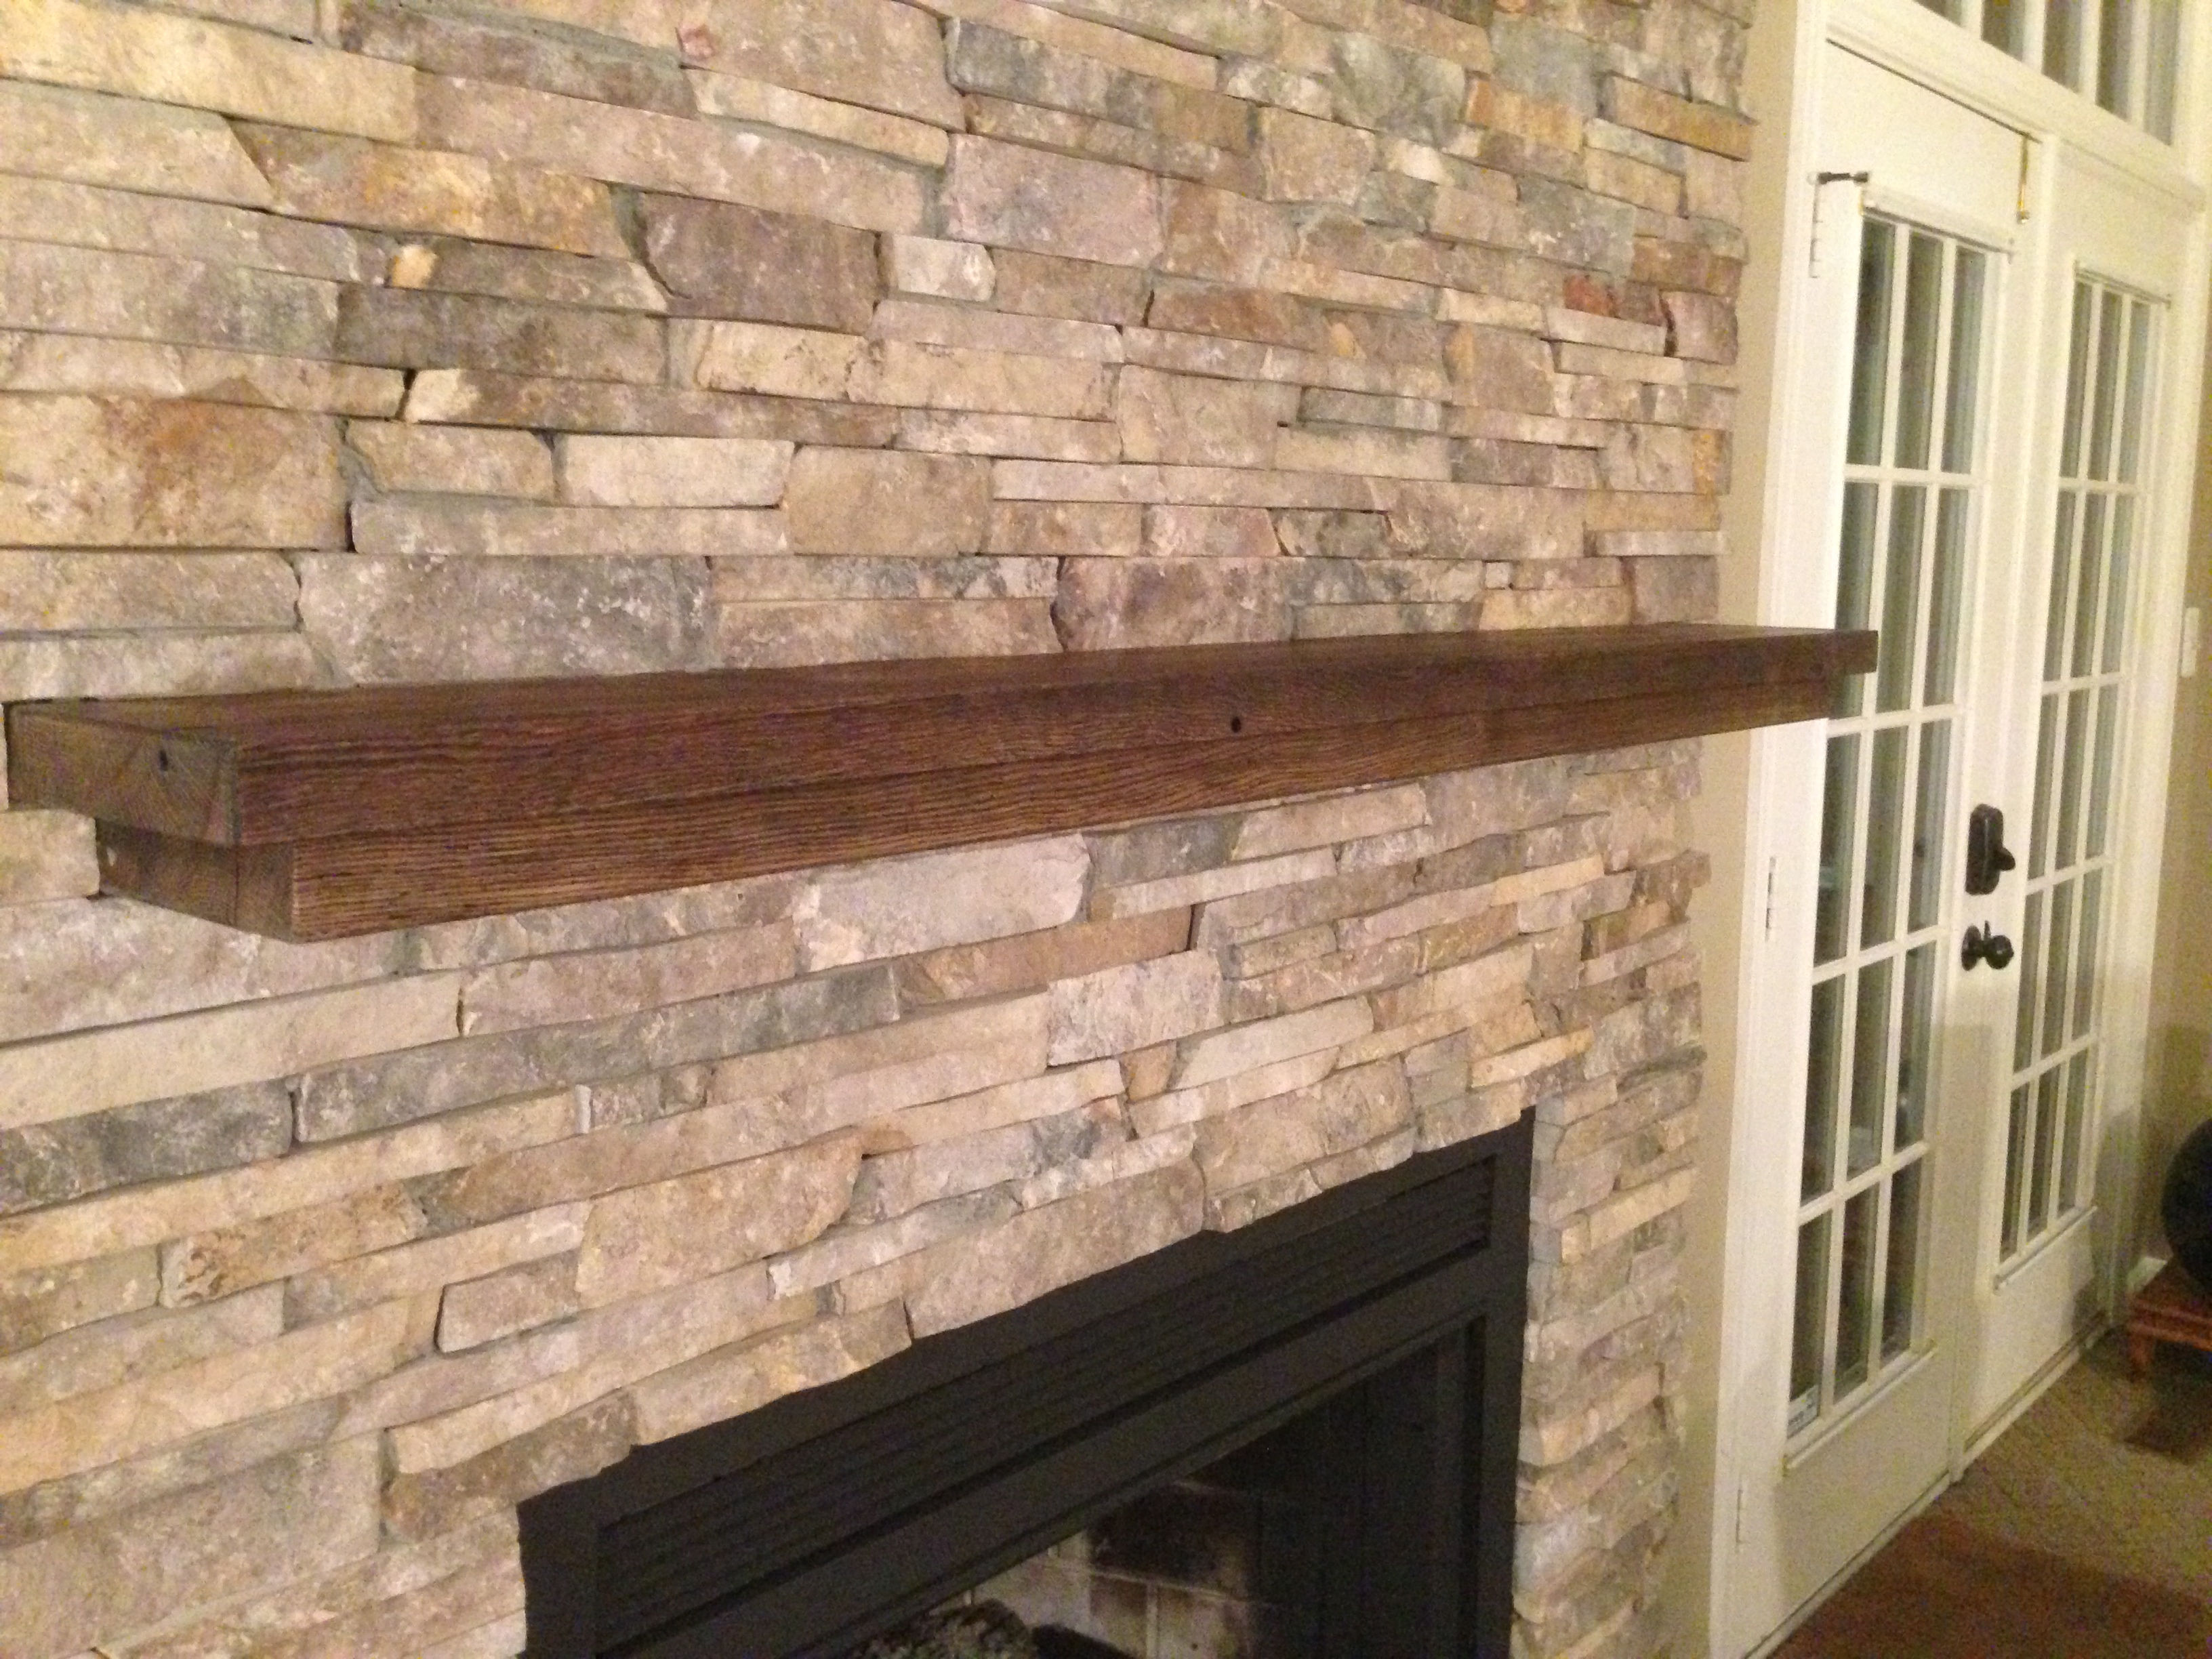
9) Lift the mantle into place and hopefully, the rods and holes in the 2×4 align properly. If not perfect, you may need to enlarge the ledger holes slightly to allow for any error. It won’t be a problem as you are not just mounting to the ledger but also to the 2×4 studs behind the ledger. Push the mantle into place, if the fit is tight, you are done. If the mantle can be easily removed, you can pull it away from the wall and add some adhesive to the ledger holes to make the fit permanent. You can add a couple long drywall screws in pocket holes below the mantle if you fell it is necessary but more likely than not, once the mantle is mounted, it will not move without considerable effort.


sure, but how far can you hit a 3 iron?
its not how far but how close to the pin….thinking about making a full set of clubs out of this wood…just like Bobby Jones