Railing boxes…not very exciting but practical and convenient. Every year when spring rolls around, we break out the gardening tools and begin the process of bringing back o life to our planters and window boxes. Inevitably, one or more of the boxes has warped, split, or rotted. So we tear them apart or replace them, often times spending more time than we would like, just to get back to the original project of planting flowers.
This year, I decided to use a little forethought and planning to hopefully avoid the rebuilding process in future years.
As always the project is not only about design but also optimization. Read this as, “How can I get the most while spending the least?”
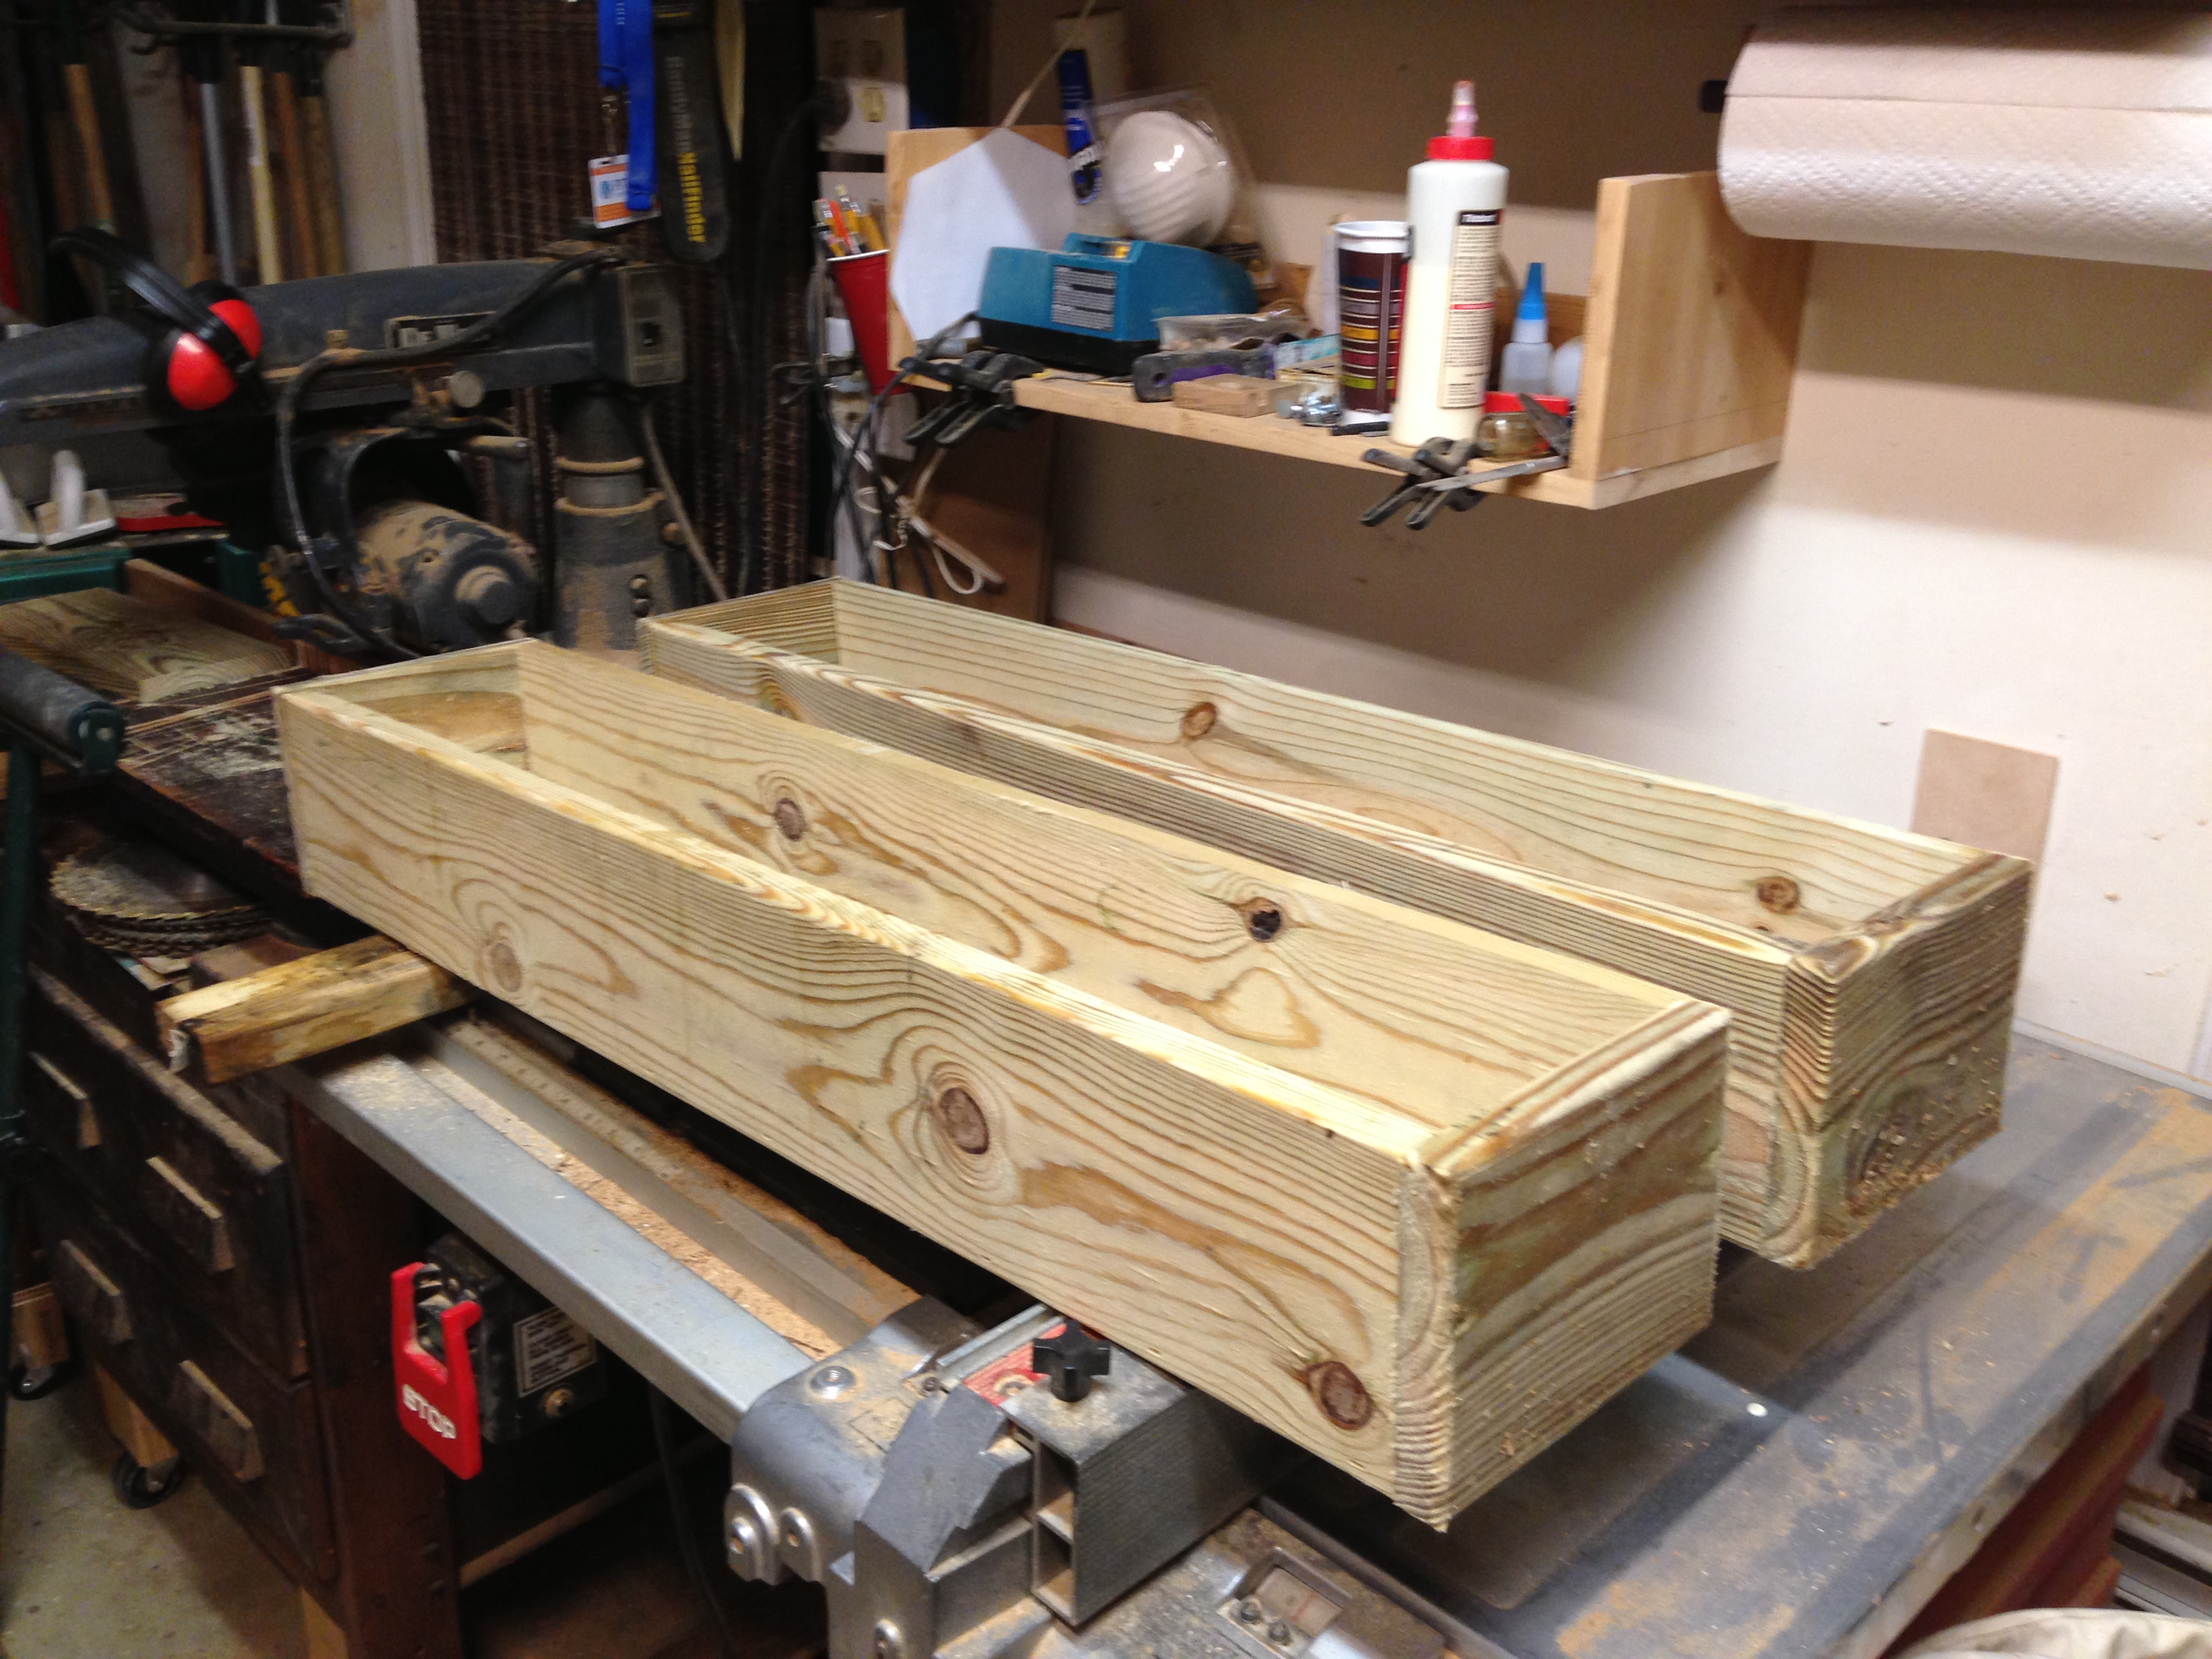
I selected pre-cut treated lumber fence boards for this project (probably 1×6’s). I hate treated lumber but in this case it brought two values…it will survive the environment and was dimensionally correct for the design.
To give just the slightest amount of finishing to them I rounded all exposed edges with a 3/8″ radius router bit. It actually really cleaned up the rough looking fence board edges.
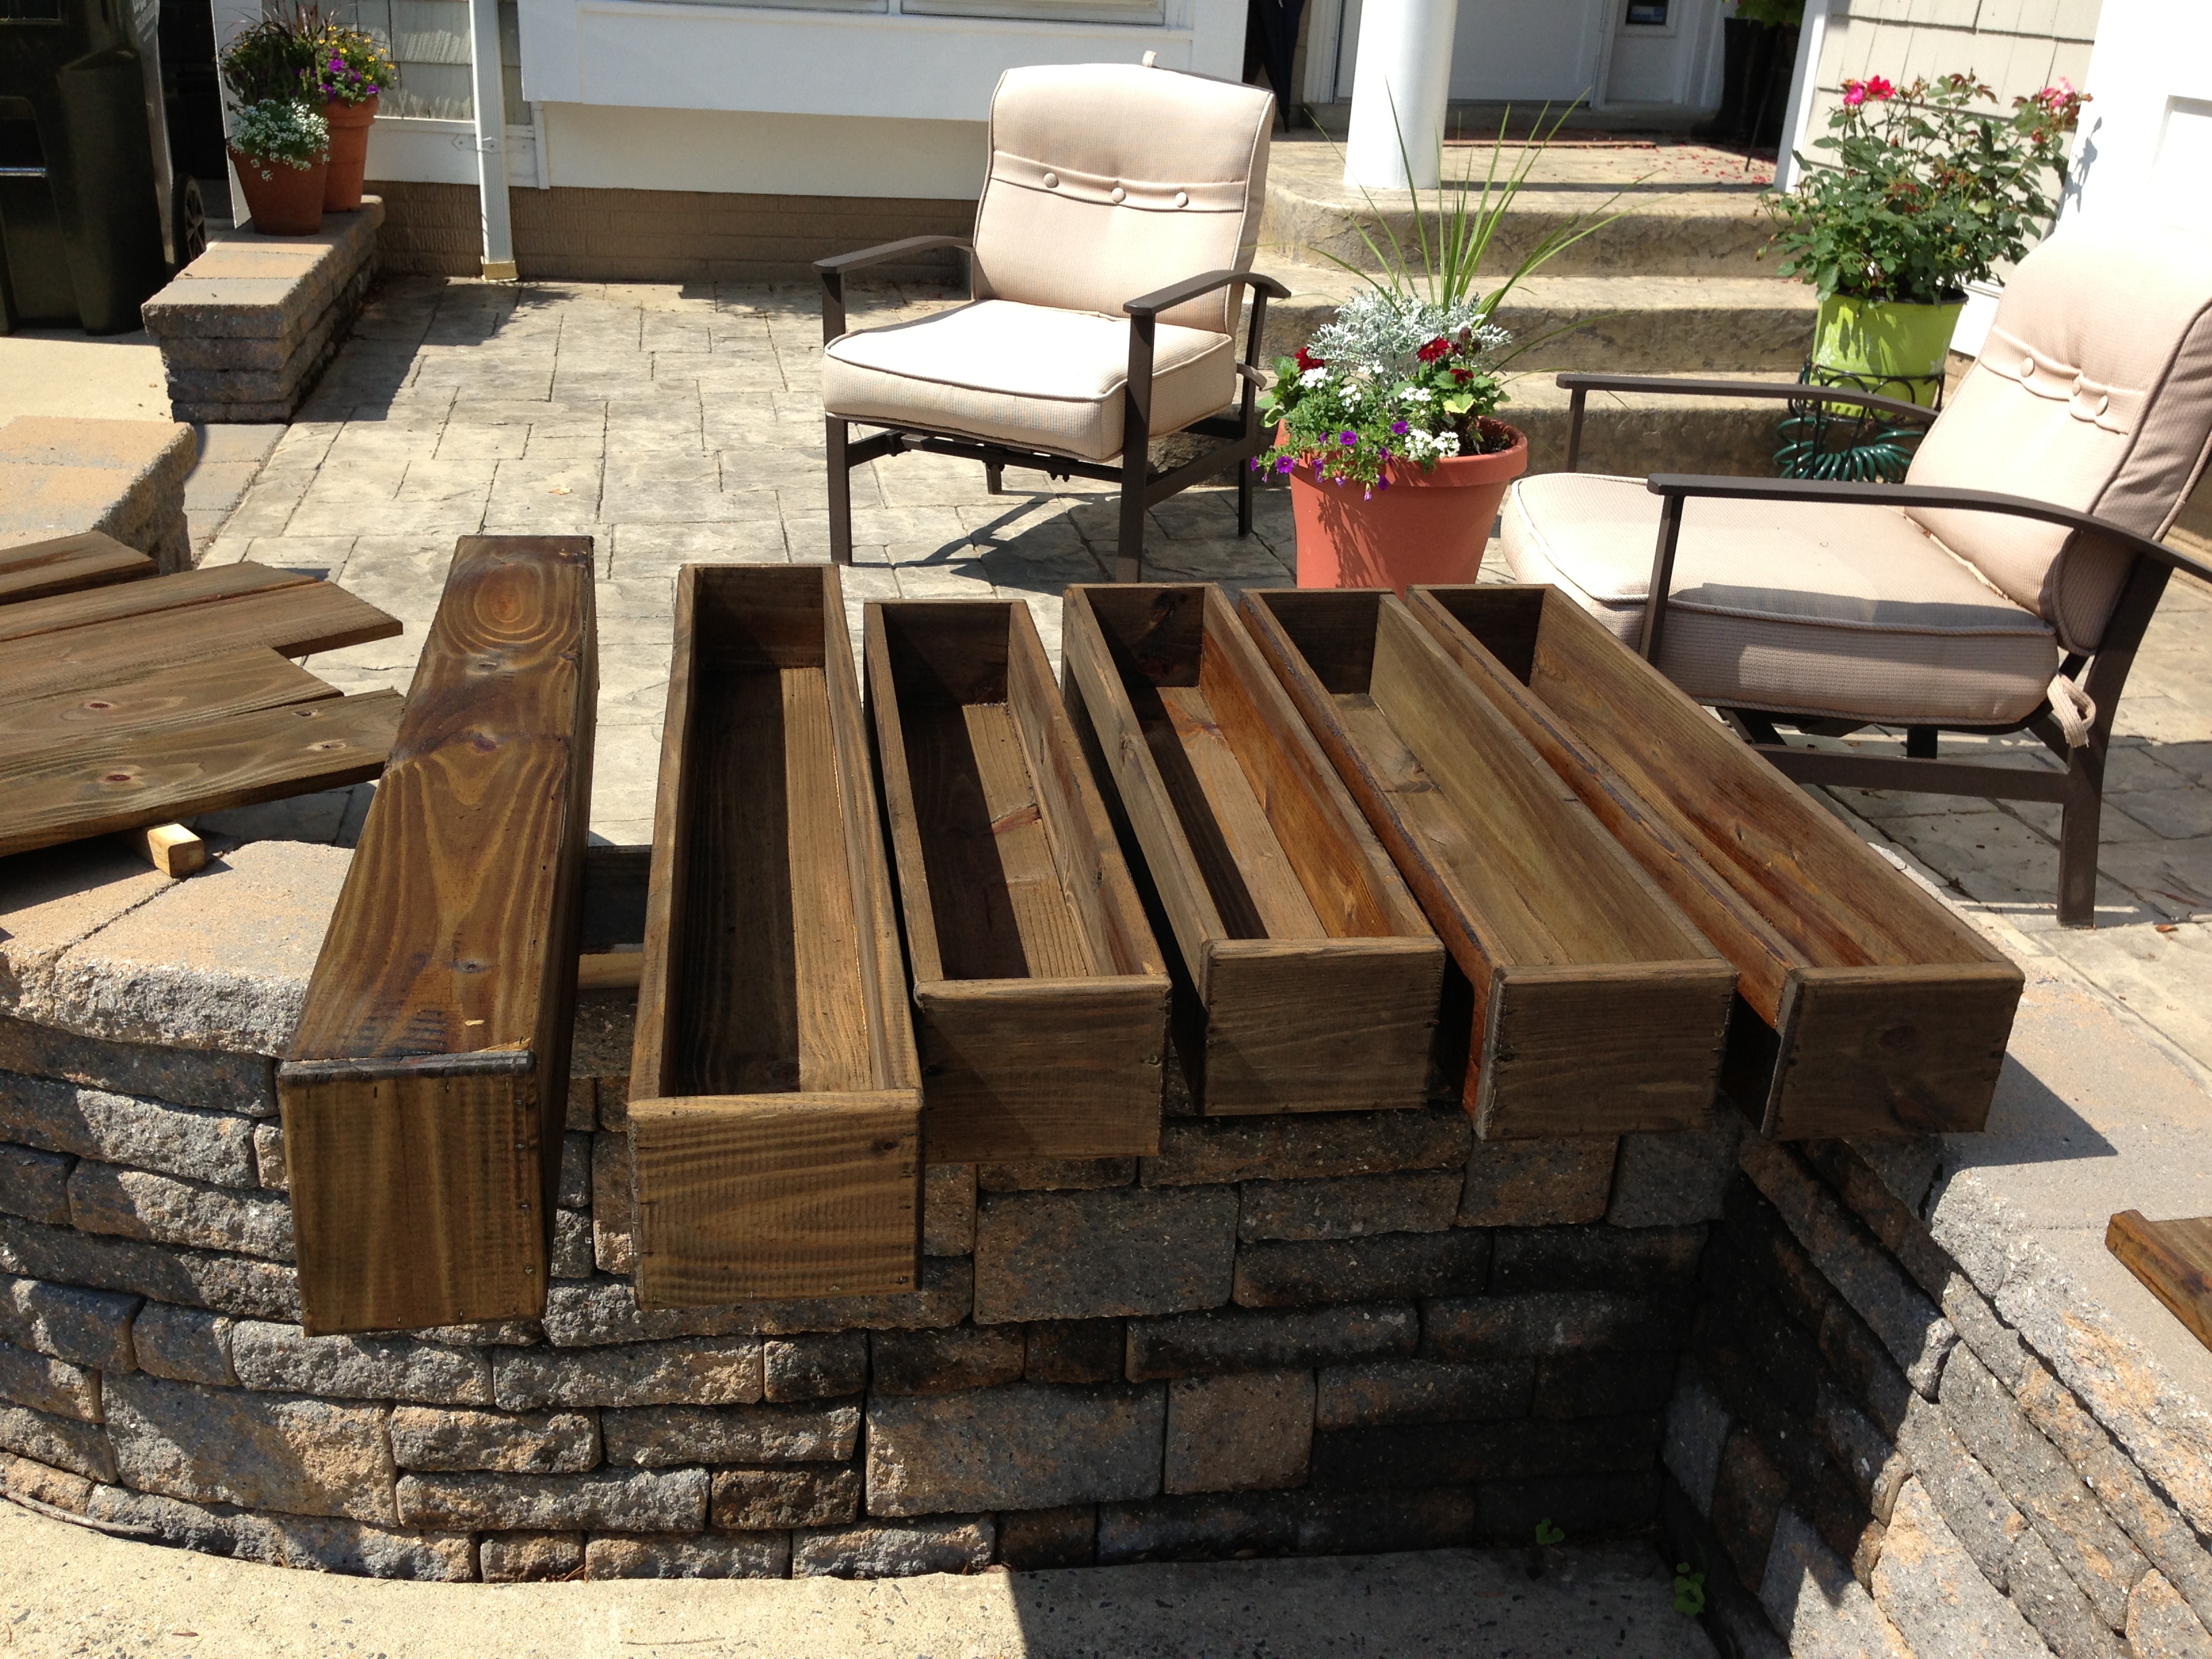
I also selected boards from the lumber yard that were relatively dry which allowed me to sand each of the boxes with some 120 grit sandpaper on my palm sander and also knew they would take stain evenly, all in the same day.
I maximized my wood usage by simply cutting in half the 8′ and 6′ fence boards to create the 3′ and 4′ flower boxes. To avoid having to rip any of the wood, I fit the sides outside the bottoms and made end caps by cross-cutting the stock and fastening it so that the board widths were all aligned. I placed the end caps on the ends and not inset to remove any opportunities for the sides to pull way from the ends with expansion, load, or weather.
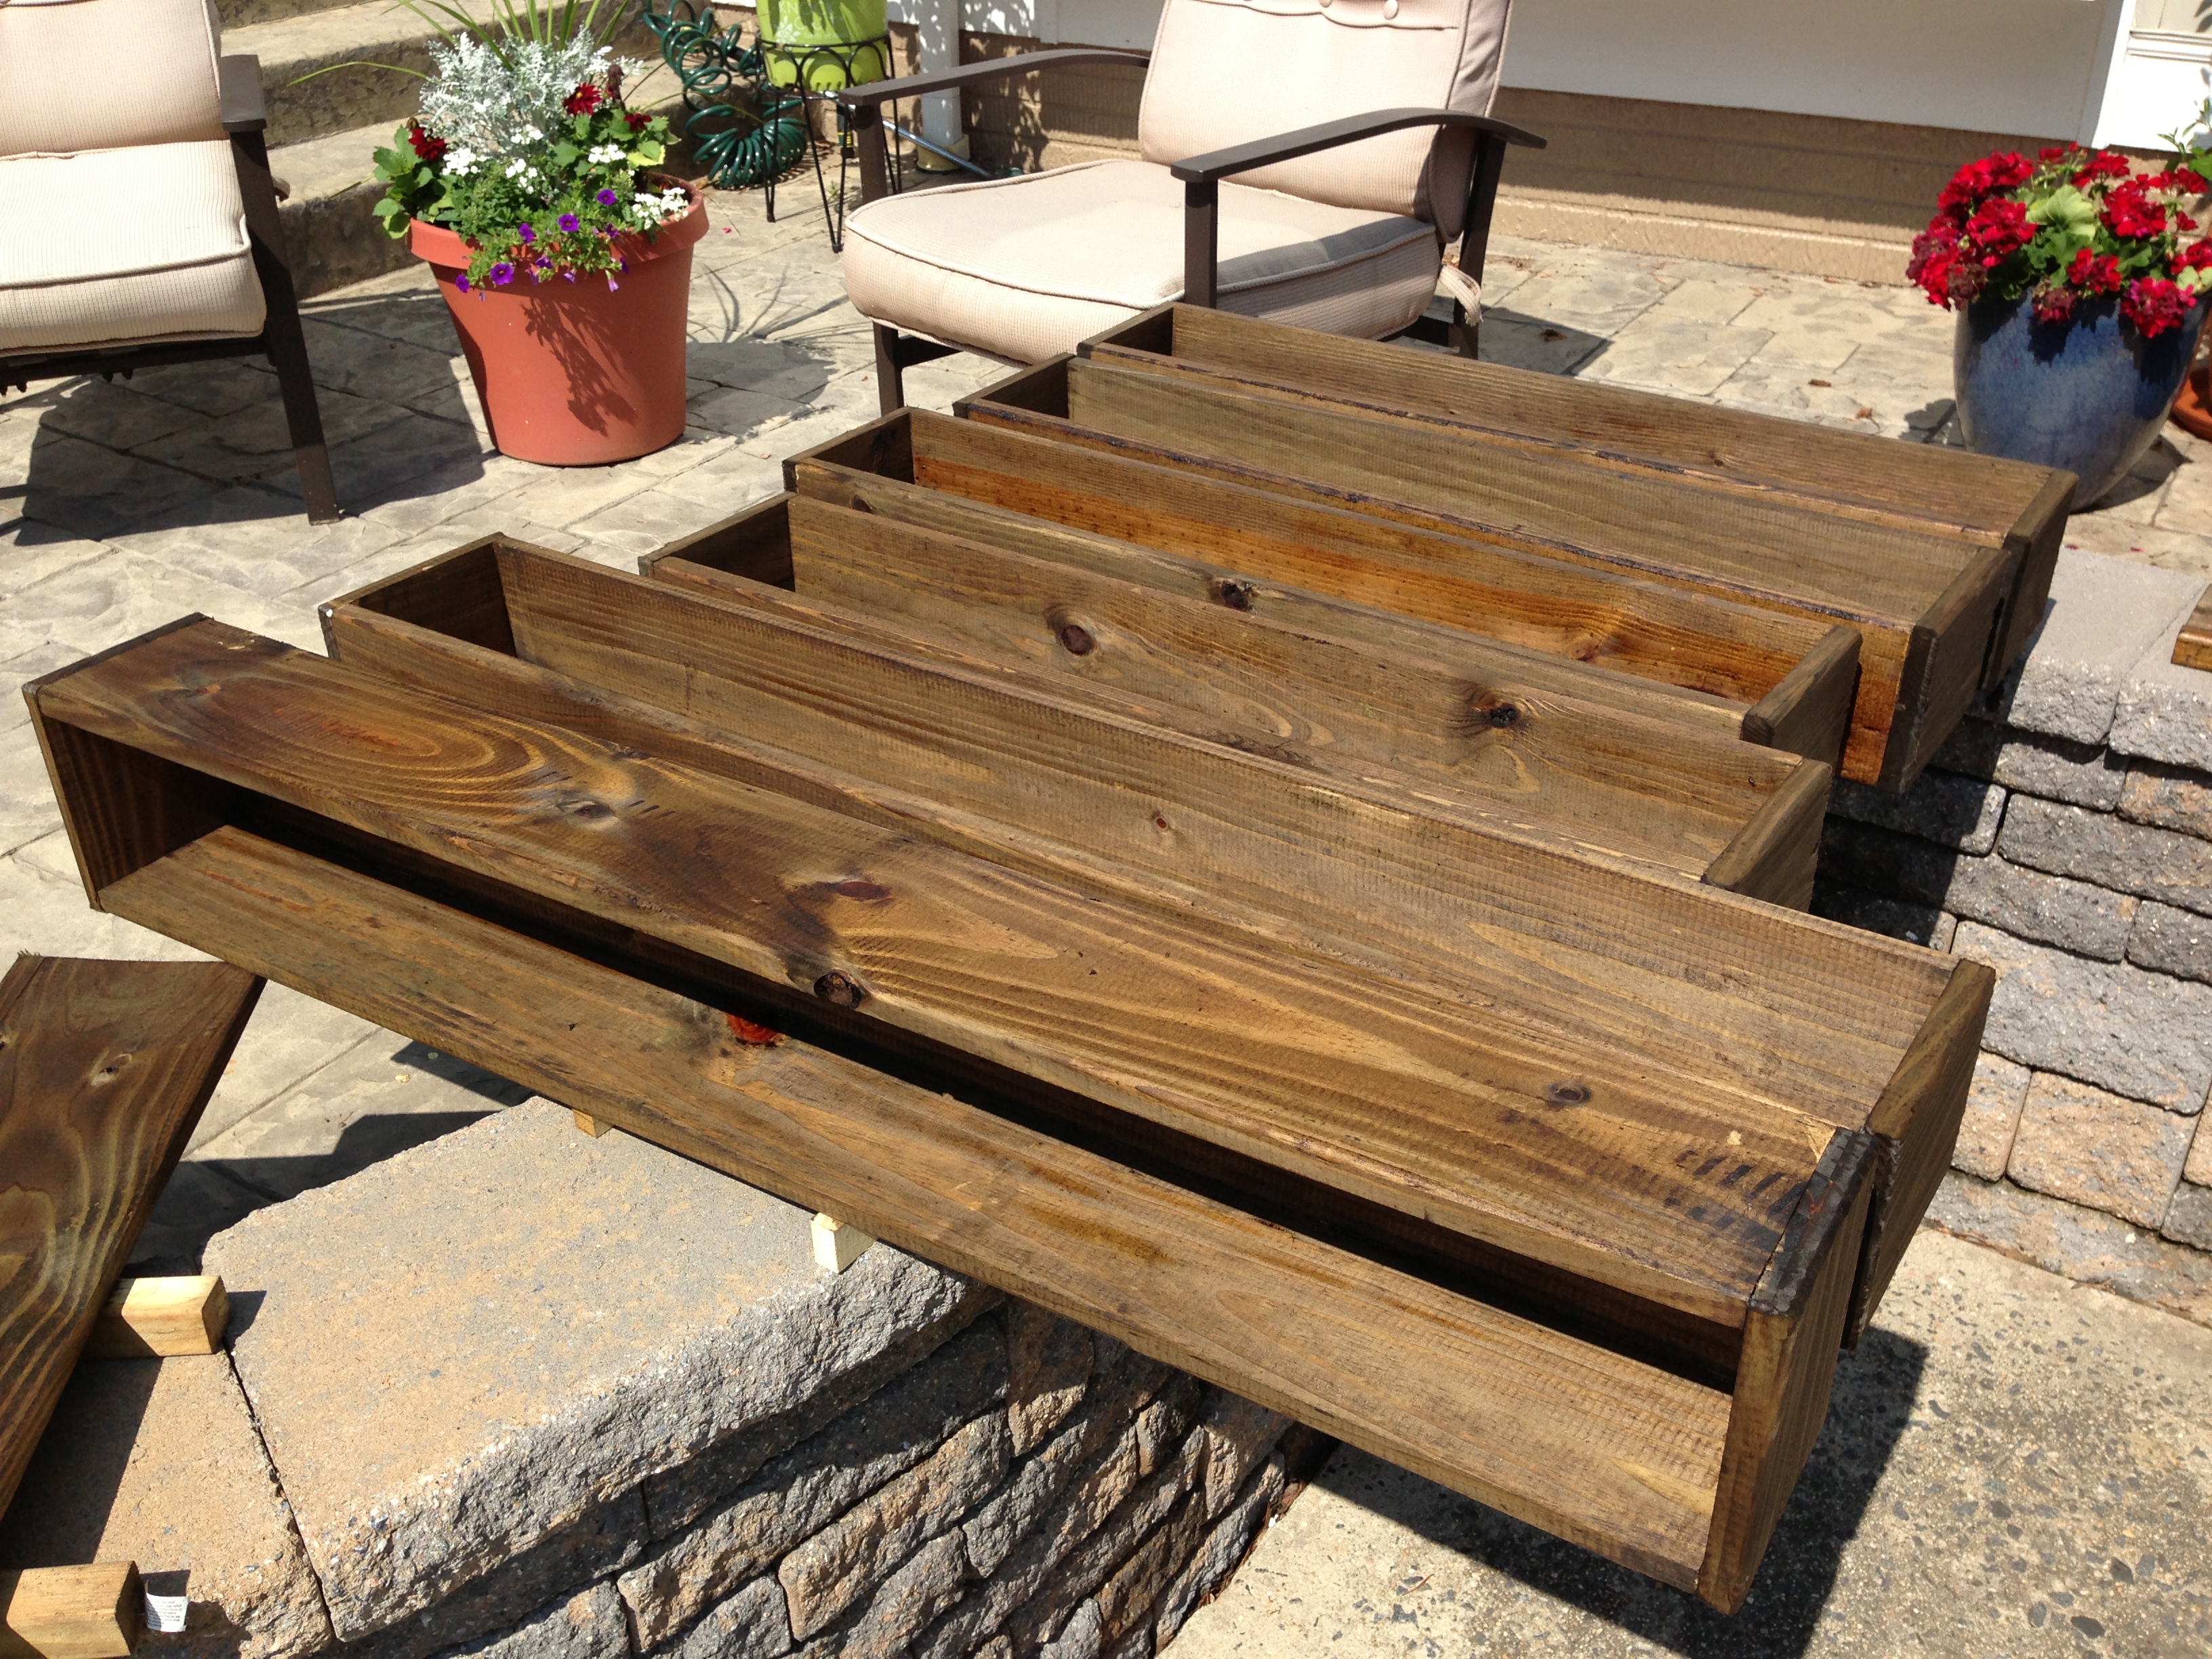
I finished each box with a mixture of Thompson’s Deck Sealer and Jacobean stain at a ratio of 4:1.


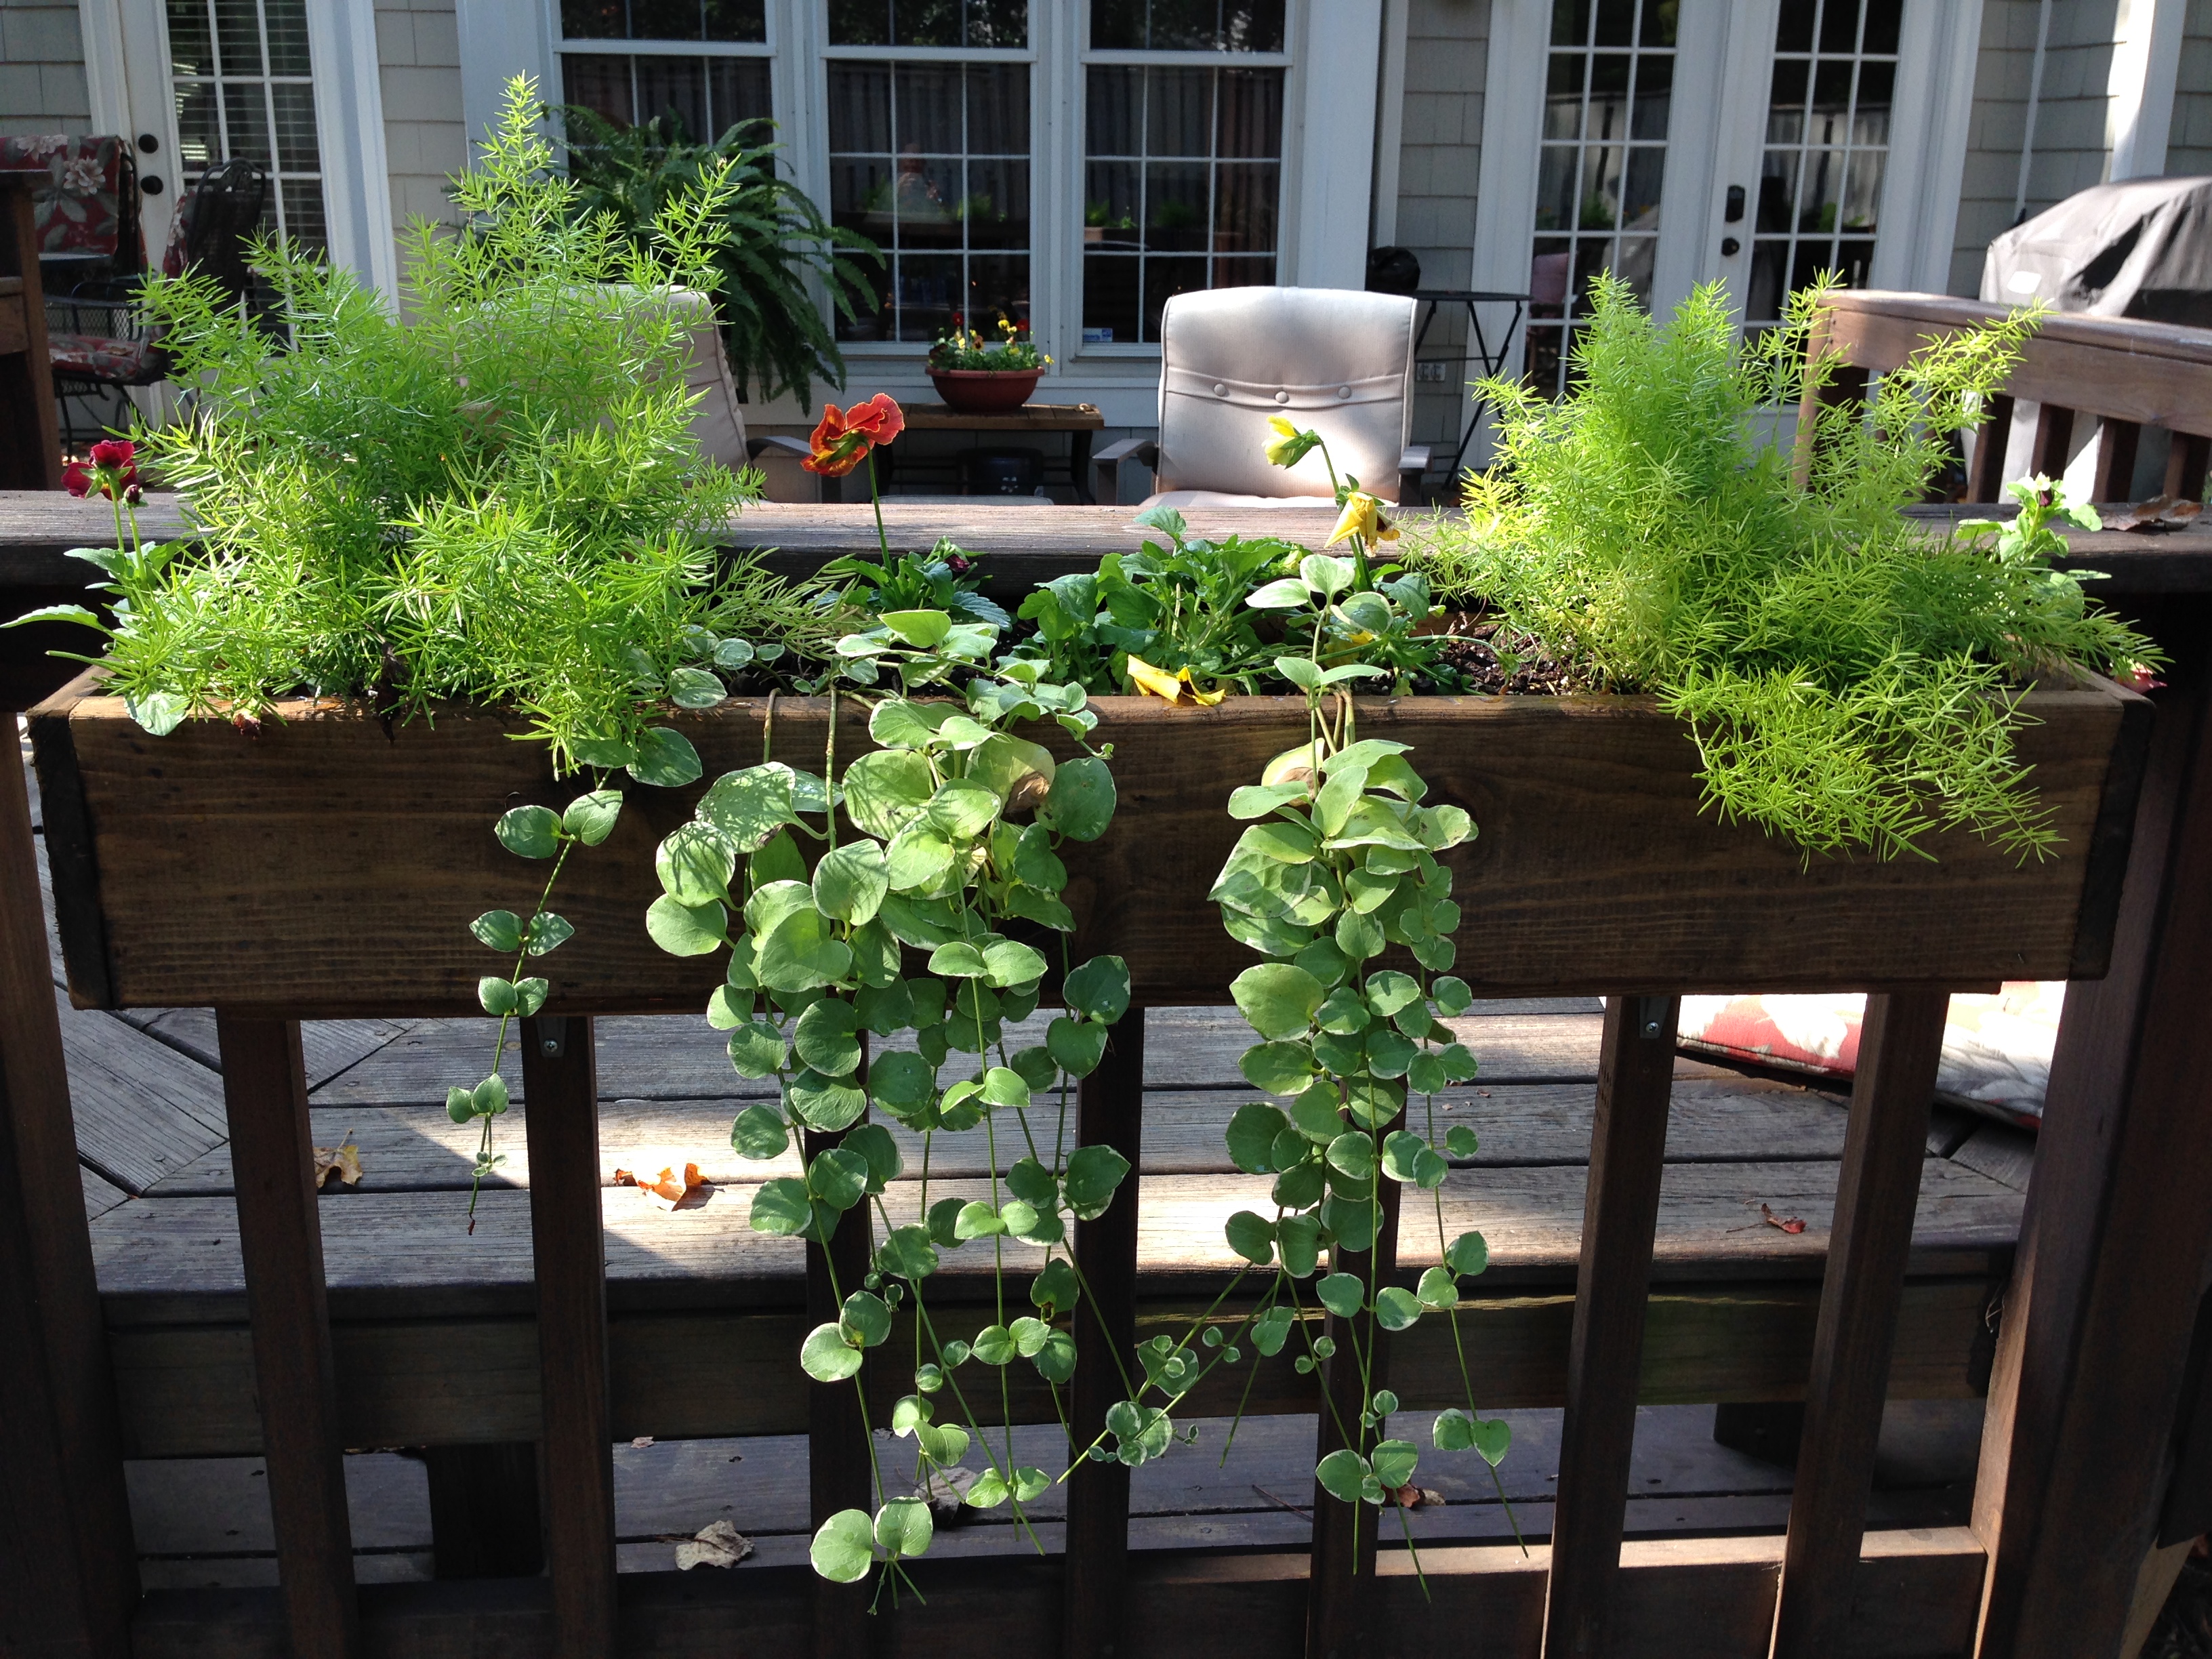
Finally, I constructed platform shelves to hold the boxes and provide a method of mounting the boxes to the railing. Past experienced taught me that the boxes are heavy and don’t always stay mounted as desired but more importantly, it is a lot easier to prepare and plant the boxes when they are not already on the railing. This design allows the boxes to be completed at the planting bench and then carried to the shelf for mounting. It also allowed for the boxes to be rotated to different places and easily removed at season’s end.
I estimate that each box cost roughly $10 in materials not including the stain and Thompson’s water seal that I already had on hand.
At the end of the season I may take the boxes down and store them under the deck….or I may just leave them where they are. I guess we’ll see next year how well they hold up in either situation.
Overall, I think we were quite satisfied with the utility of these planting boxes and certainly know that we couldn’t have purchased anything close in quality, function or integration with the rest of our deck for three times the price.


