My sister successfully won the internet auction of an old painting of sandpipers on the beach. The media….oil on plywood. Just my style! The painting is intended for either the mantle or a hallway wall at Cricket Cottage. It just needs a frame. The painting style and intended destination lead to a rustic frame solution. Did I mention that I have some old barnwood? Yes I thought so. I let her shop through my lumber supply to select a couple of boards that met with her vision. We met at my shop on the agreed upon project evening and got started. This was a pretty basic project. Select the lumber. Agree on the frame width. Rip the rough stock. Layout the dimensions. Cut the lumber and miters. Add some rabbets to hold the picture. Assemble the frame and mount the picture.

Note the only challenge…. This lumber had 100 years of aging and we didn’t want to lose any of it. No planning, no sanding, no finishing. The original wood had to stand on its own. It should be easier, but it wasn’t. First, we knew that each cut would expose wood that would look different from the existing patina. Second, the wood is old. It’s not perfectly flat nor straight. Selecting pieces with that had character but would be workable was key. And finally like all of my projects the total project duration had to fit in my allotted schedule. In this case two hours.
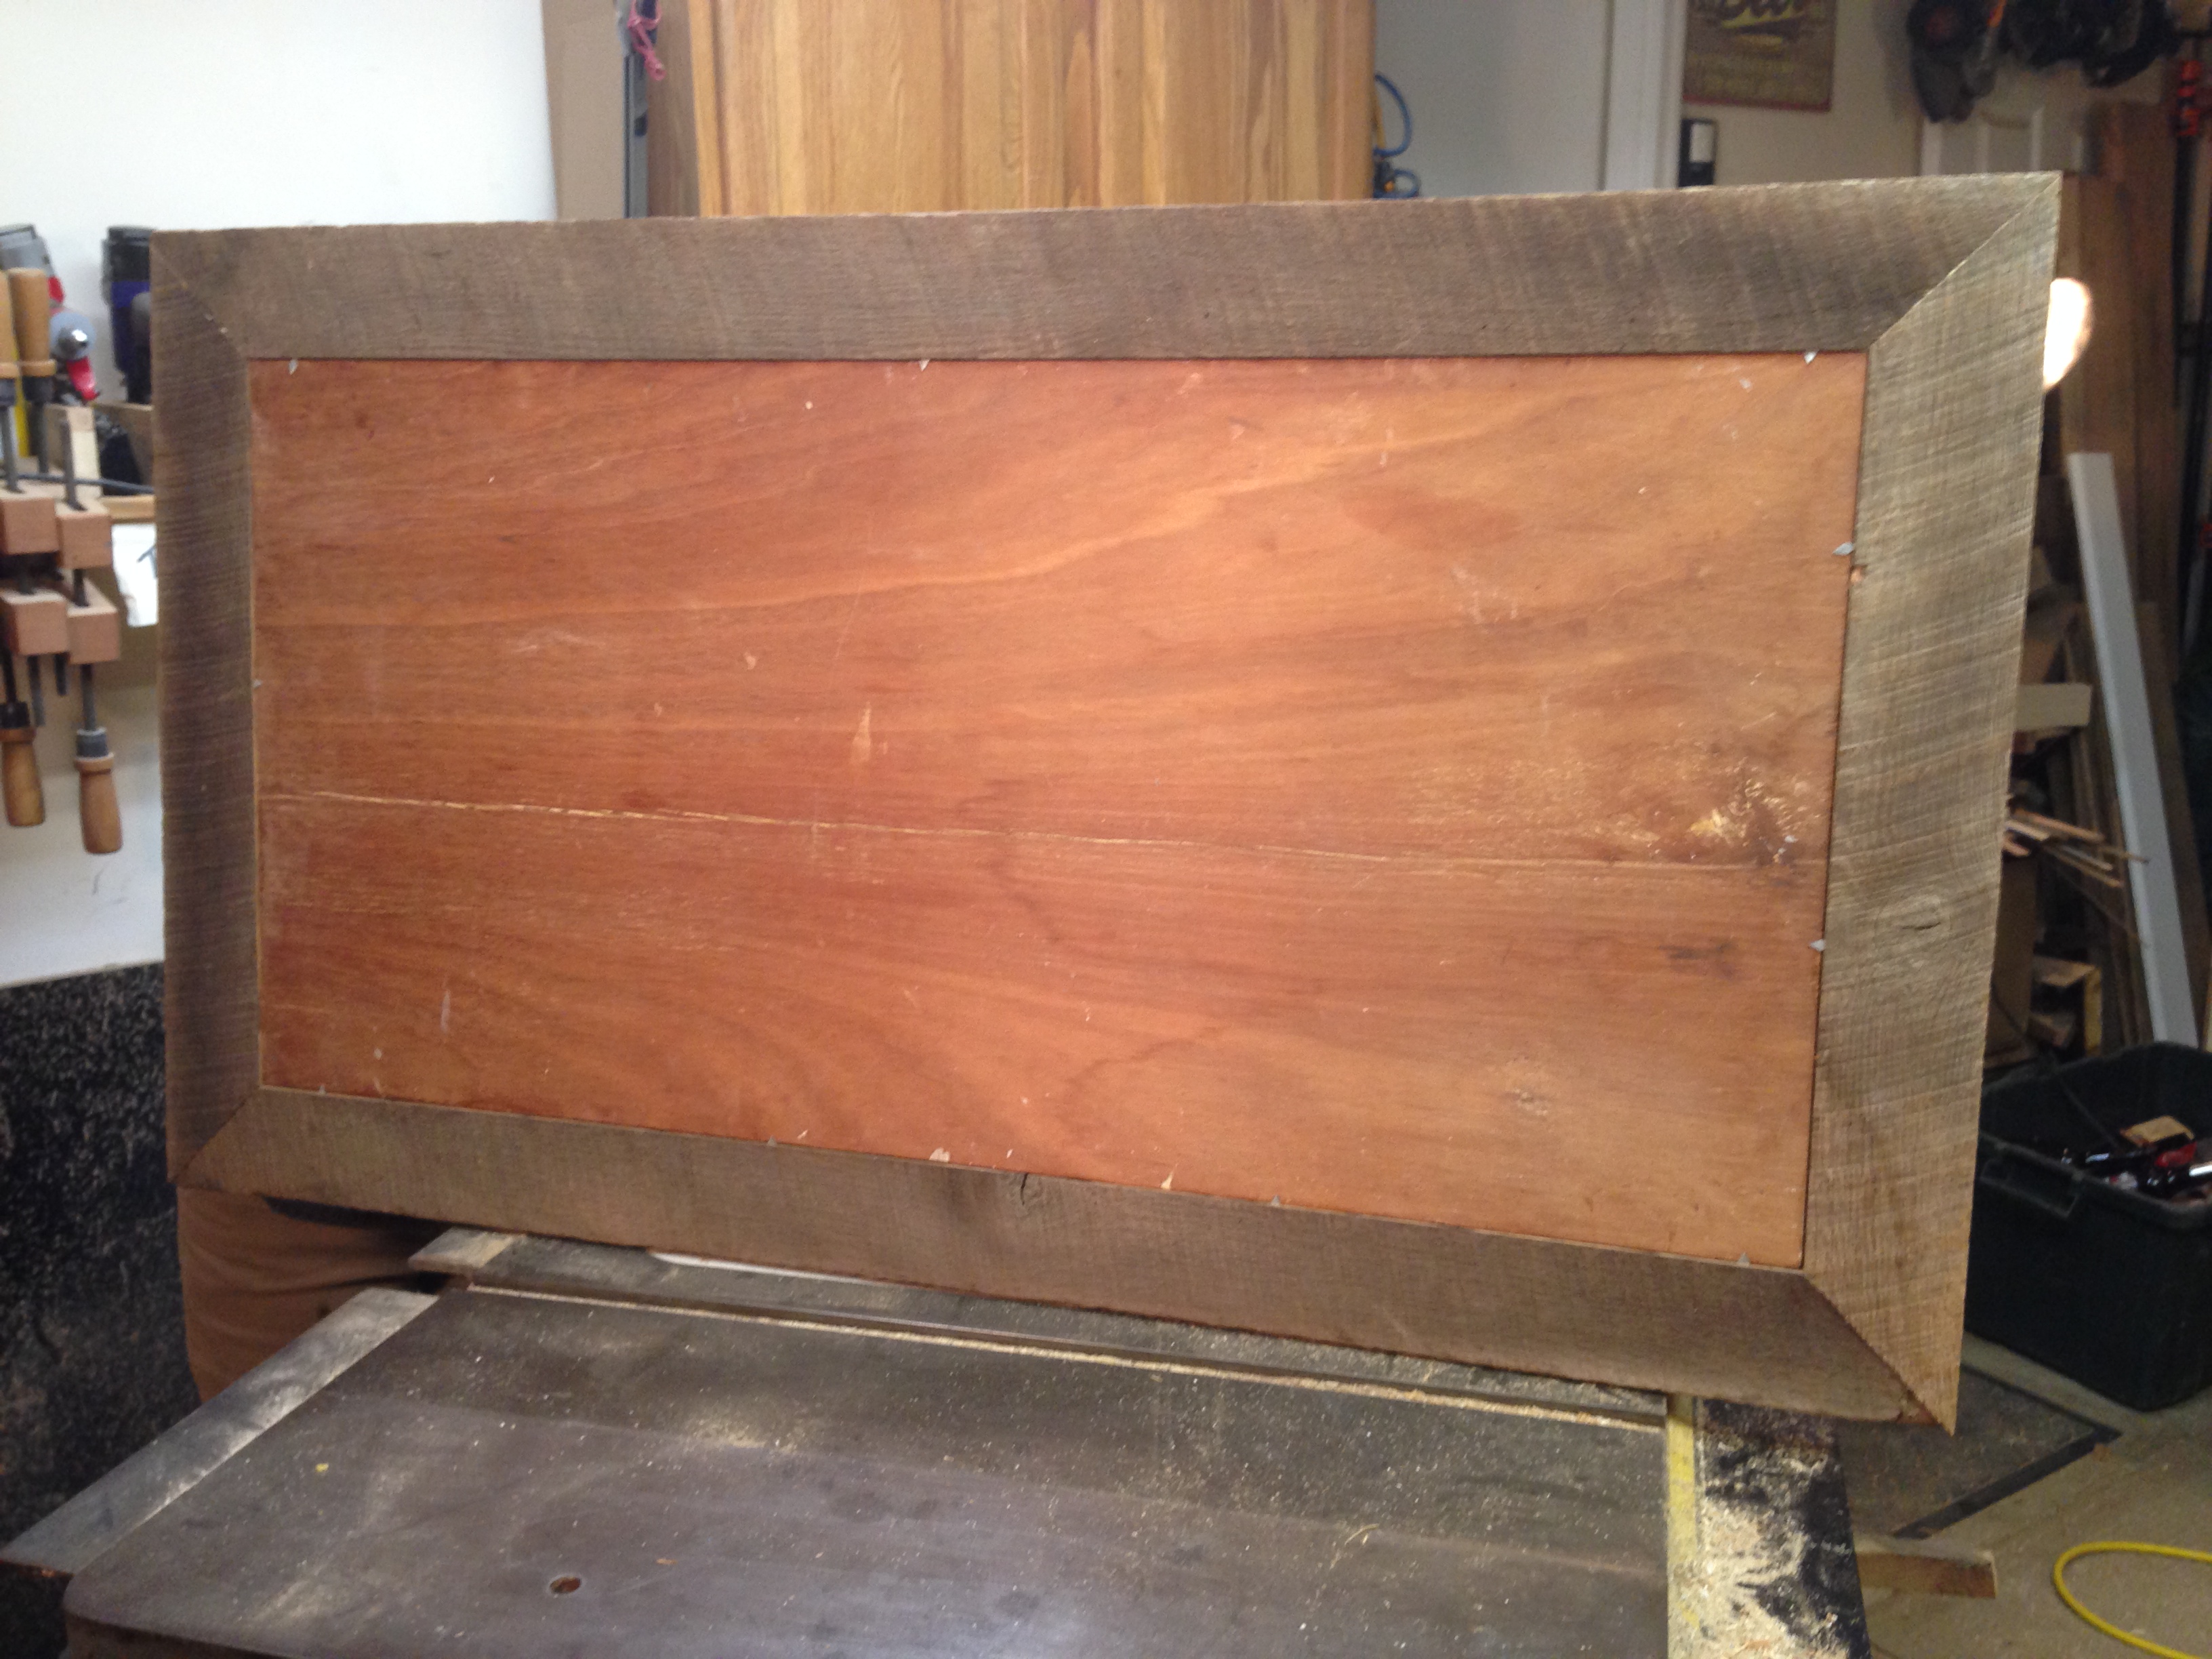
We ripped each board down the middle to create matching opposing sides. Ripped edge would face the inward towards the picture and perhaps get a little stain to age it. Once we had selected which side would be the face, we added a very narrow rabbet to the back side to hold the picture. My sister wanted to hide as little of the picture as possible so we made the rabbet minimal and also made sure there was so slop in the fit of the picture and frame. We confirmed the dimensions, if not twice, three times and cut our miters. We dry fit the pieces, made some small adjustments to the miters, refit the pieces, then glued and clamped. A couple pin brads secured the corners while the glue dried.
Thirty minutes later, we returned to mount the picture.
Now the final step. We placed the picture face up on the table saw and removed about 1/8″ of the top of the picture so it would fit in the frame. Yes that’s right we cut down the picture on the table saw so that it would fit in the frame. We might have been a little too exacting in our frame sizing and left no room for error. I didn’t see it as much of a problem. We made a clean cut on the picture. My sister suggested that we should have made the frame fit the picture, not the other way around. She was probably right. I am just glad that we weren’t framing the Mona Lisa. First no eyebrows, then no forehead. It wouldn’t have been good. Nonetheless the end result was satisfying. We achieved the desired rustic effect. Maintained the original stage of the barnwood. Had a few sibling chuckles. And created a piece that will look great in their bayside cottage.


