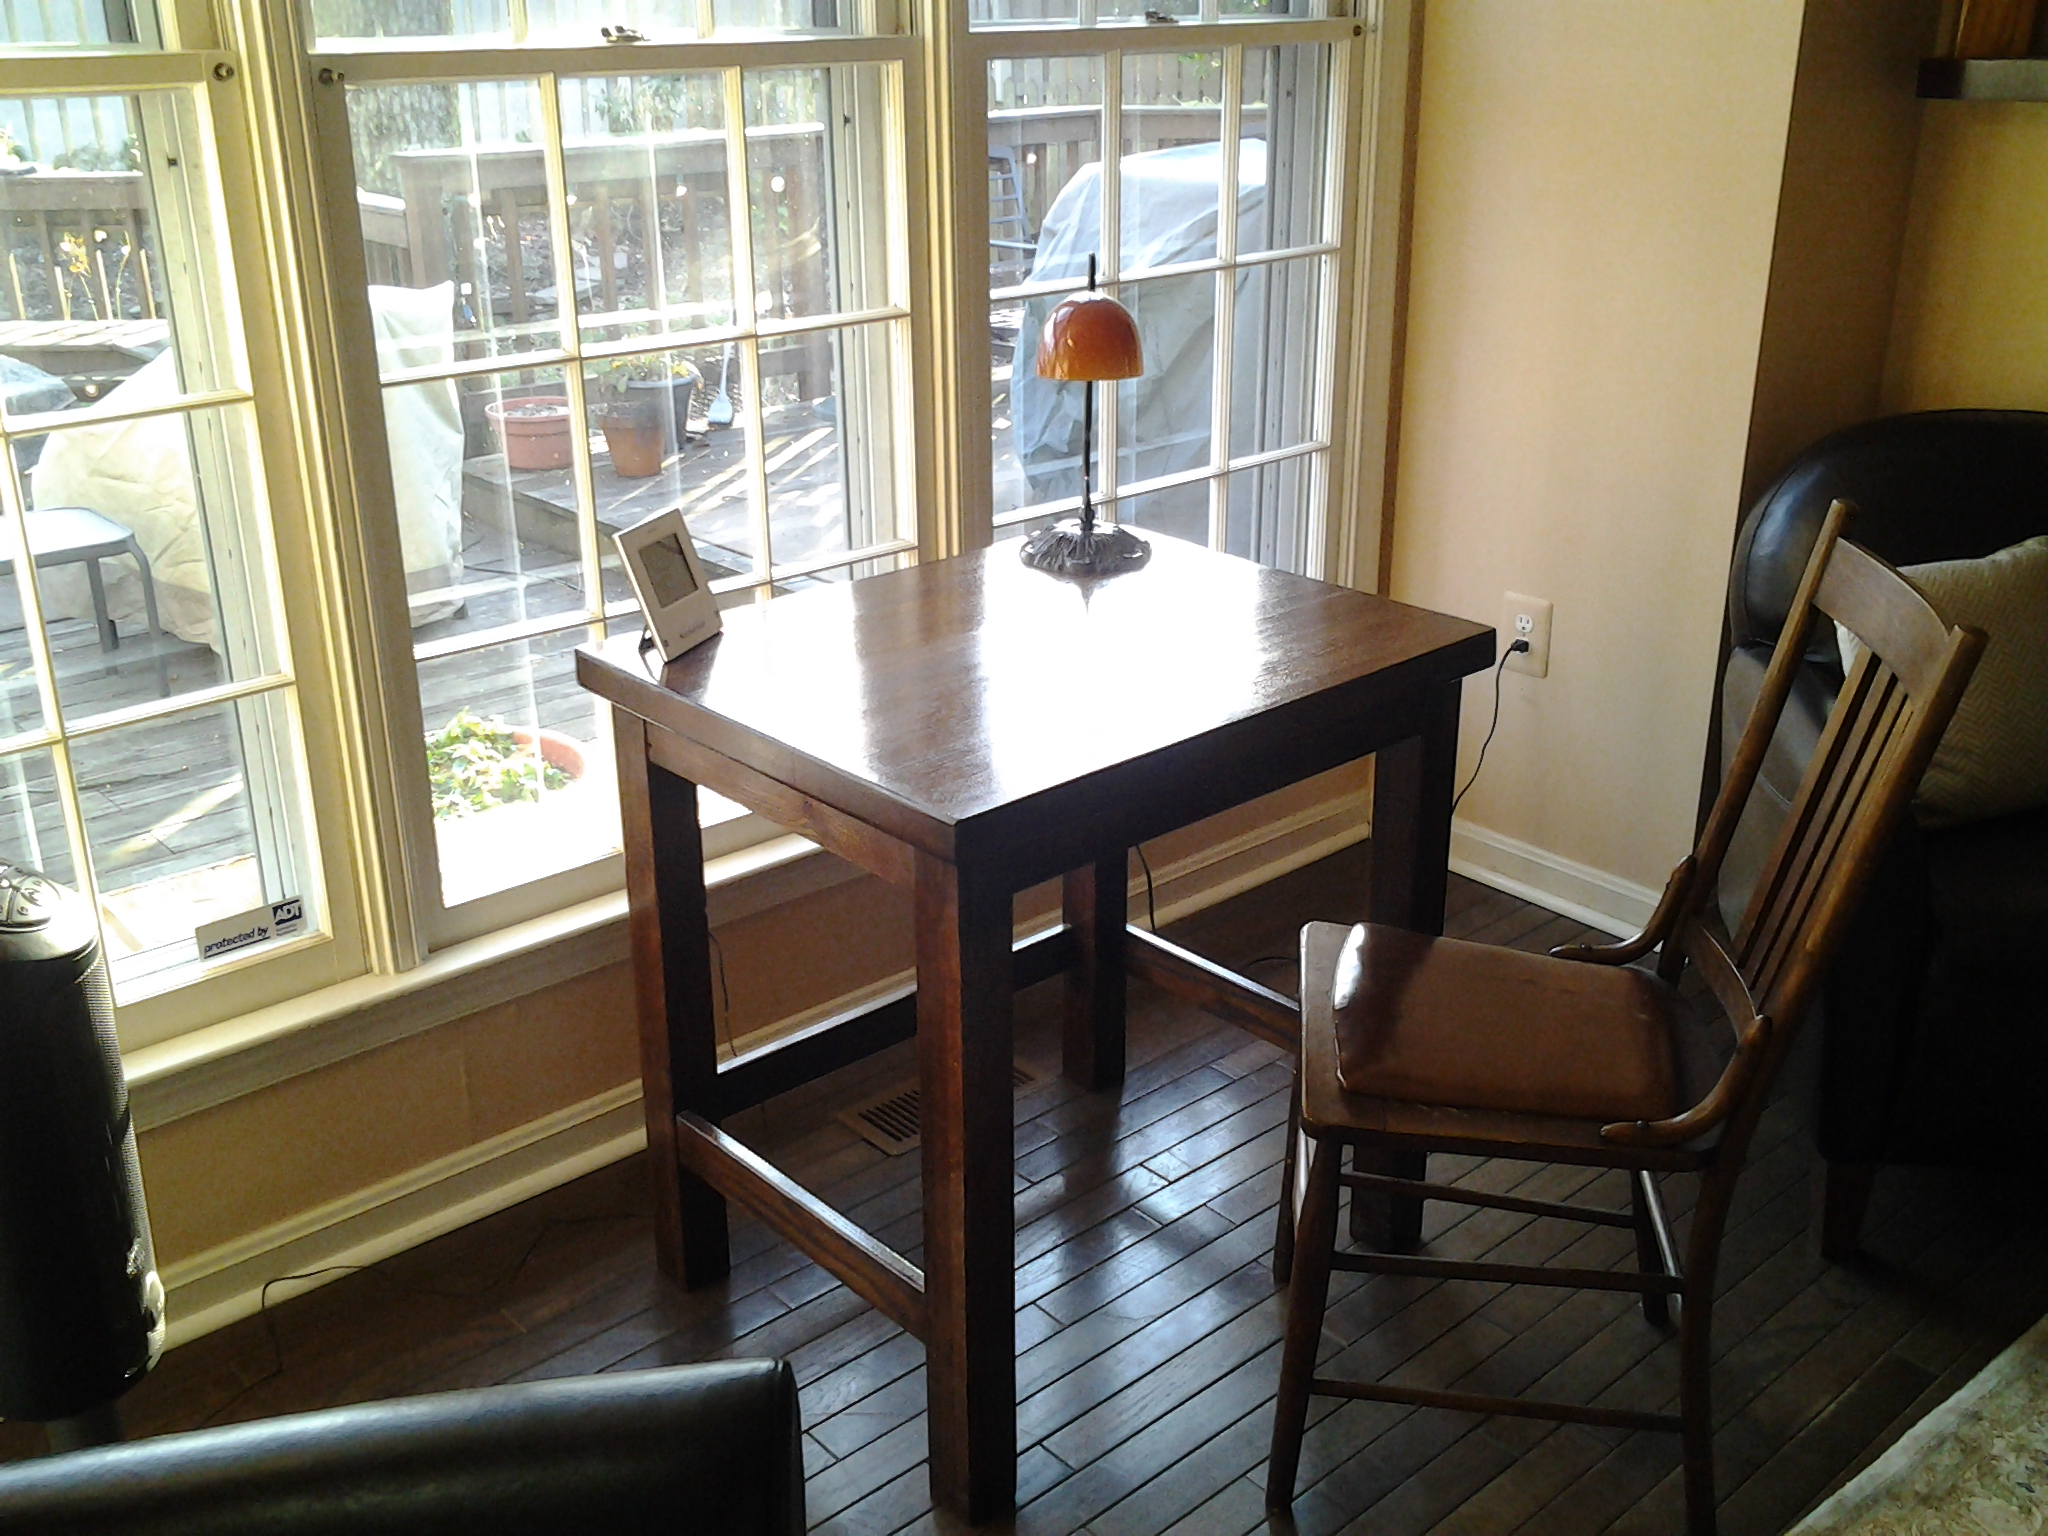
I have had a small computer desk on my list for a while but have been waiting for the right opportunity to start the project. The desk will be used in our first floor office library in front of our three bay windows overlooking the back yard and deck. The design of the desk needs to be open and not too large so as not to block the window or look too massive for the space….just big enough to hold a laptop and a few papers.

I had saved a 24″x30″ café table used as a set piece in past theater set that I had designed that I thought would be perfect as a desk surface once it was cleaned up and the original finish sanded off. I wanted to build the base using mortise and tenon joinery, giving me a chance to tune up my equipment and technique.
This project wasn’t on the top of my list but quickly moved to first when I learned that my uncle Gayle, who helped me to learn many of my woodworking skills, was visiting for the week. Together we would lay out the plans for the base, set up the mortise tenon tools, and have a few laughs along the way.
As with each of these reclaimed lumber projects, the first step is to go to my inventory of wood and select the pieces that we will use. The four legs for the base were planned to be made by gluing up three boards of similar thickness, then cutting them in half to 28″, ripping the boards down the middle to create four rough legs and then trimming the excess to size.
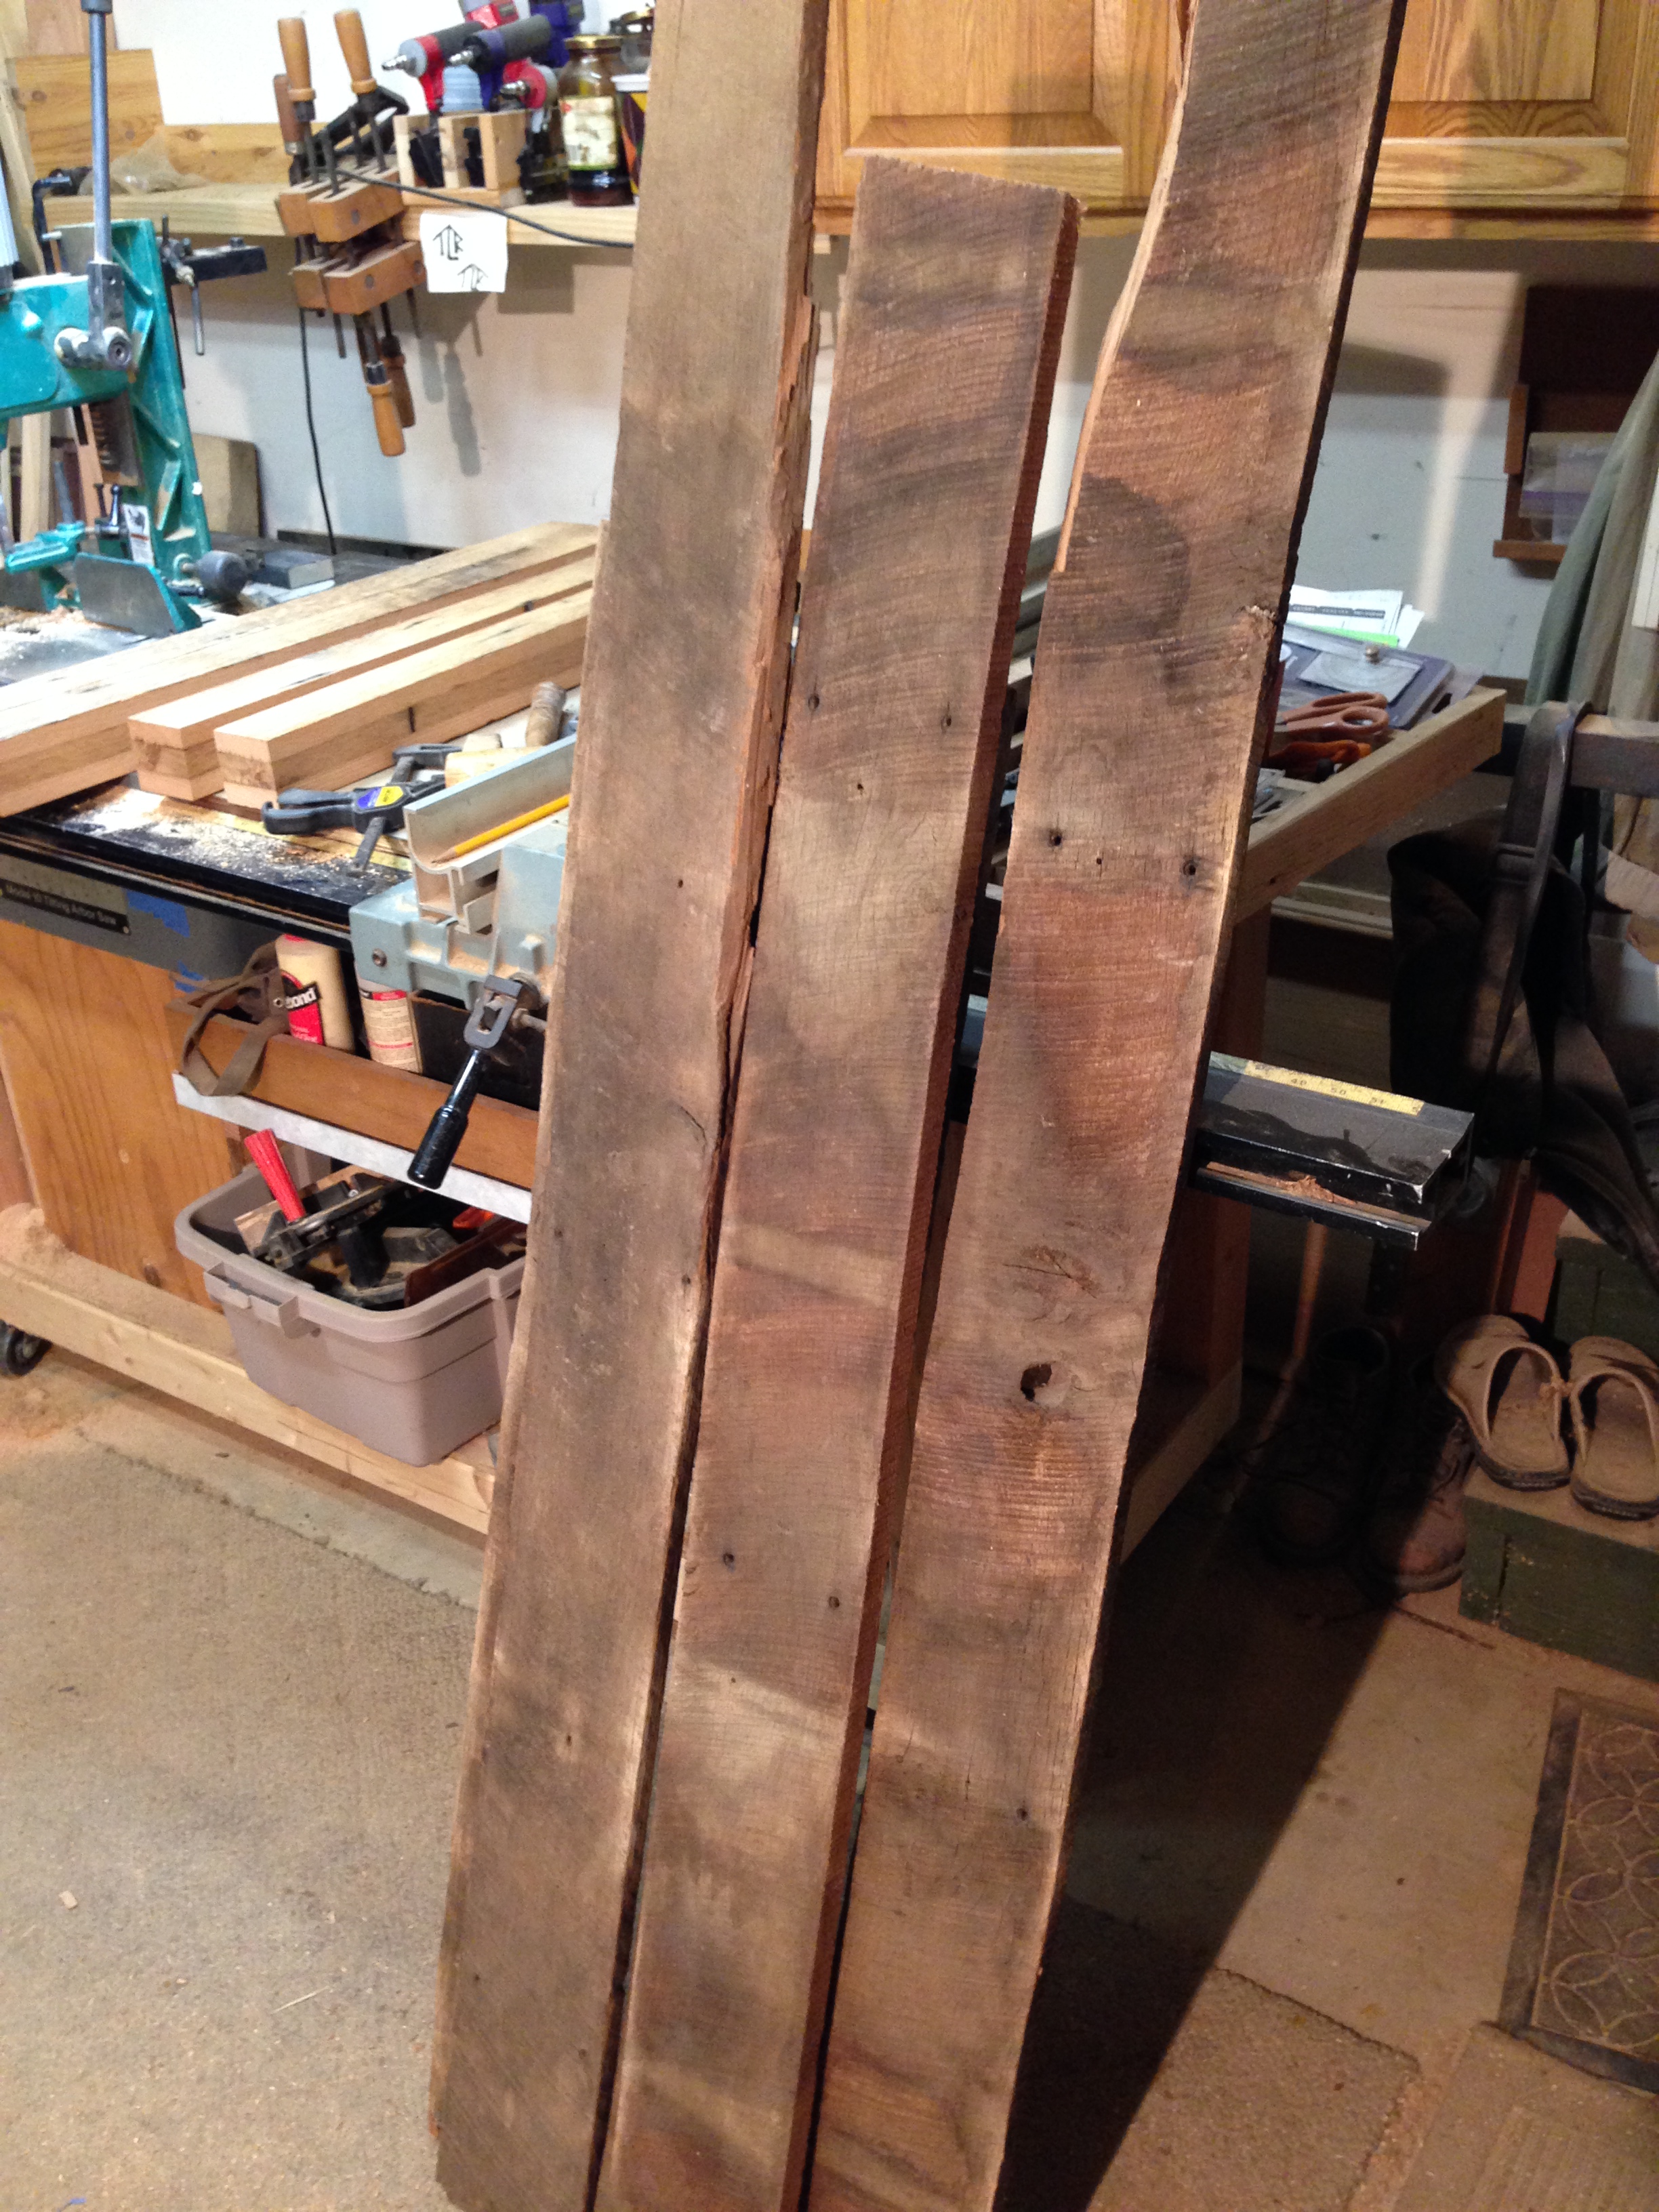
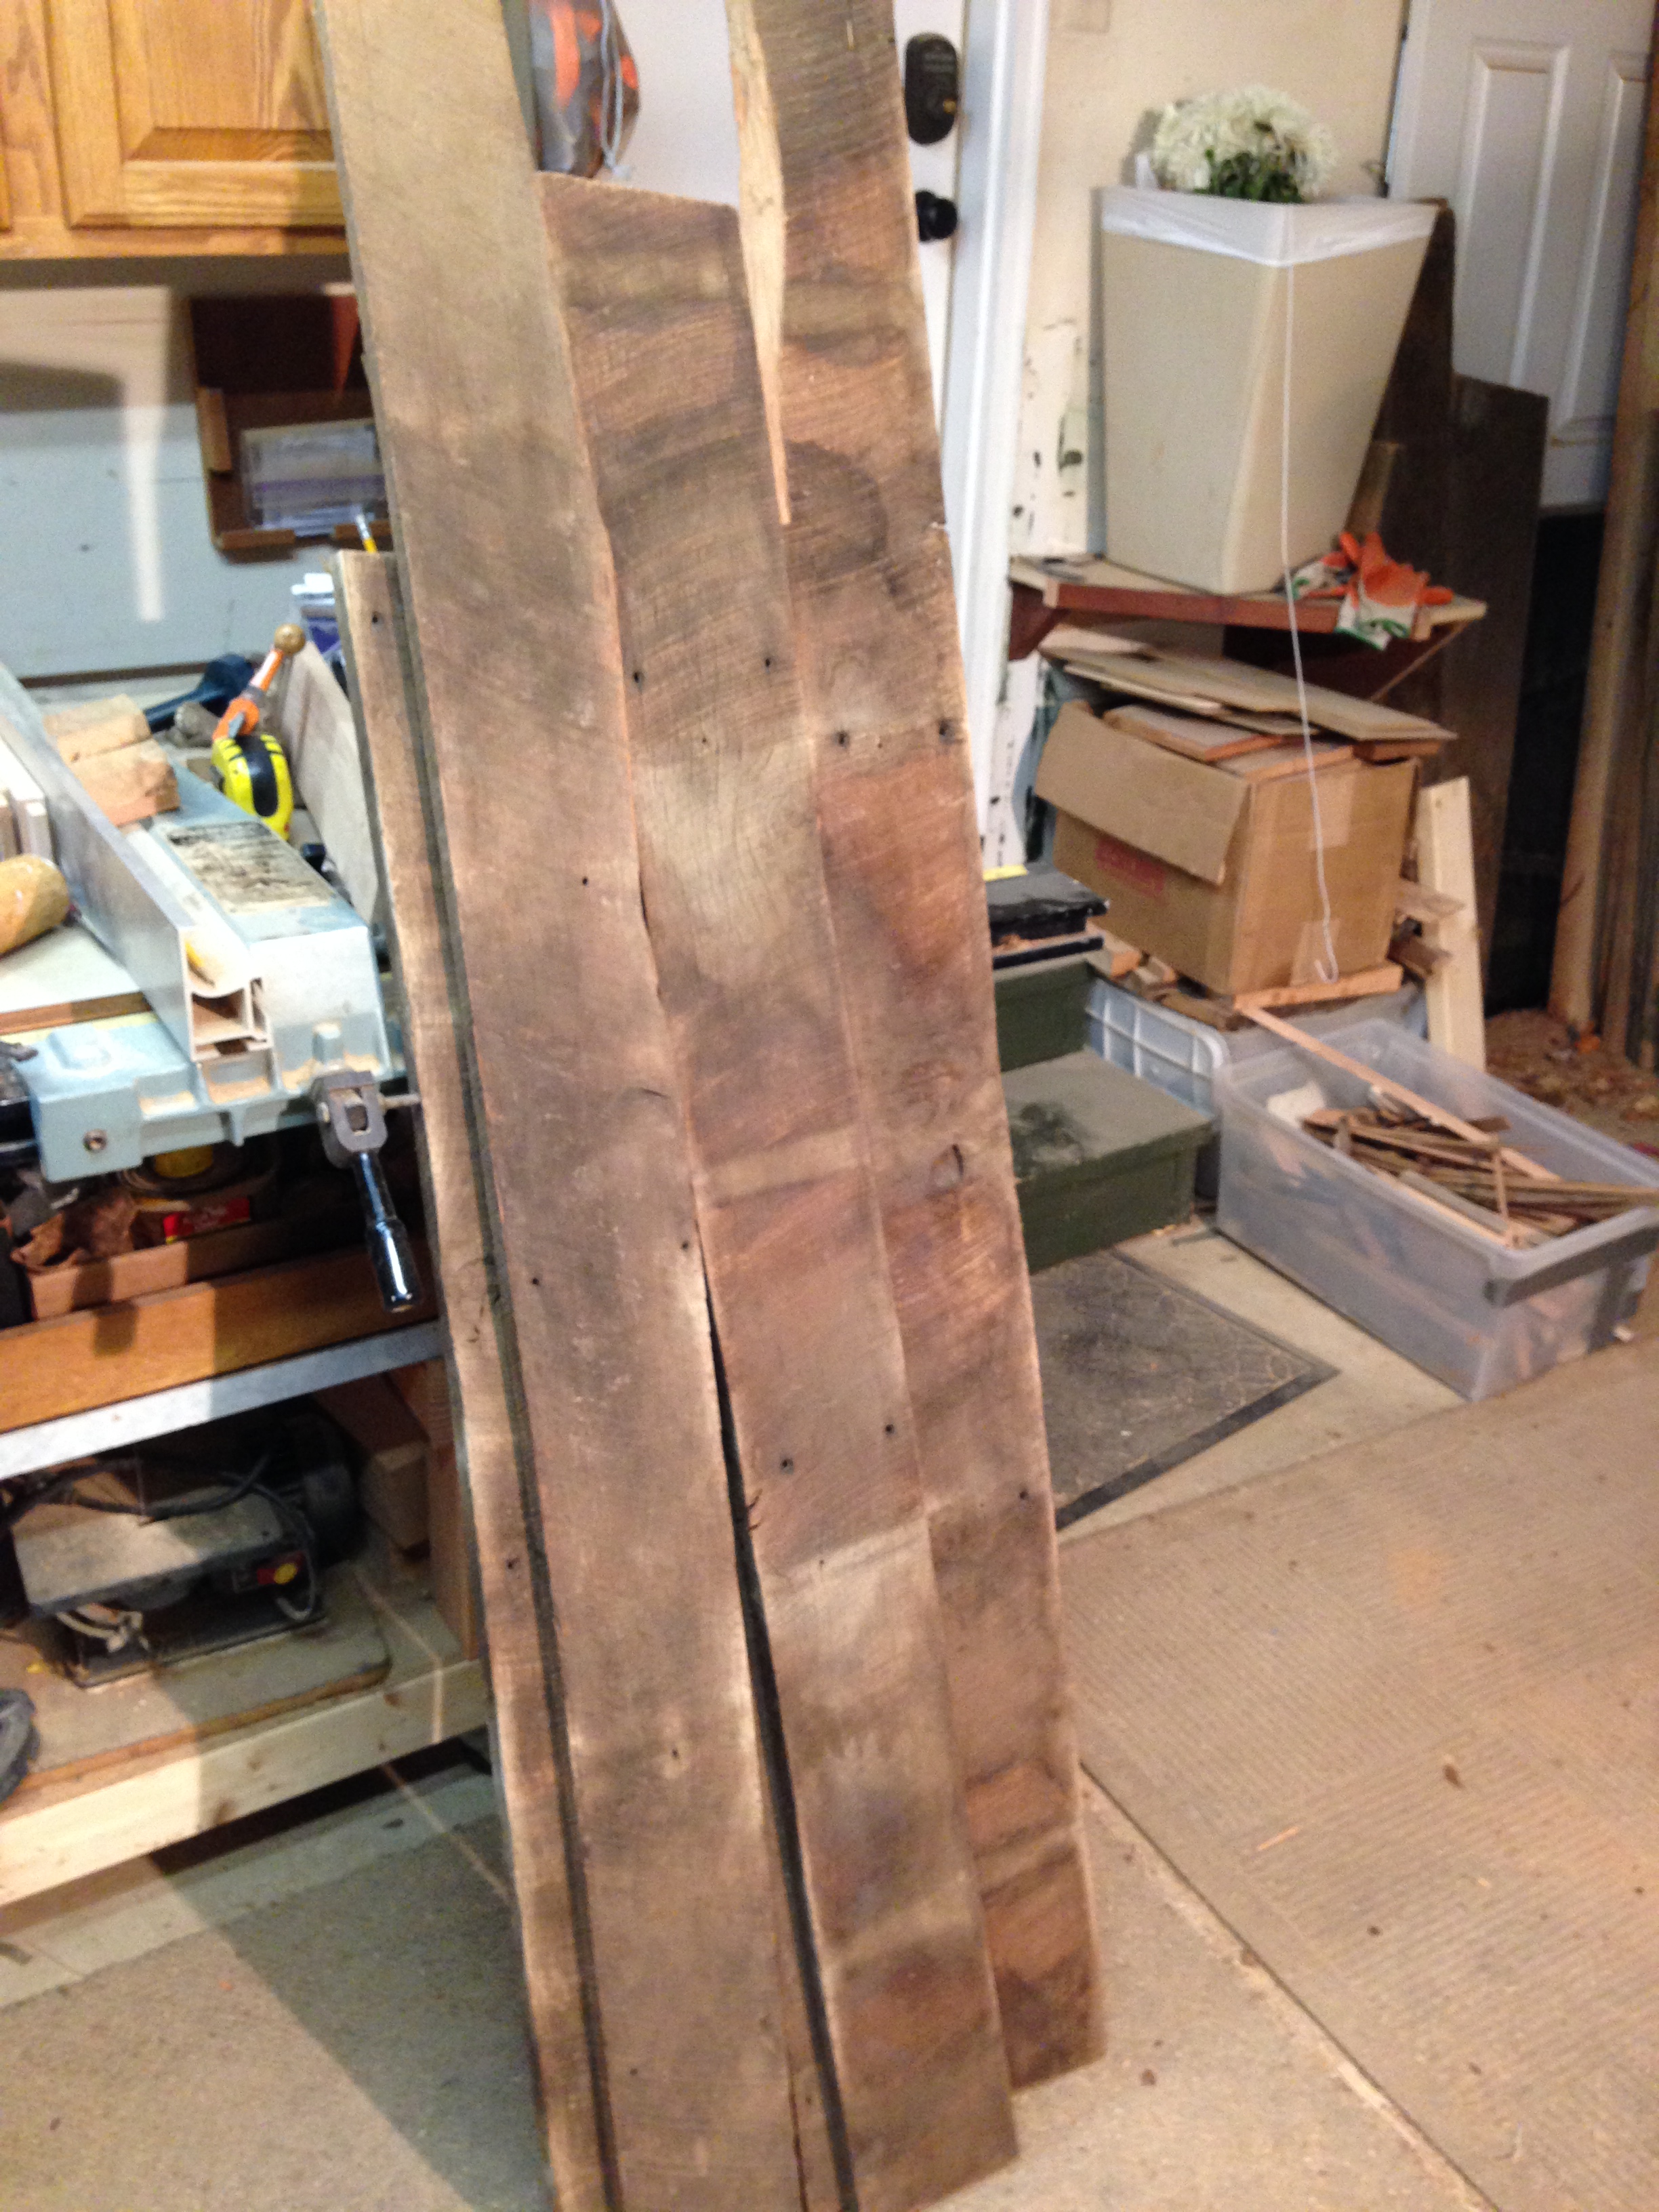

Oak barn wood cut to rough dimensions
Additional lumber was selected for the stretchers between the table legs. All of the lumber was planed to clean up the faces before glue up and to get the wood to a common dimension.

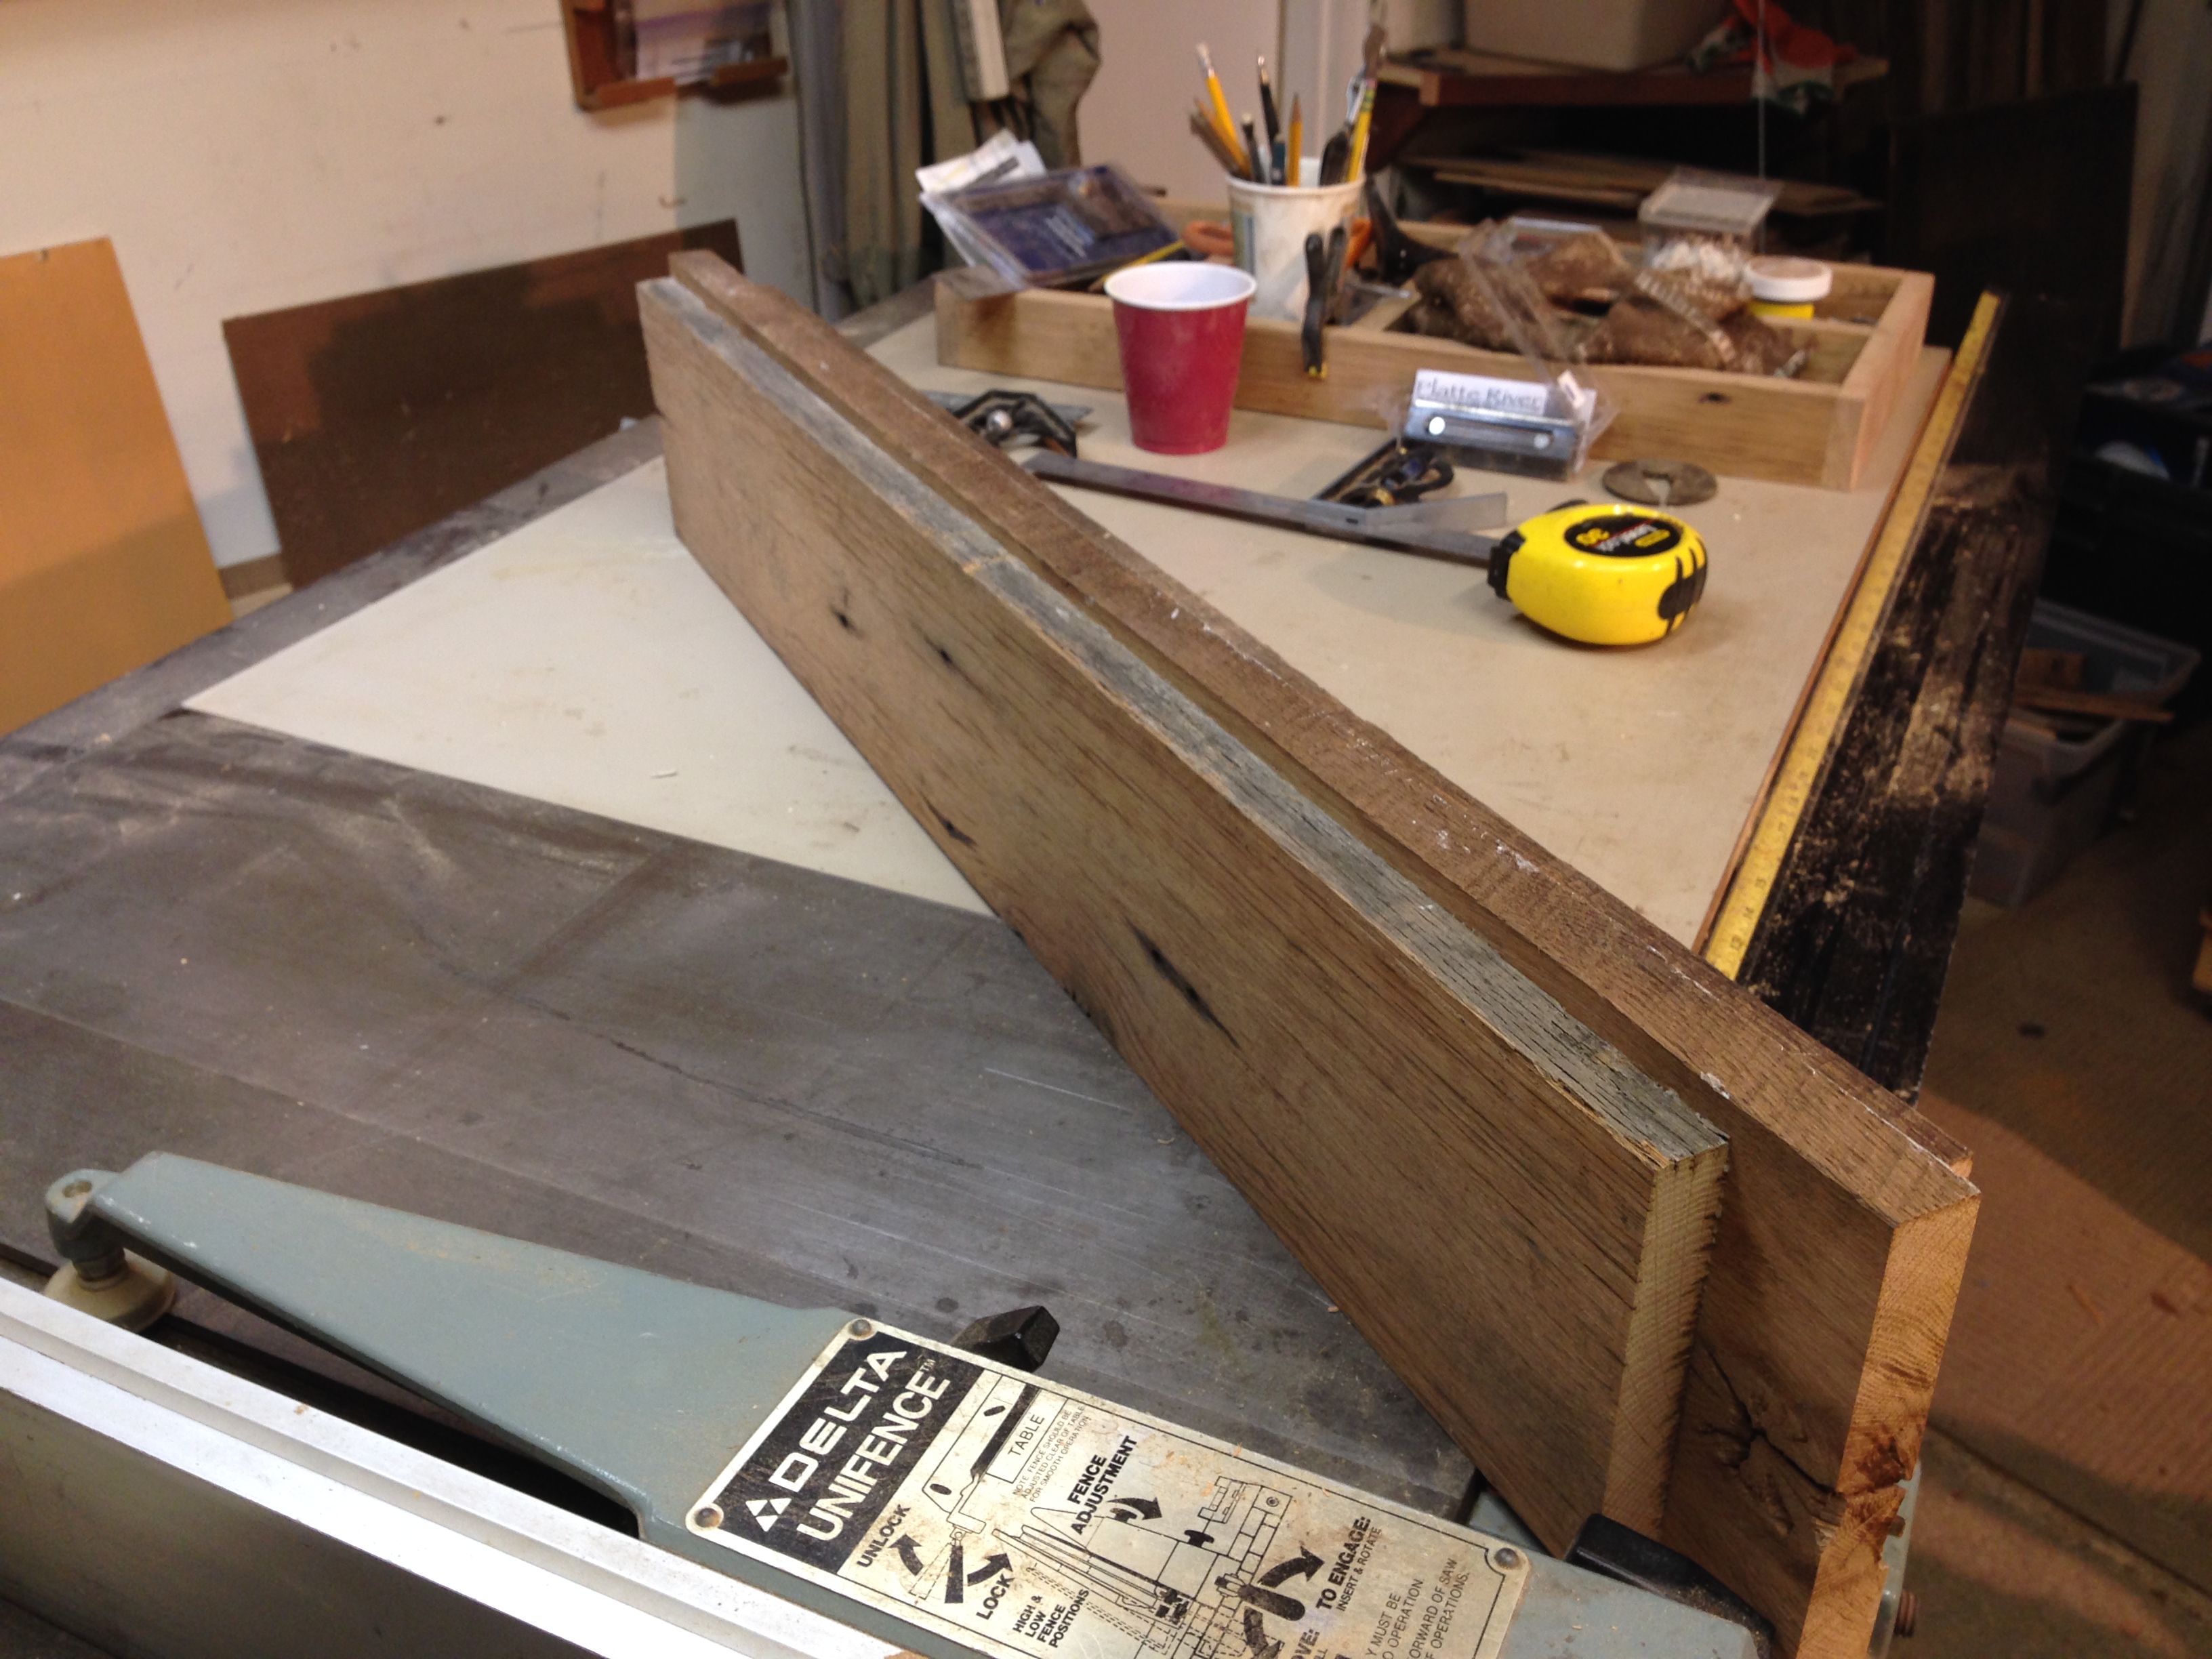
Rough legs , clamped after glue up before trimming

Glued up pair of legs before being cut

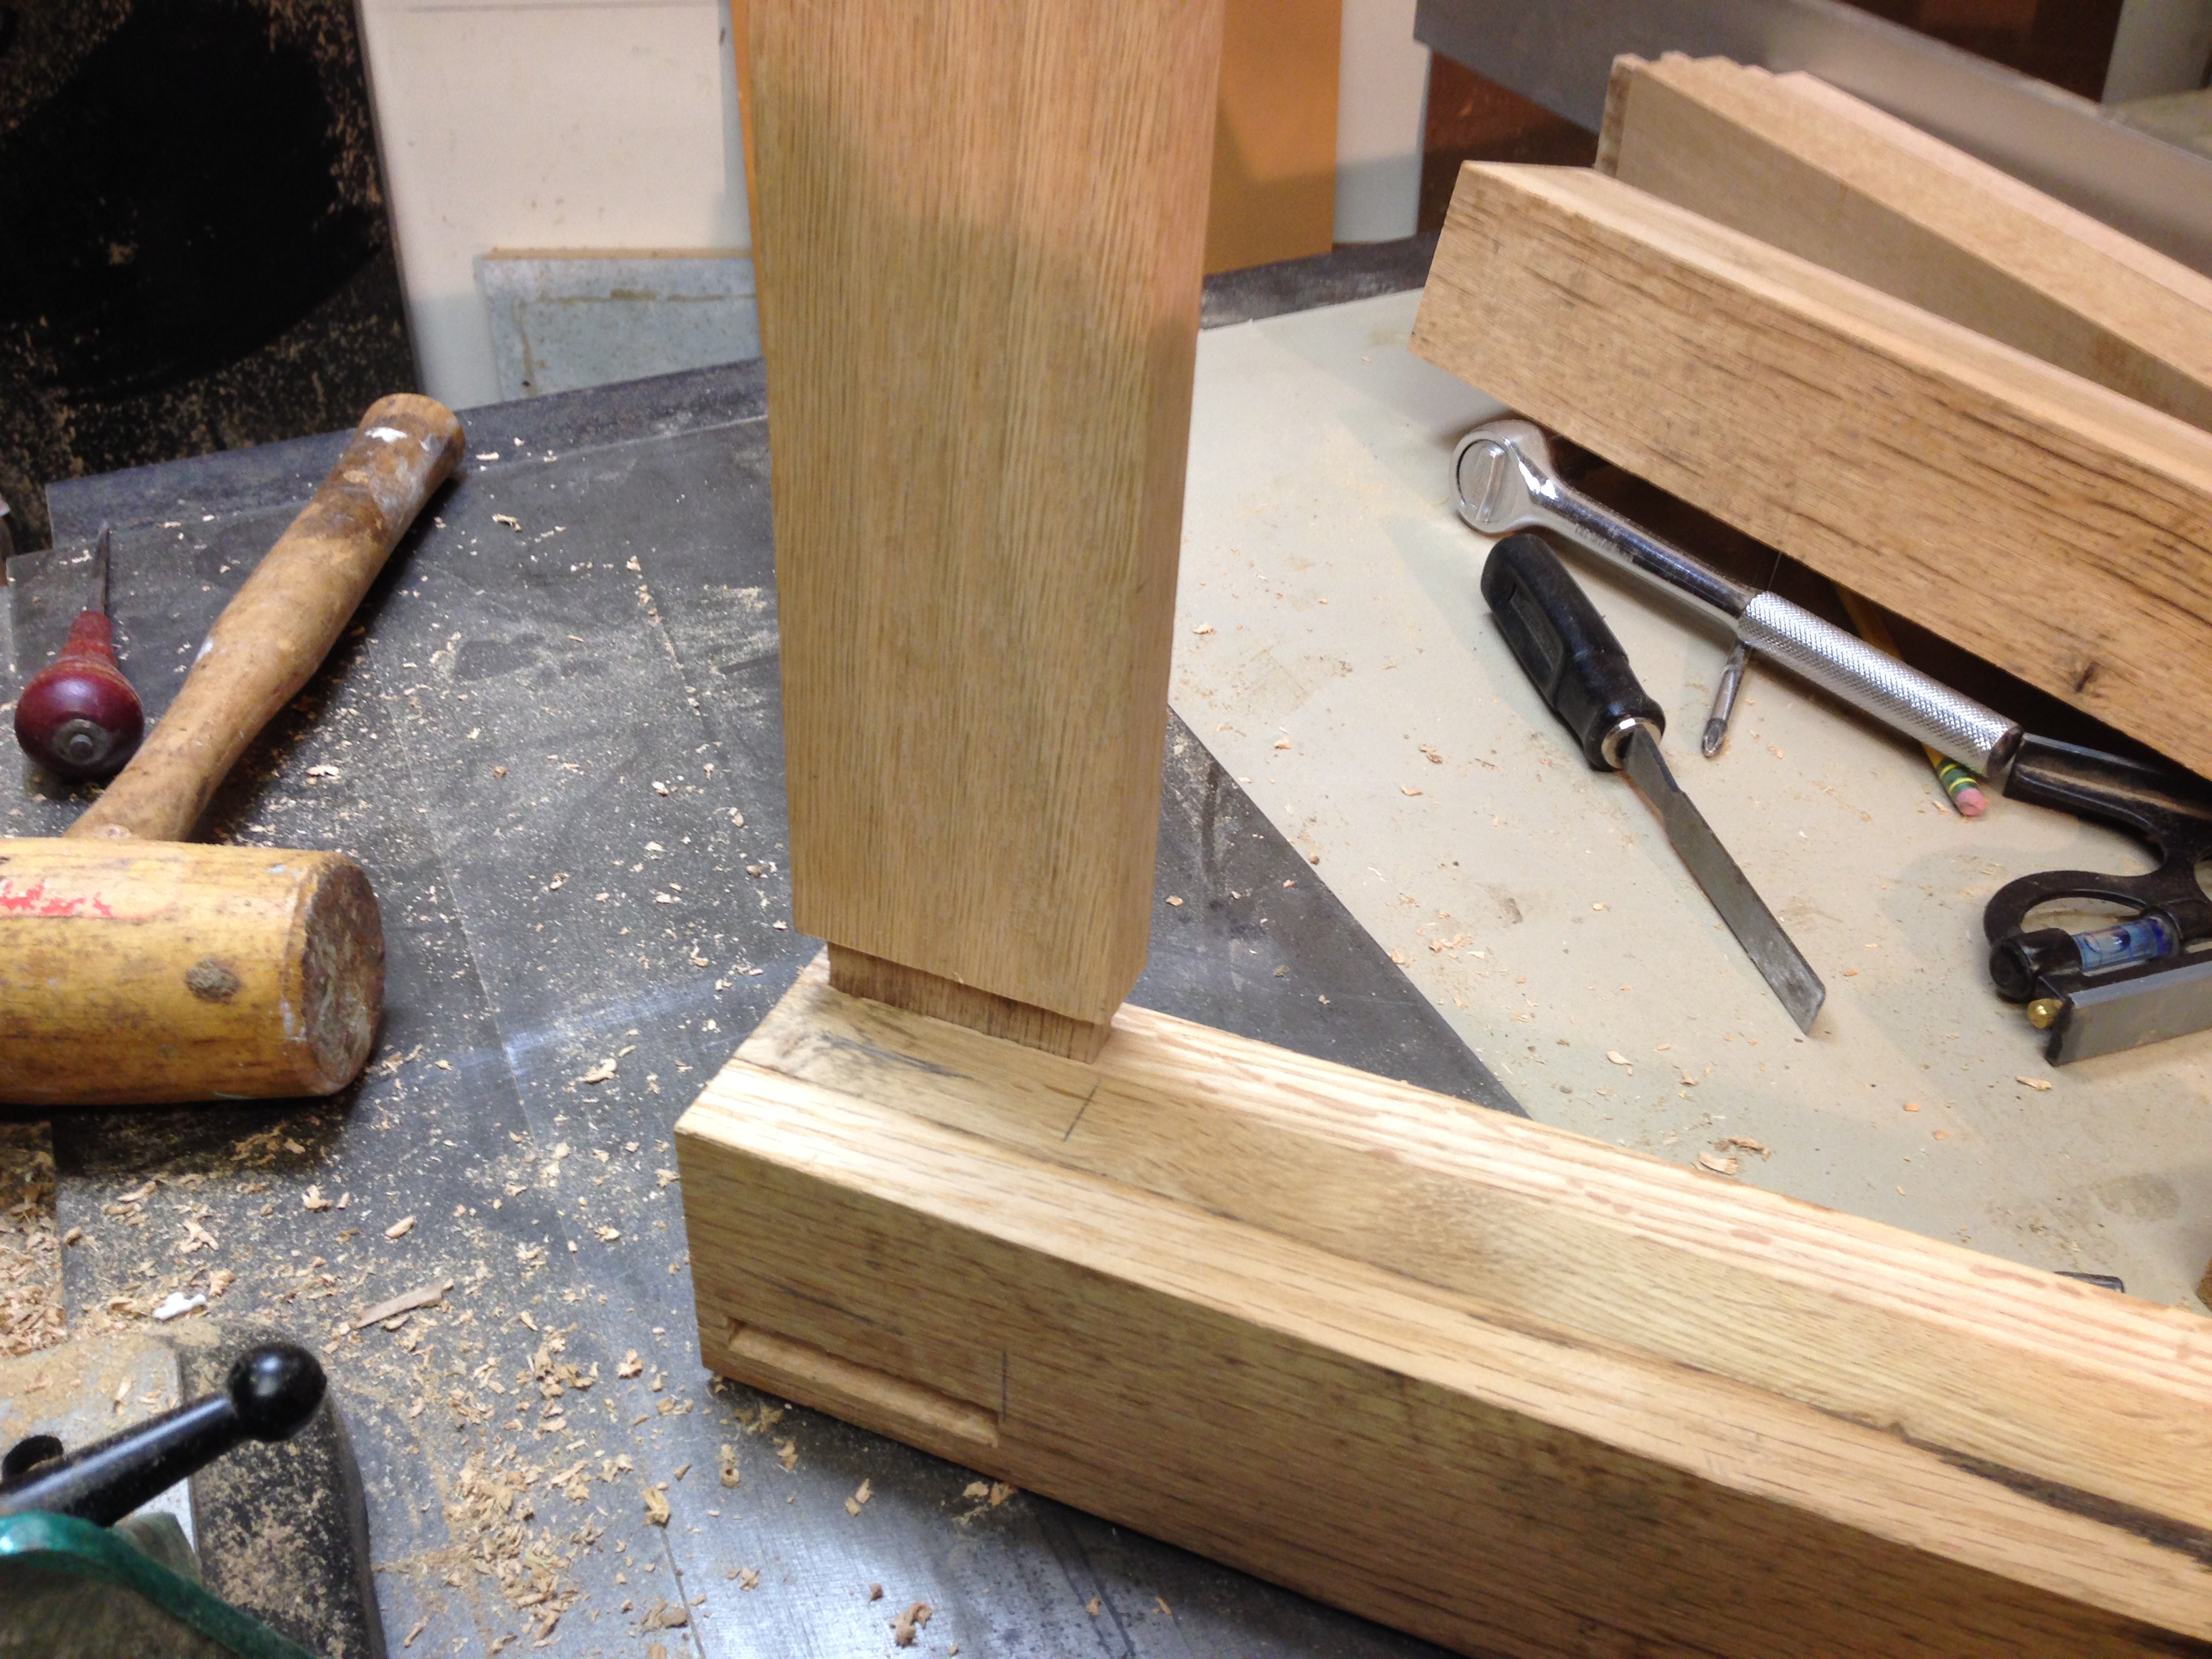
With the legs glued up and cut to correct length and width, in this case, 28″ long by 2 3/4″ square, the pieces were moved to the mortising press.
-

- Front and side view of two legs in final dimensions

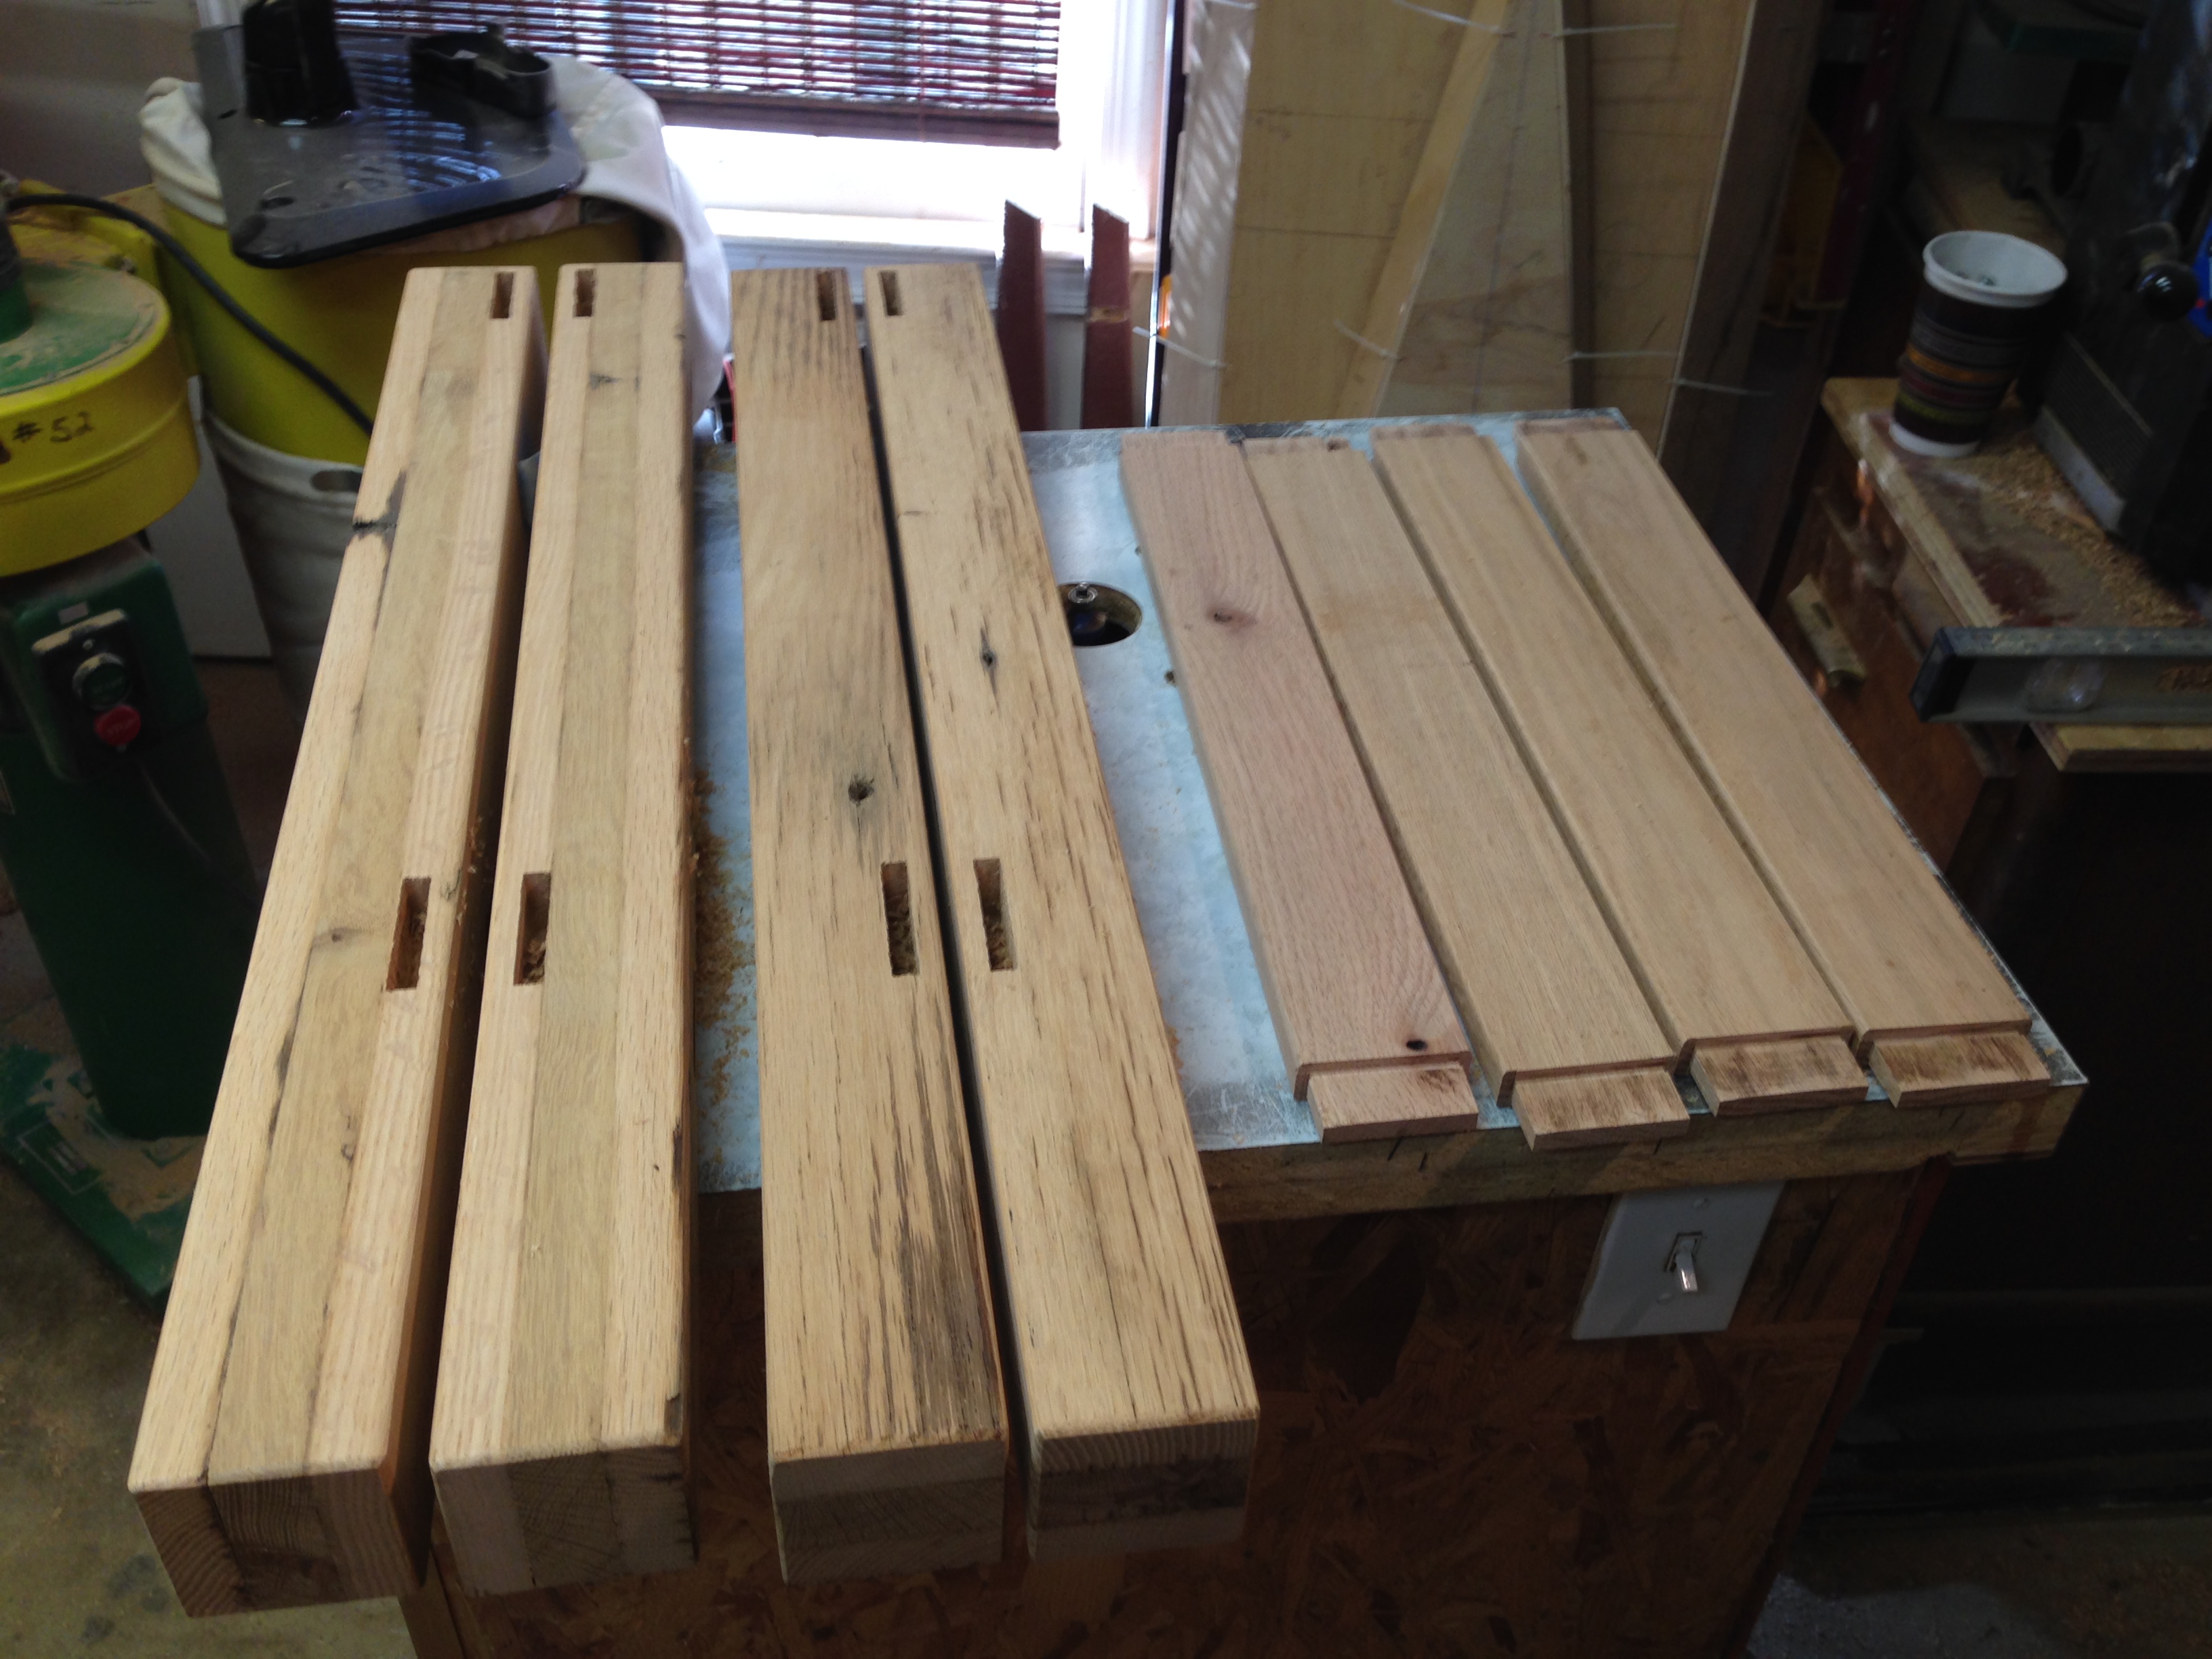
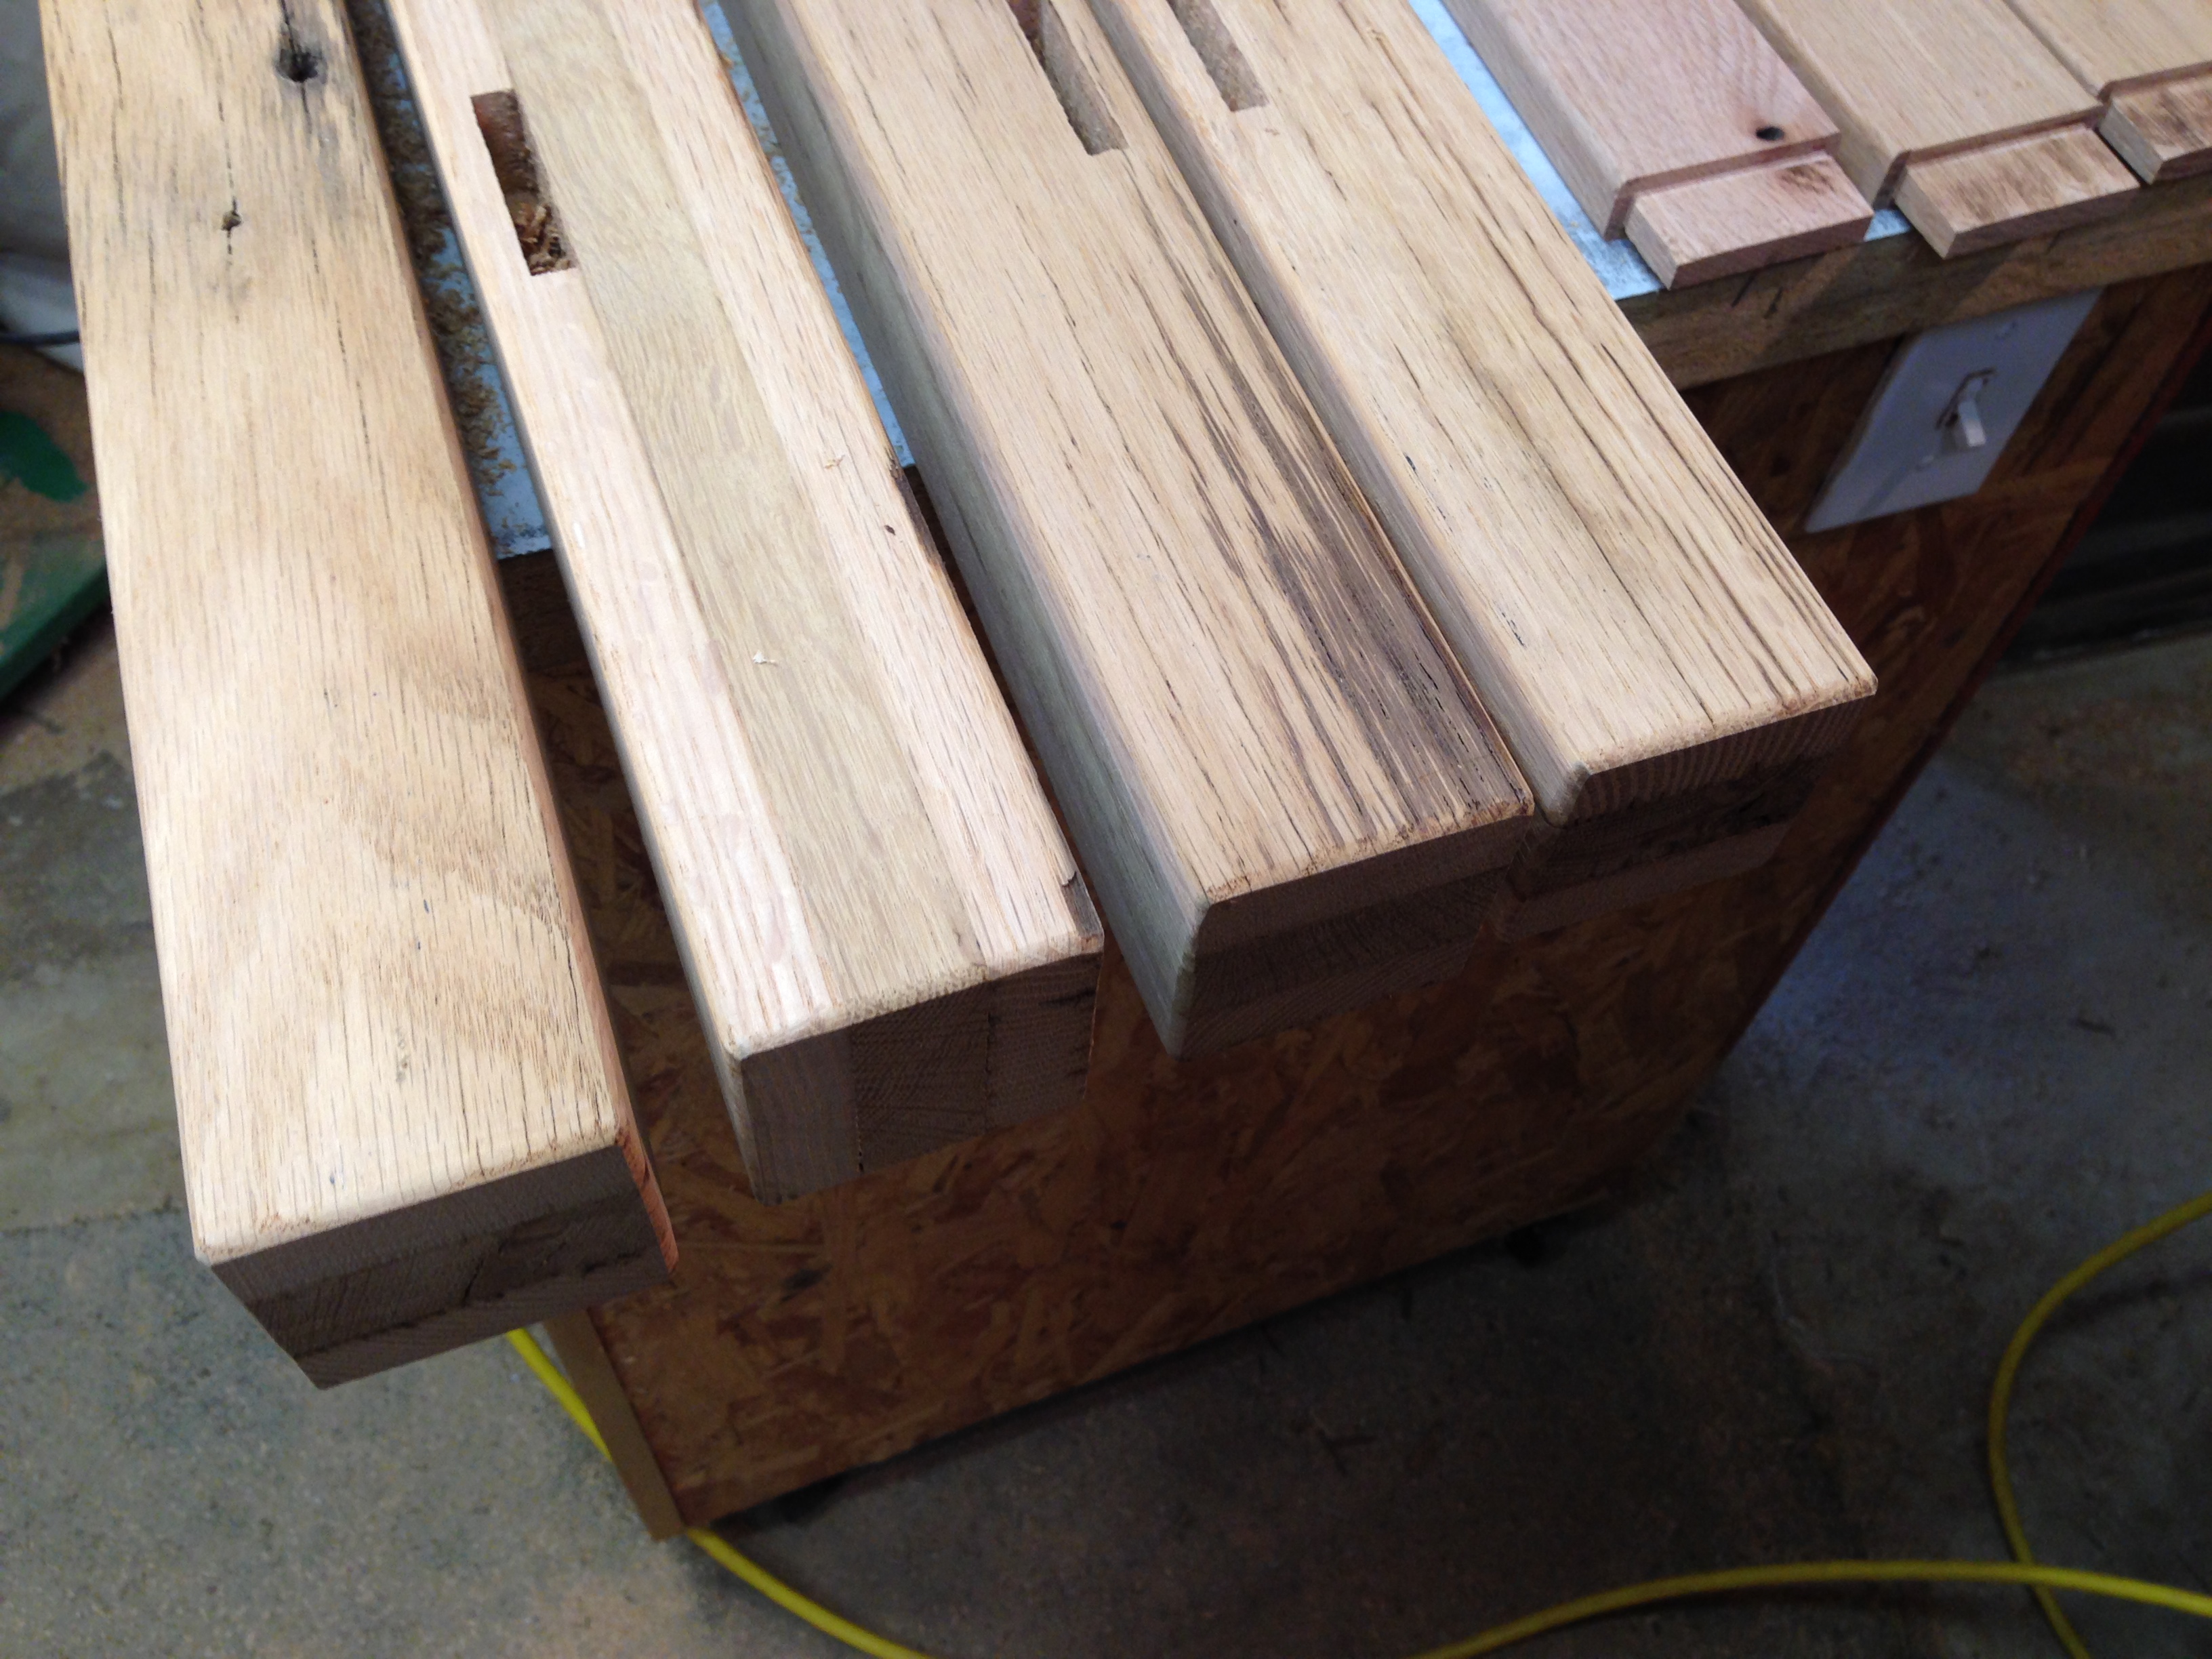
A 3/8″ by 2 1/4″ mortise was cut on the inside faces on all four legs to attach the skirts. An additional set of mortises were cut near the middle of the four legs to receive the side and rear stretchers. Mortises were not cut on the inside faces of the front legs as a lower stretcher would not be used in the front, so that the user can push a chair under the desk.


The skirt and stretcher material was planed and cut to dimension, leaving extra length for the engagement of the tenon and mortise joint.

Using the mortising jig set up on one of the table saws, the depth cut was made by placing the stretcher in the jig in a vertical orientation. First cut was made and the piece reversed in the jig and repeated. Four cuts were made on each stretcher.
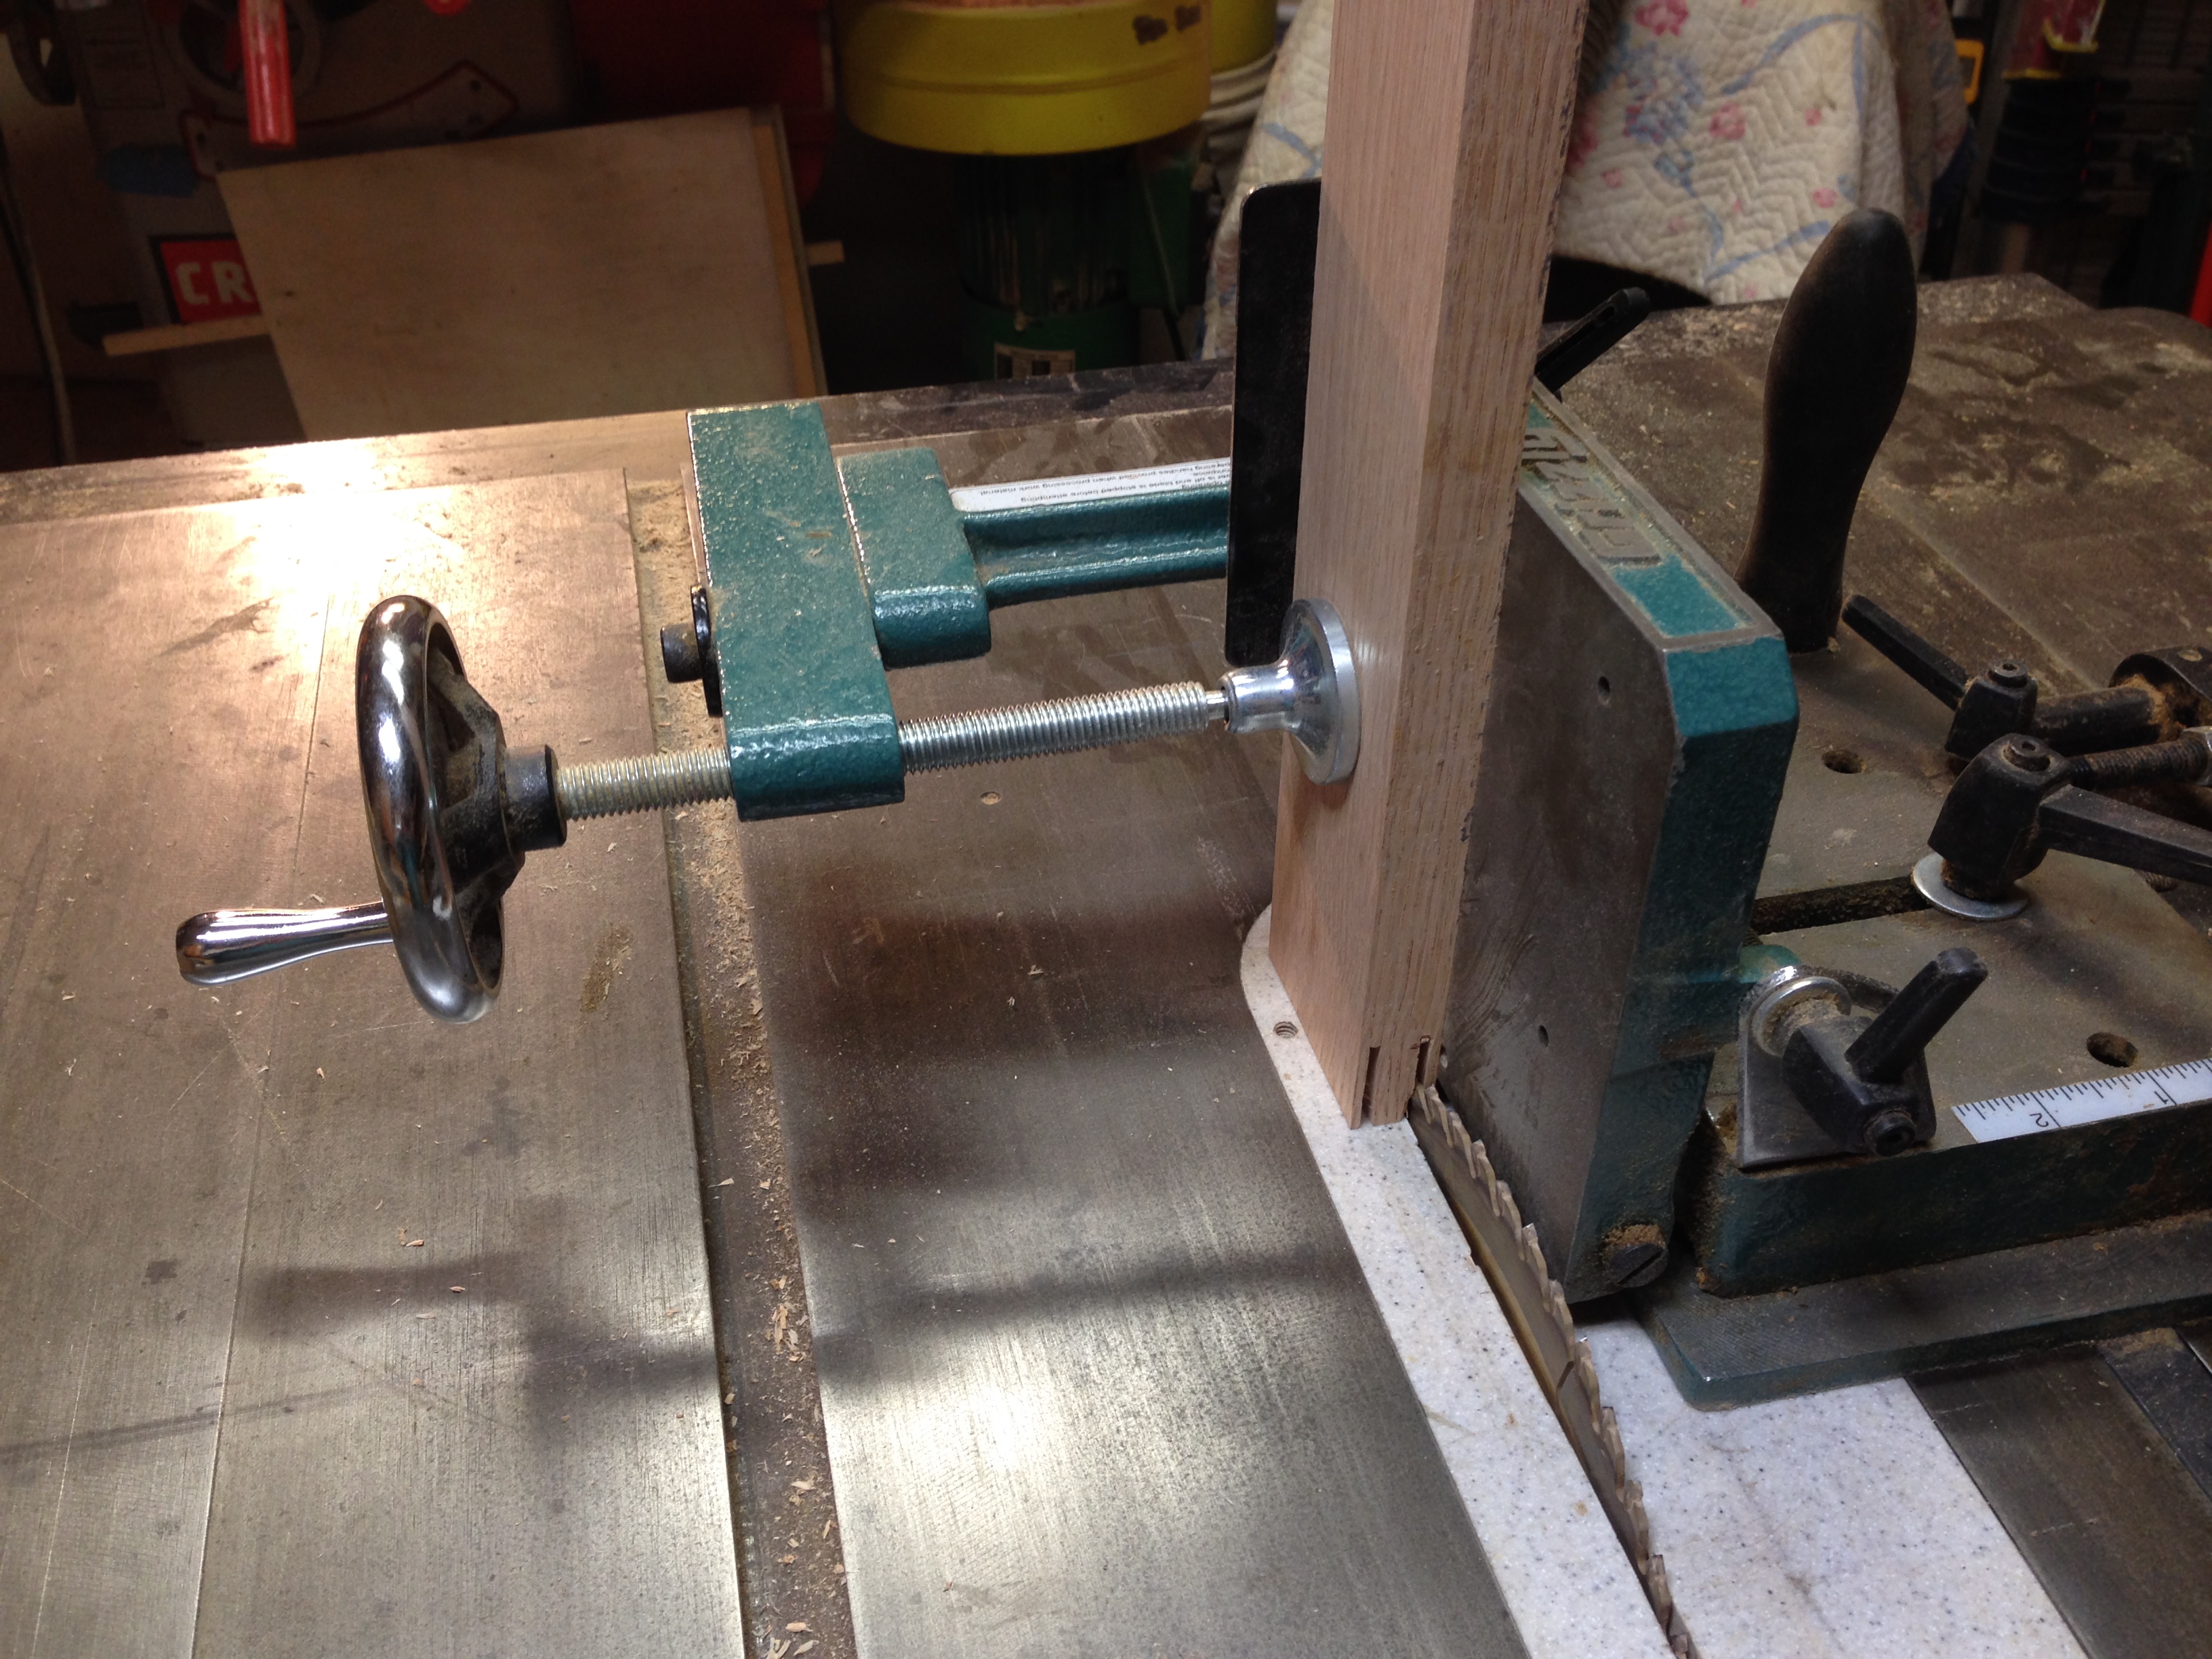

Each piece was then taken to the other table saw where the shoulder and cheek cuts were made. A stop block is shown below attached to the fence to make each cut identical while keeping the stretcher off of the fence to avoid kickback.


A total of four skirts and three stretchers were cut and prepared for assembly.
Each of the legs, skirts and stretchers were sanded on the table belt sander. All edges were relieved with a 3/8″ roundover bit. The bottom of the legs were also relieved on the router table.


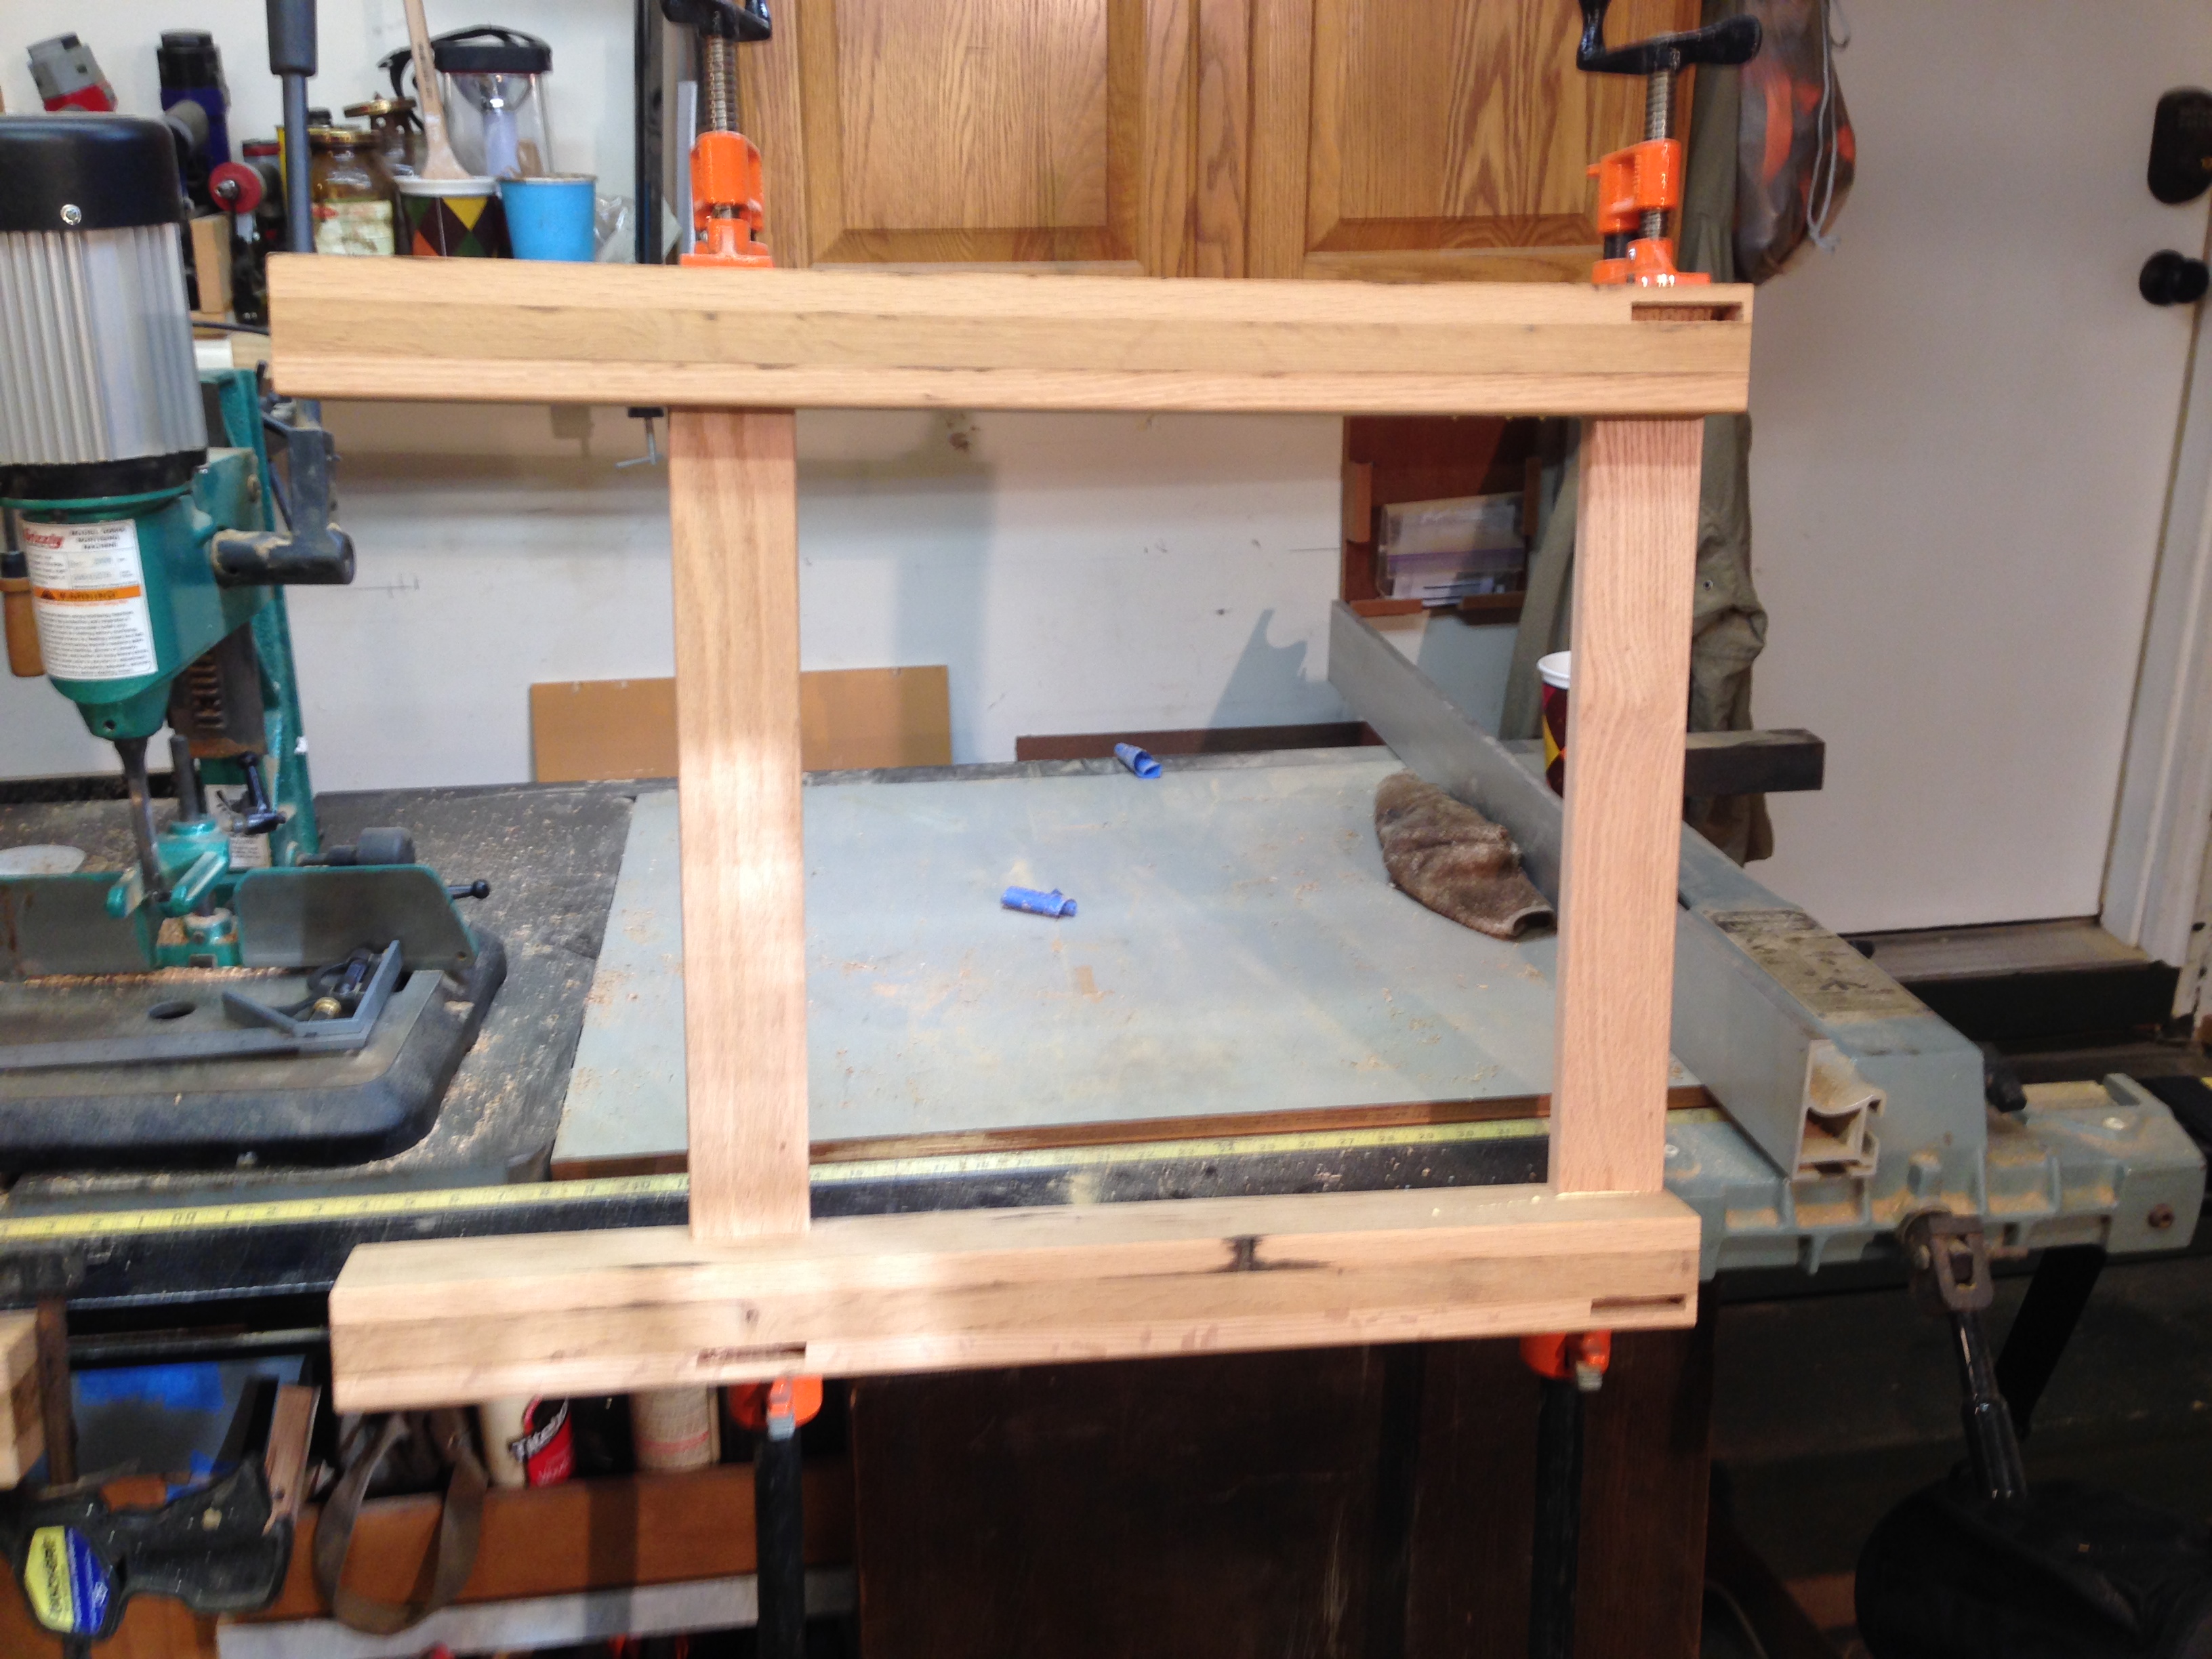
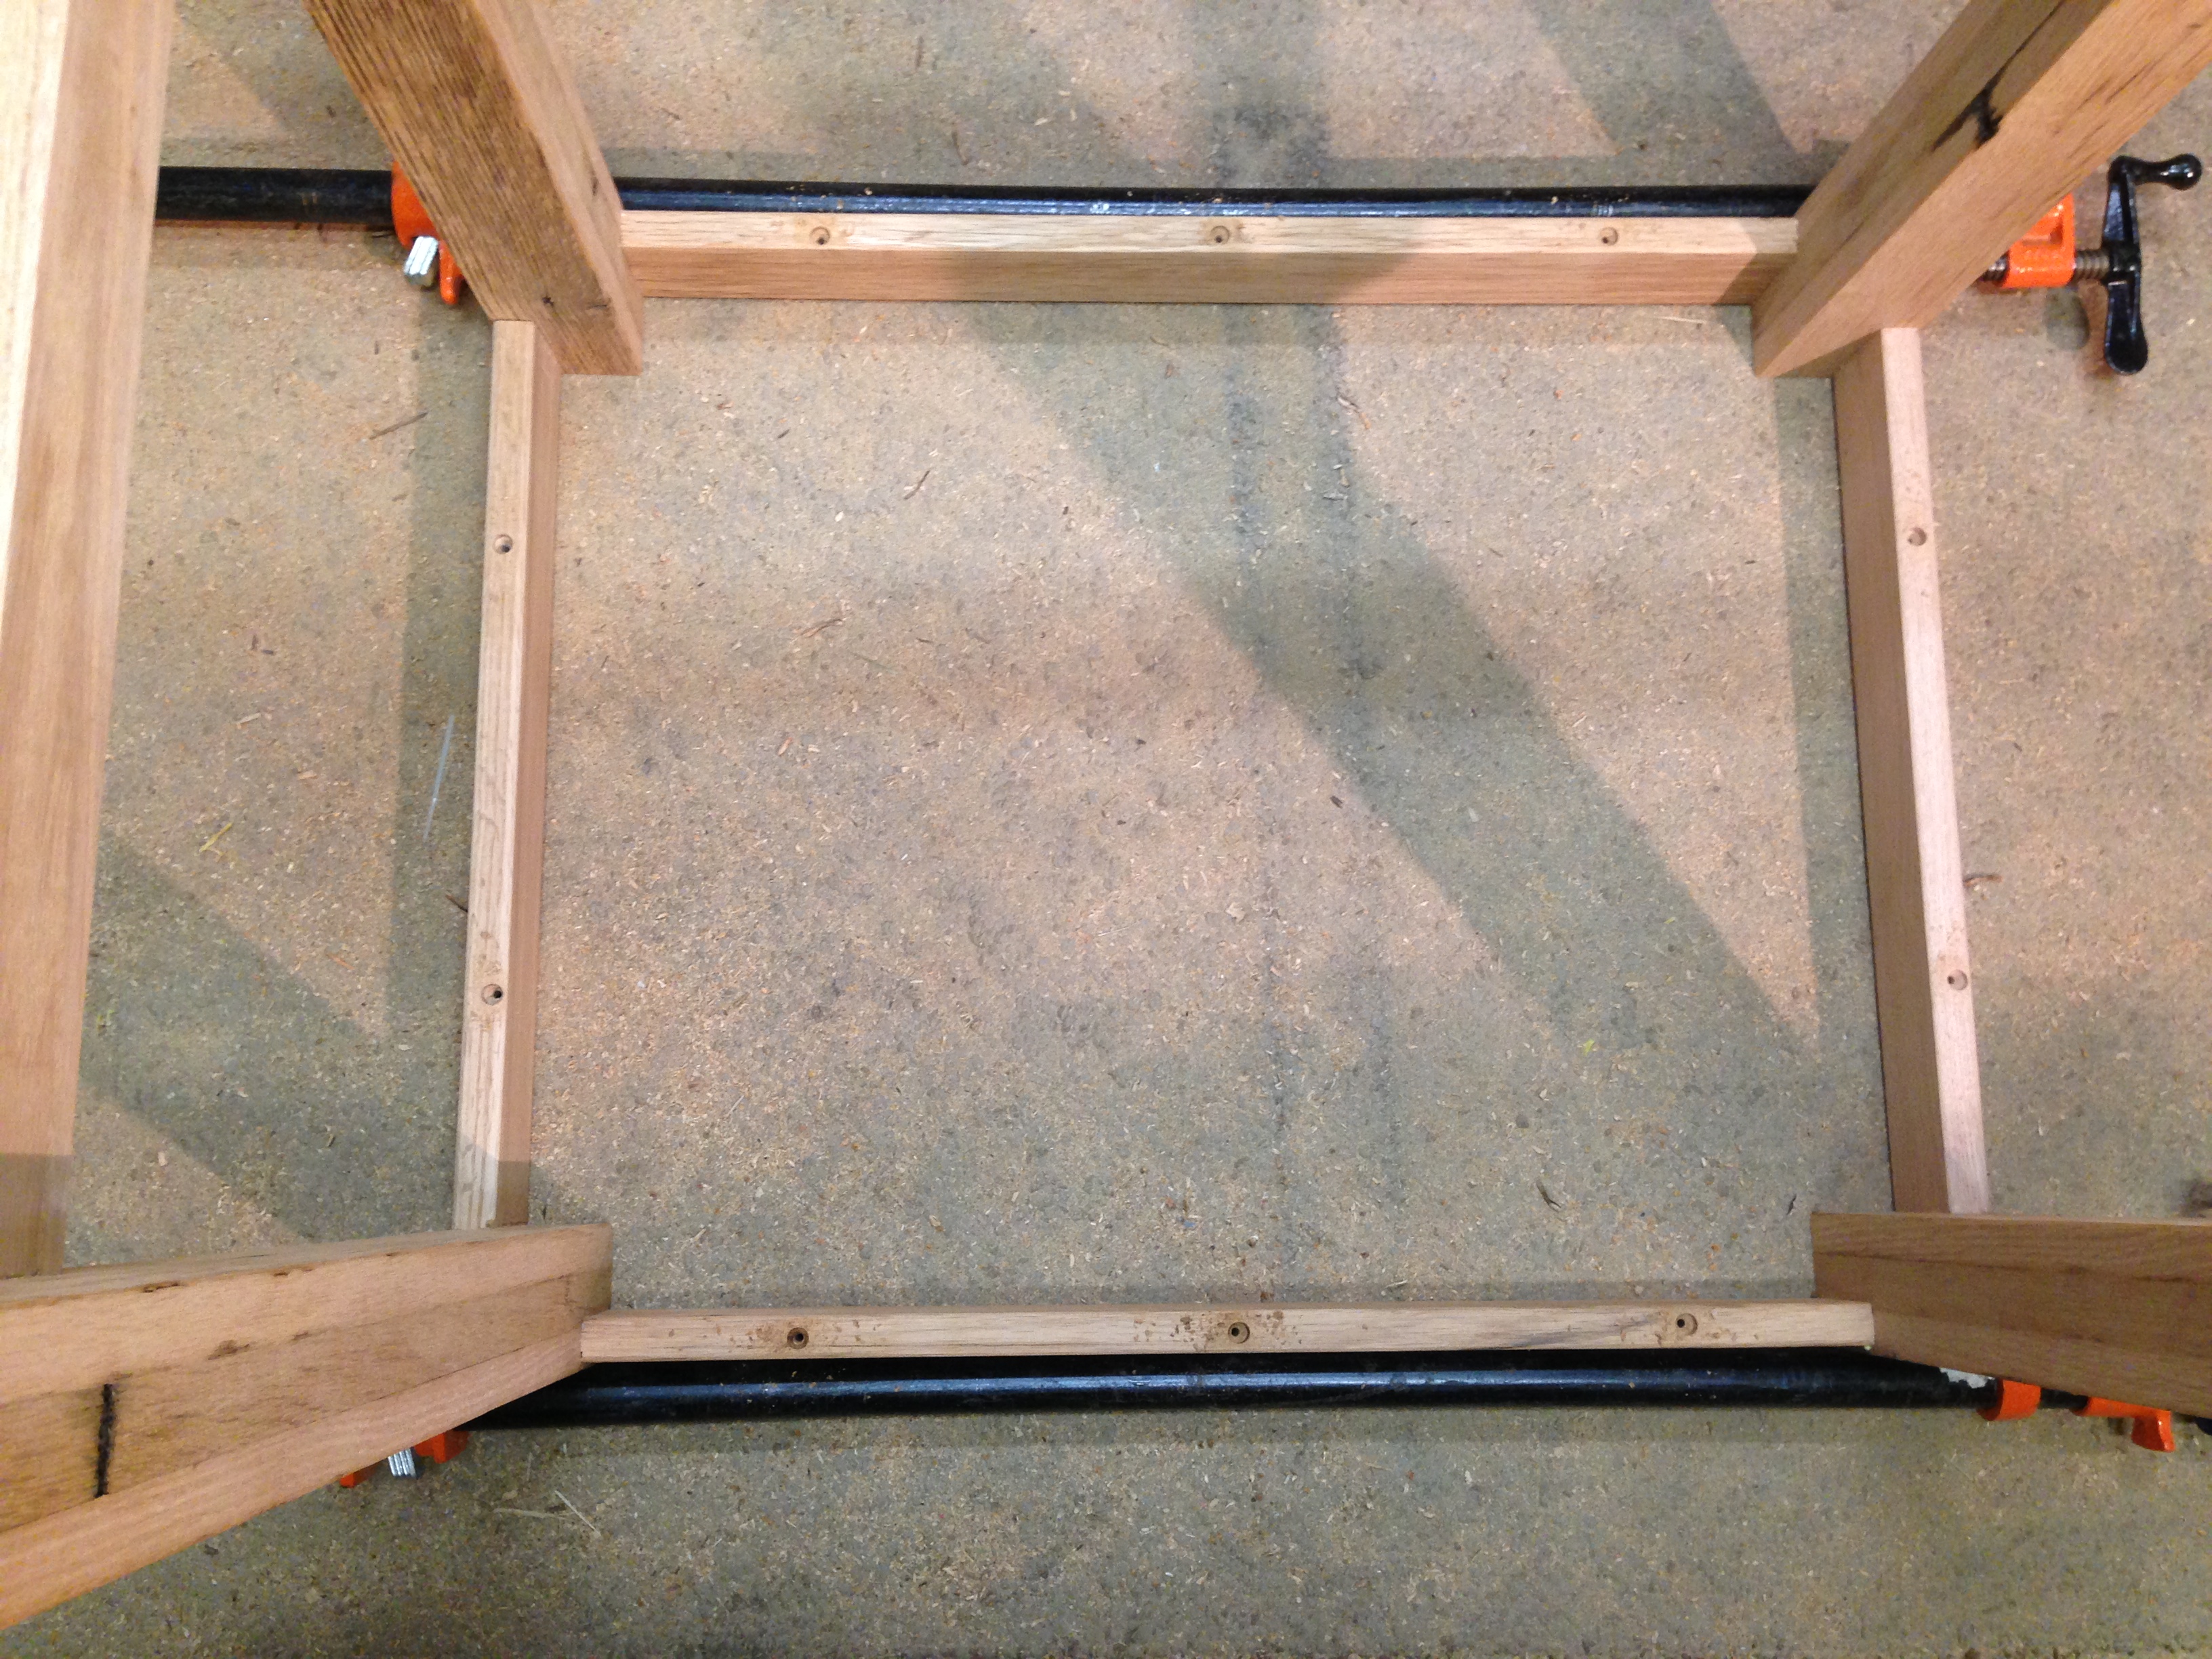
The base was assembled by first joining the two sides together, gluing and clamping. Next the top and lower skirts and stretchers in the front and back were added and glued. The entire base was clamped and let to fully dry. Any excess dried glue was removed with a sharp chisel then additional sanding was done to the entire base.


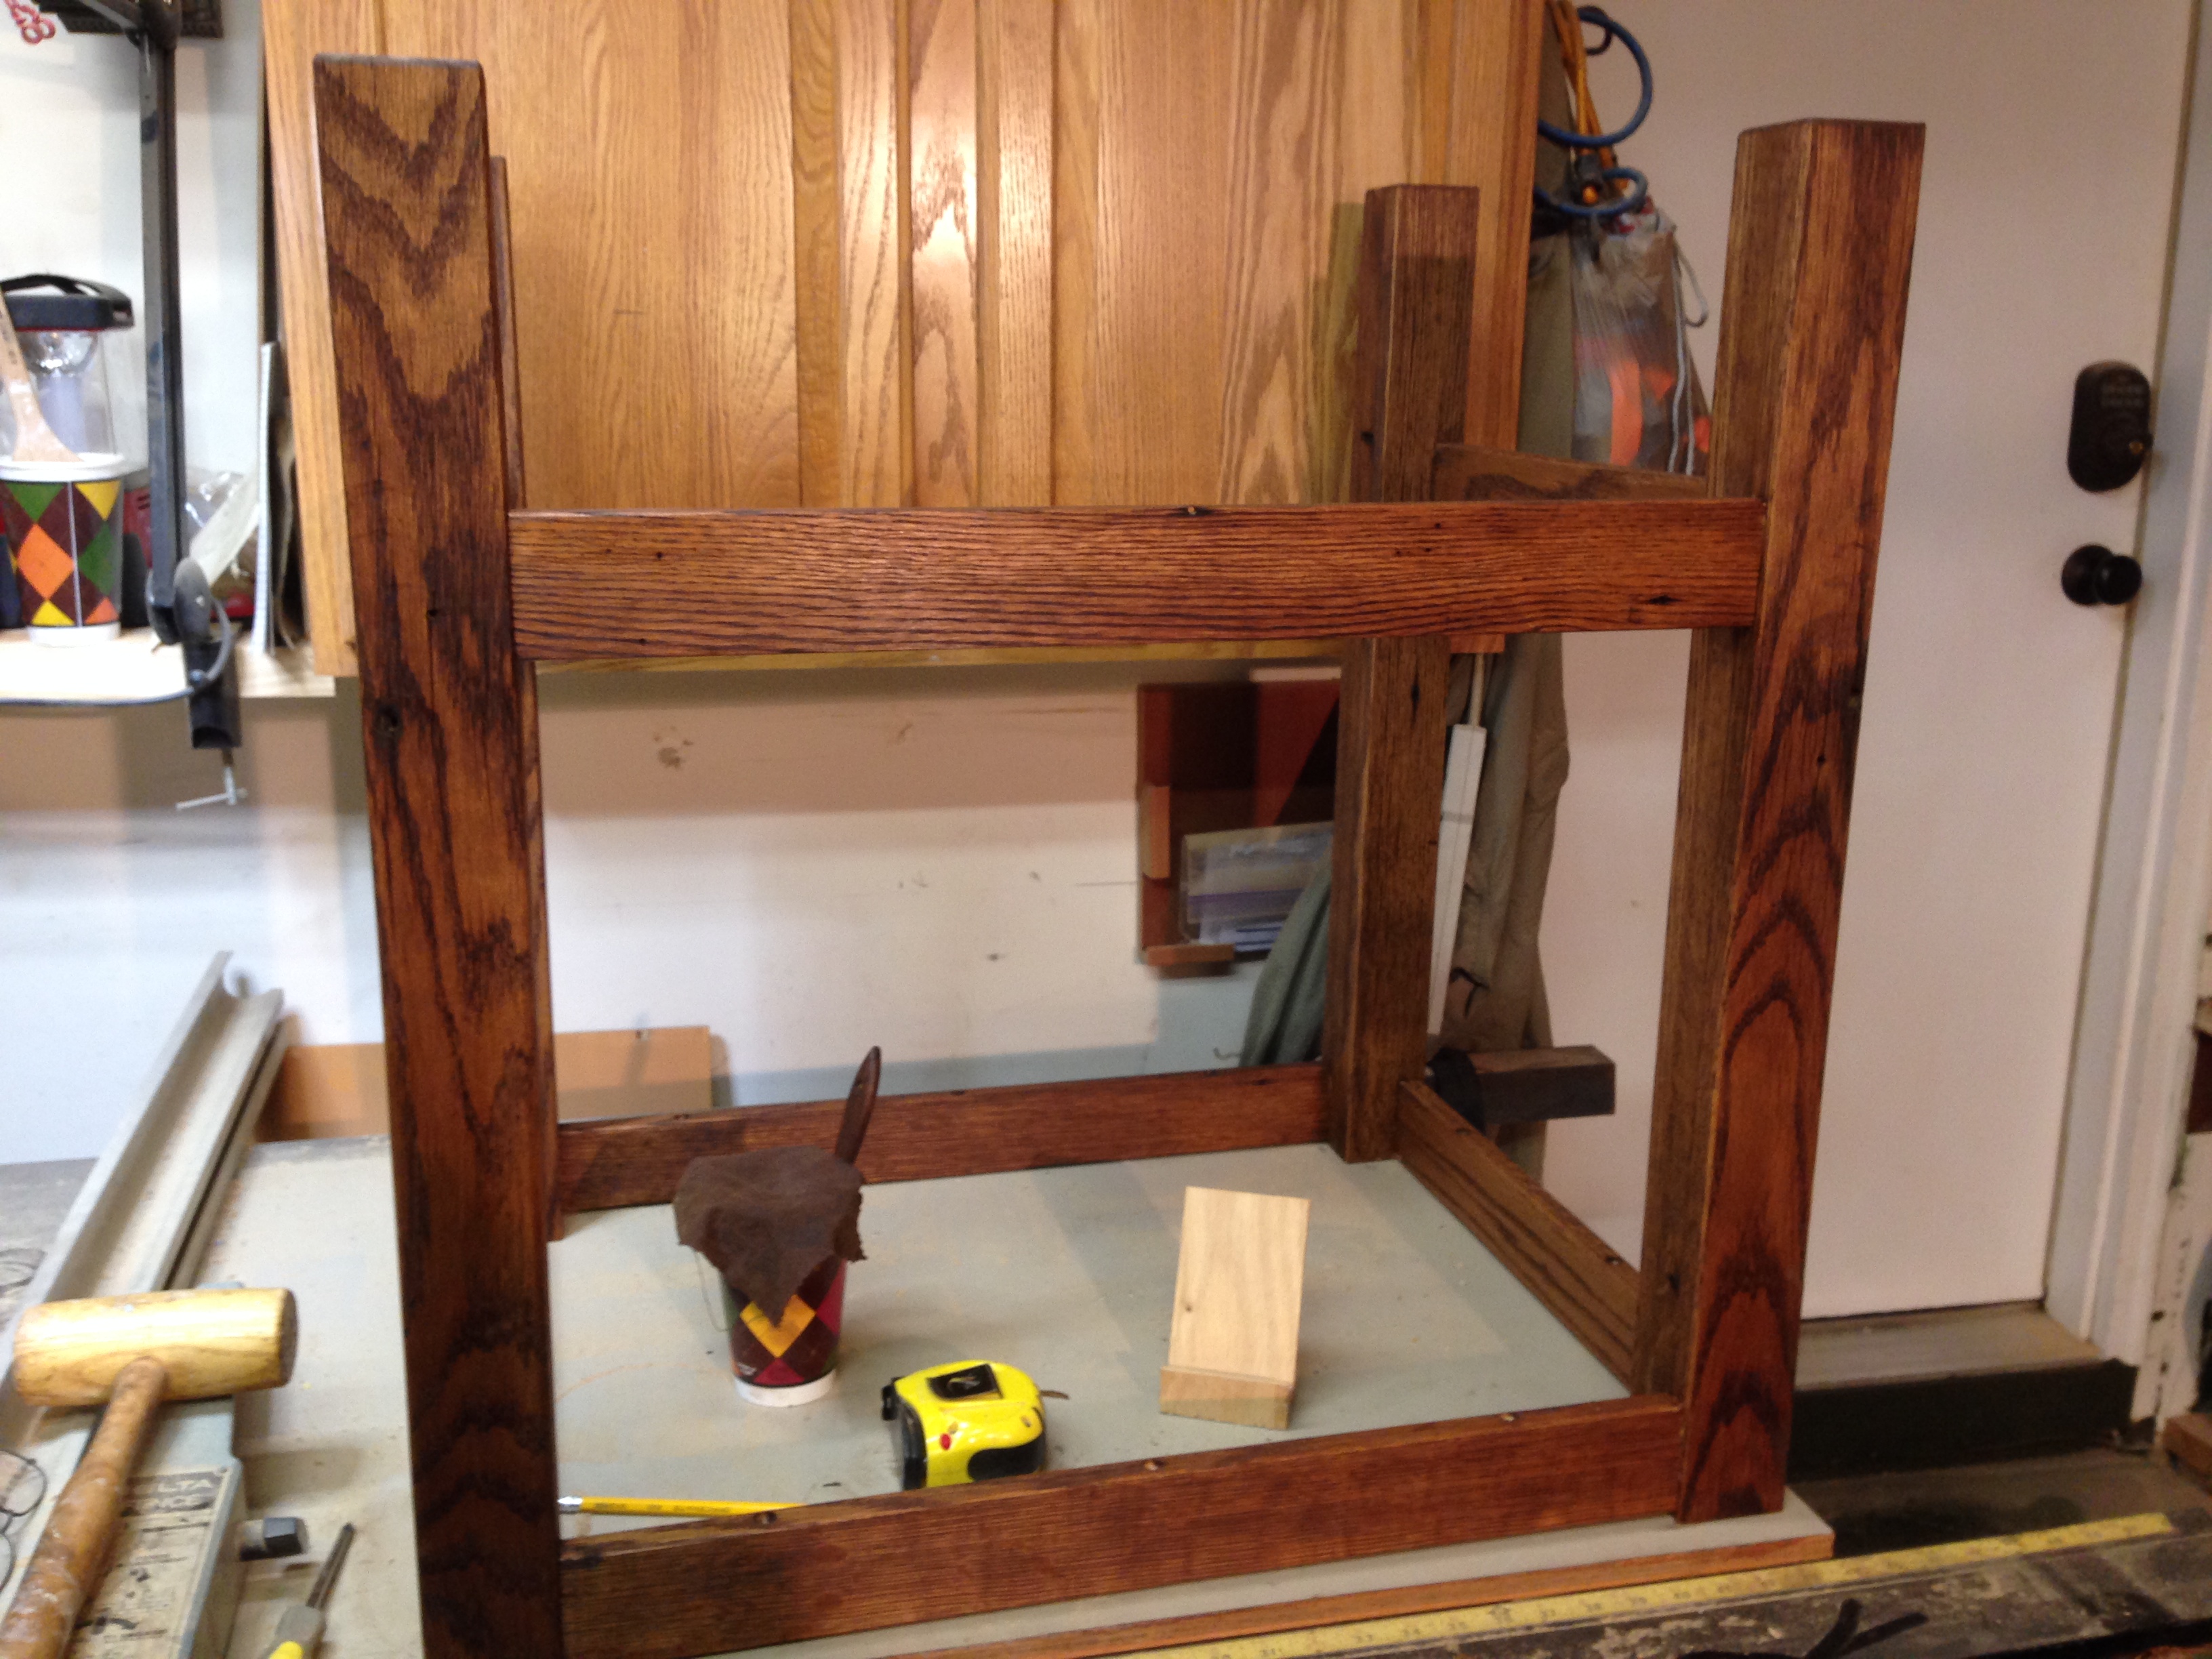
The bottom was given two coats of stain and allowed to fully dry.
As mentioned earlier, I had saved a pub table from a past theater set. I removed the top from the original based and proceeded to remove the original finish with a belt sander and 80 grit paper, then 120 grit to finish.

The original table top, last used in “The Iceman Cometh”

Original finish is slowly removed, first the poly coat and then the stain

Finished table top ready for staining

Table top following the first coat of stain
The top was stained to match the base and then turned over so that the based could be attached. Coutersunk holes were drilled two places on each side skirt and in the middle of the front and back skirts. 2 1/2″ screws were used to attach the base to the top.


Additional coats of stain were added to reach desired color. Once the stain had sufficiently dried, three coats of tung oil were added. Each coat was allowed to dry with light sanding with steel wool between coats.

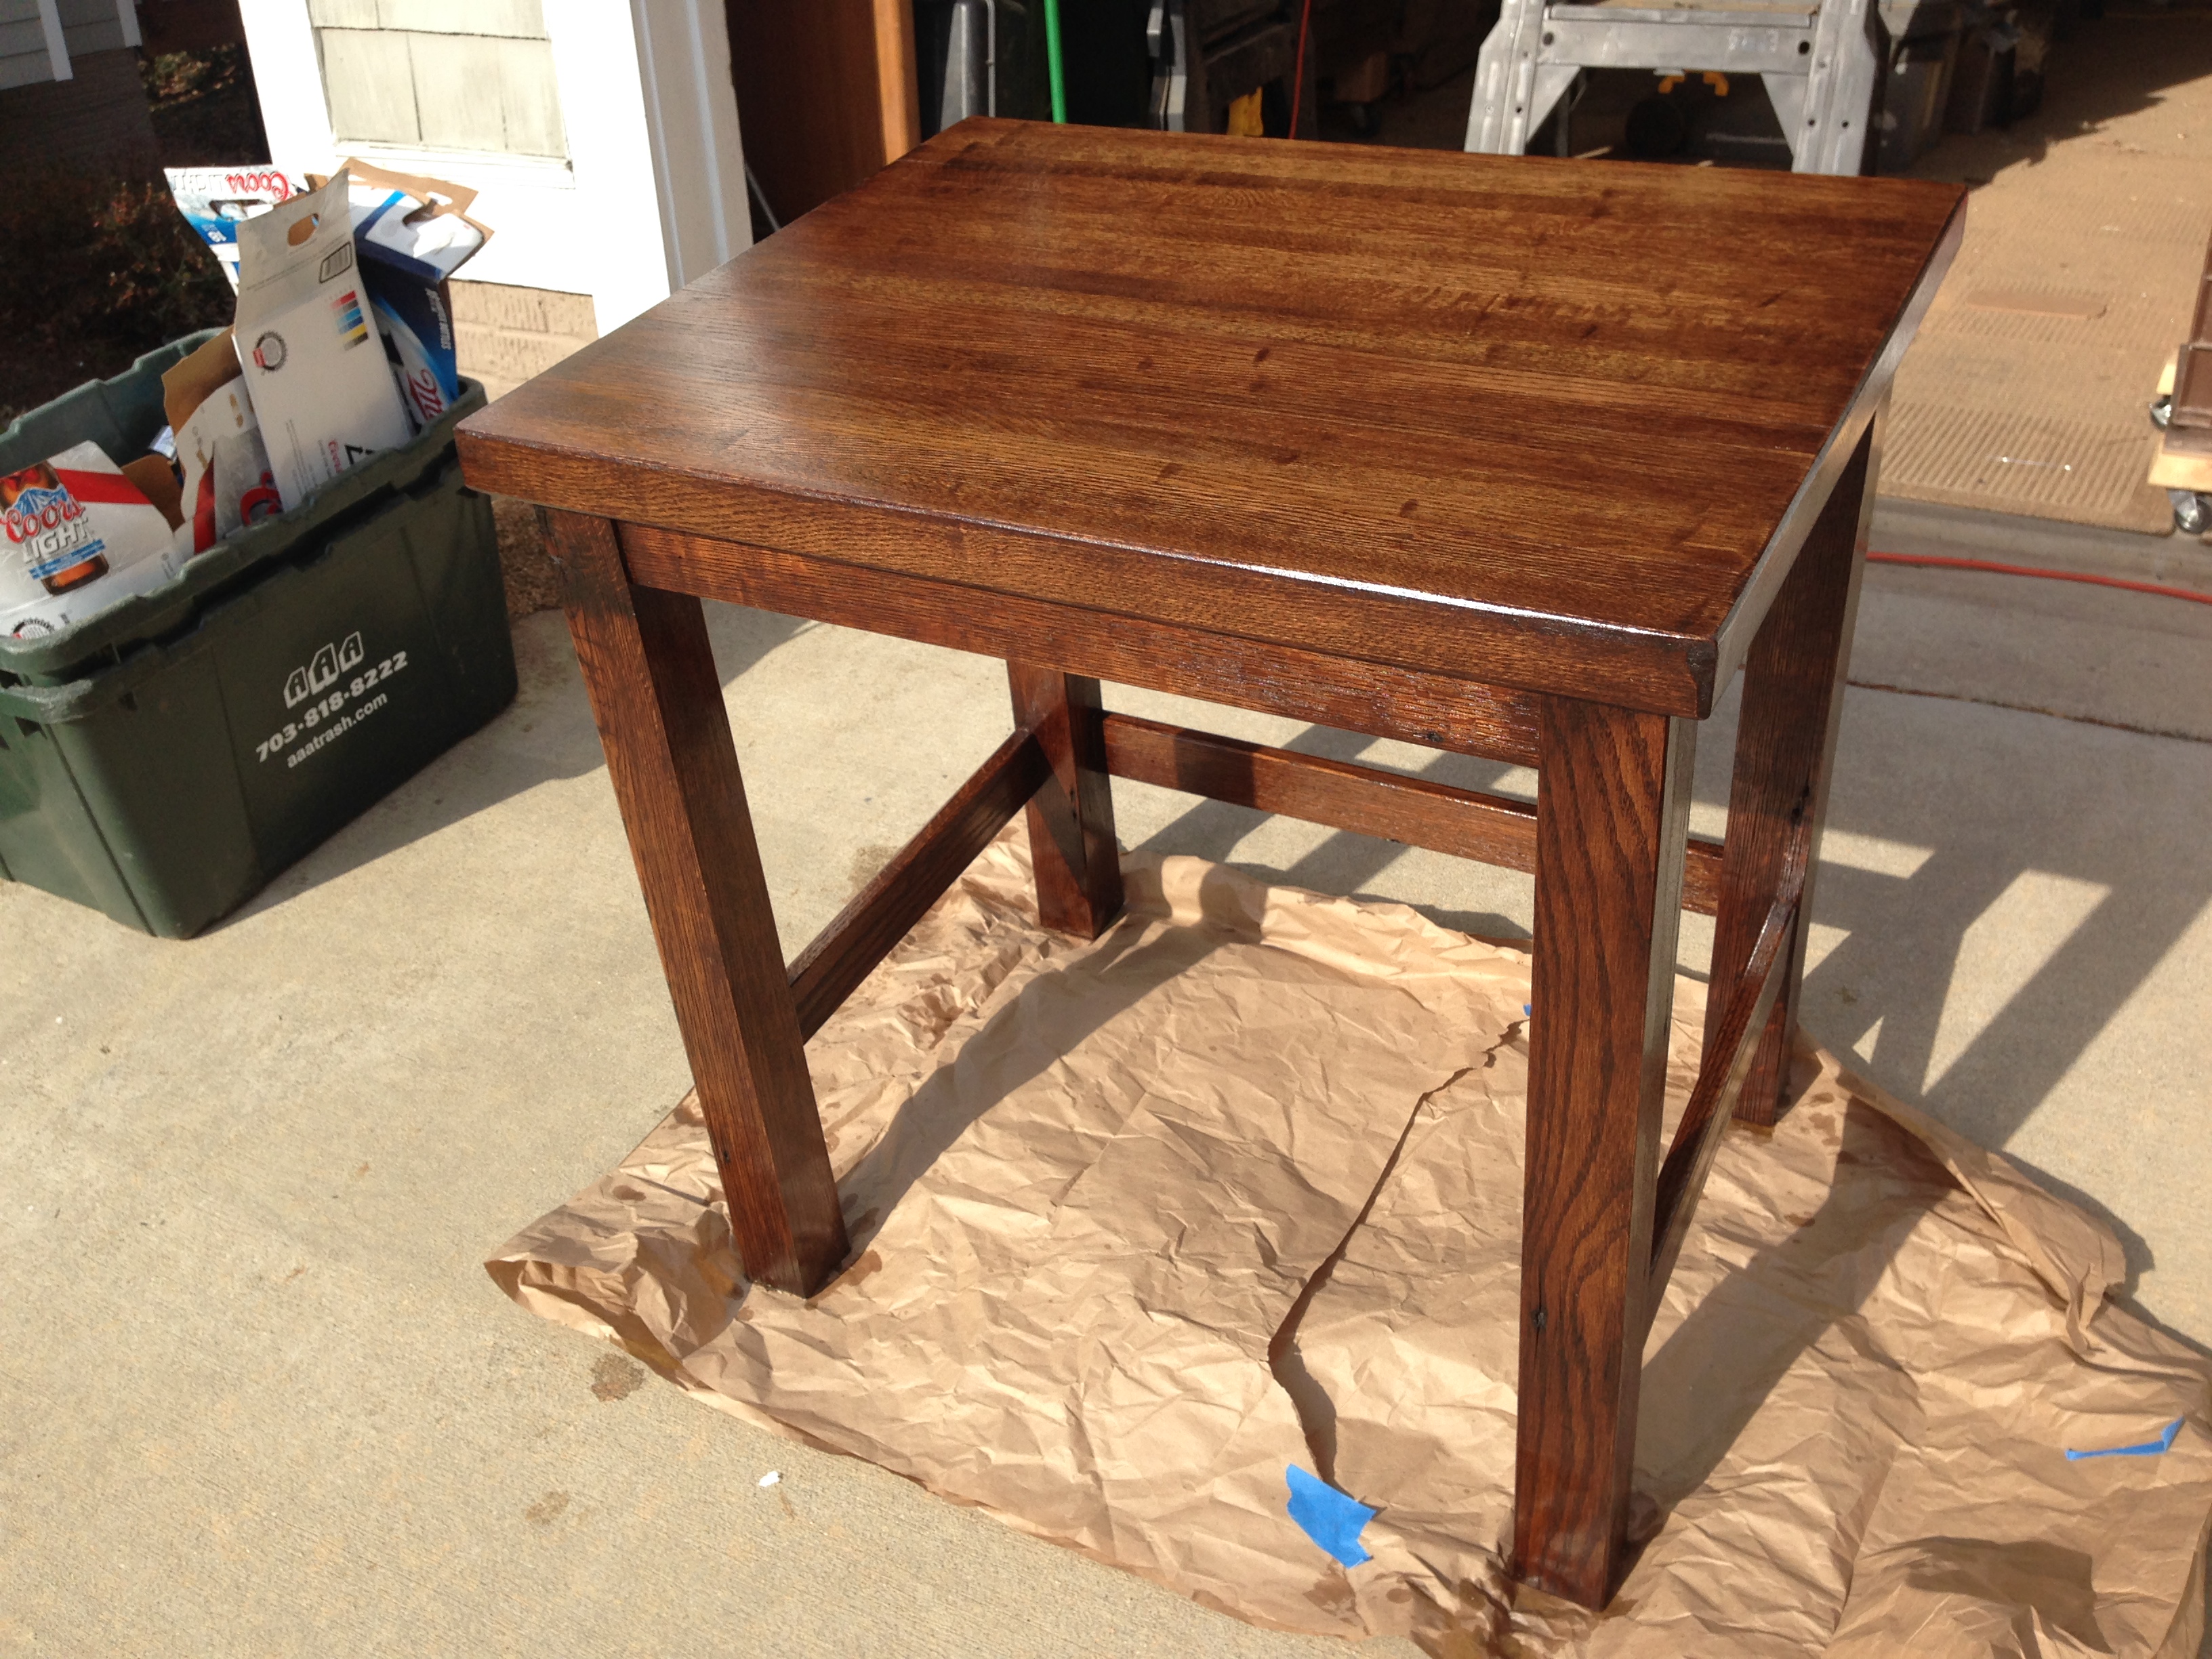
This project has yielded a nice sized desk that will work well in our library and fit well with the future full wall of bookshelves that are on the future project list. The mortise and tenon joinery has created an incredibly solid and strong desk that should last for years. I am looking forward to getting into the room so I can start using it.