To complete my collection of Woodbridge-style furniture and accessories, I completed the design and construction of a pair of speaker stands that will allow me to position my studio monitors on either side of the credenza, at proper ear level.
The project was simple and quick, copying the design of the Woodbridge coat rack.
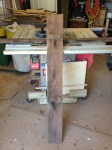
As always, with reclaimed wood projects, I first selected a few boards of the proper length and width to satisfy my project needs. In this case, I was hoping to complete the project with just three 6′ boards.


The cut list for the two- speaker stands includes:
1 each- 8″x8″ Lower Base nominally 3/4″ thick
2 each- 5″x5″ Base nominally 3/4″ thick
2 each- 2 halves- 28″ long x 2 1/2 wide x 3/4″ thick.
The Build
Each reclaimed board was planed flat to approximately 3/4″ thickness.
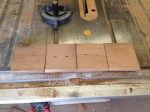
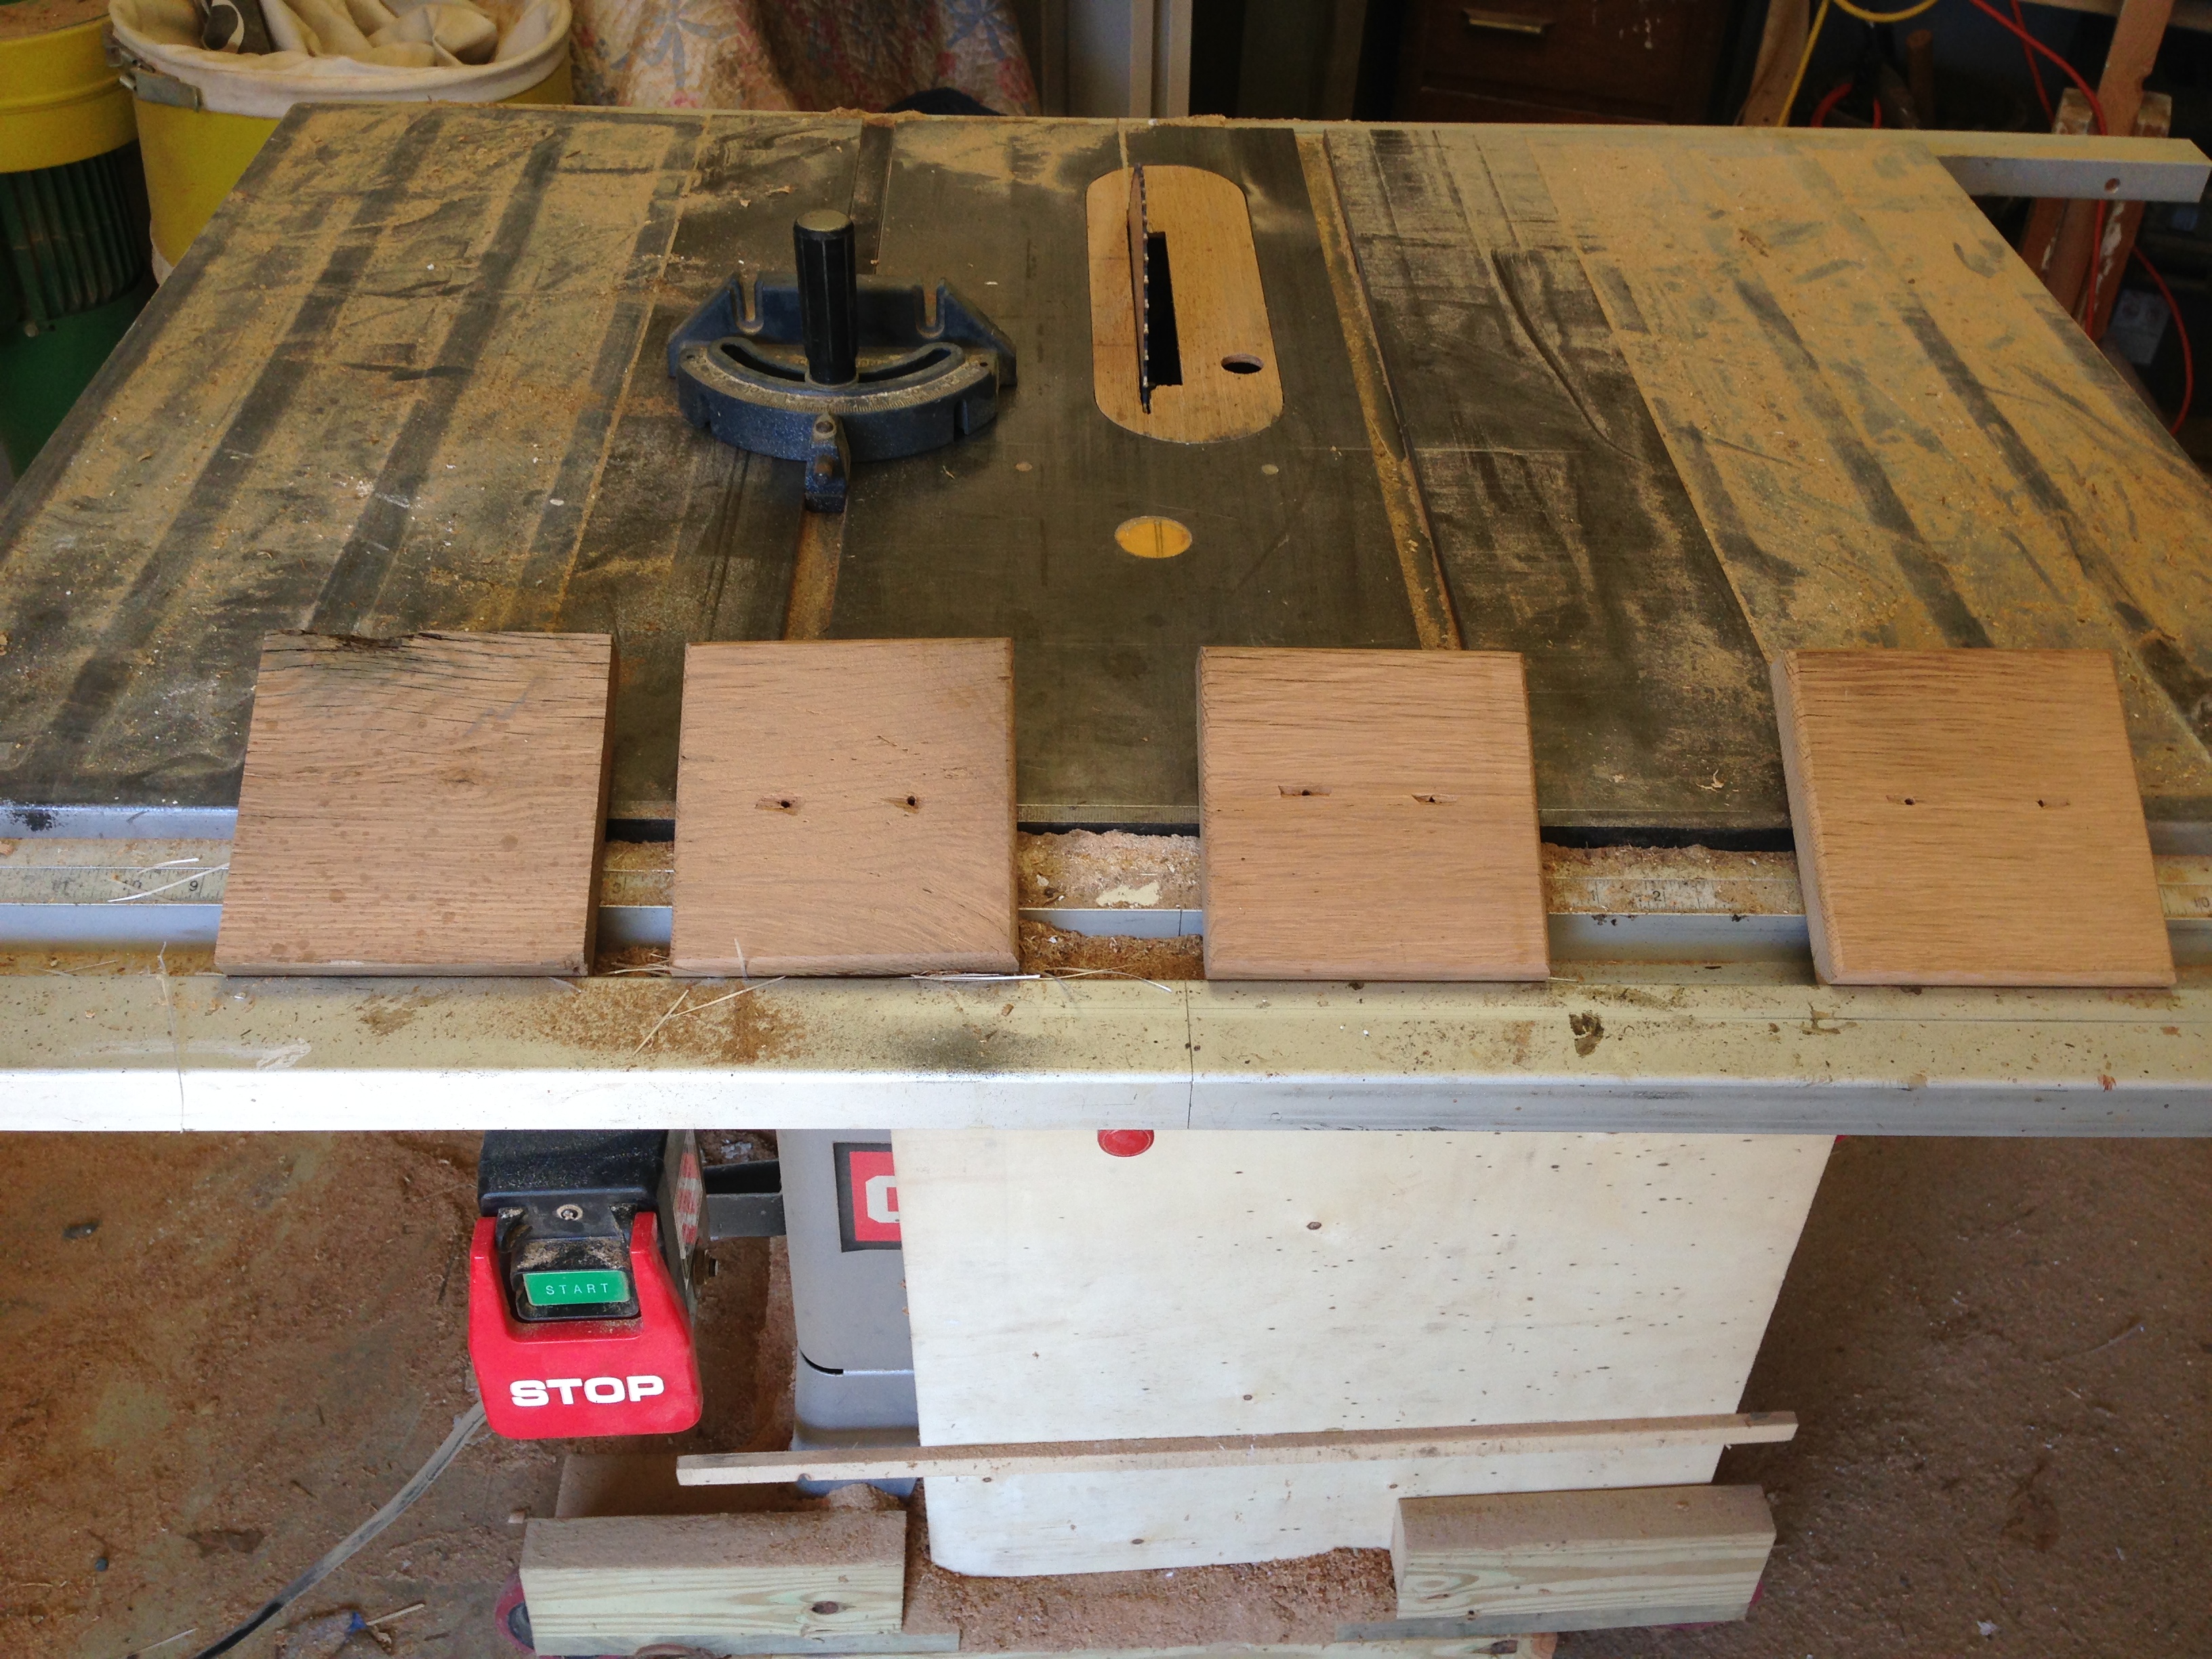
One of the three boards was cut into squares on the table saw to create: (1 each) 8″x8″ and (2 each)5″x5″ to form the bases. Each of the bases were sanded smooth and routed on one face, on four edges.
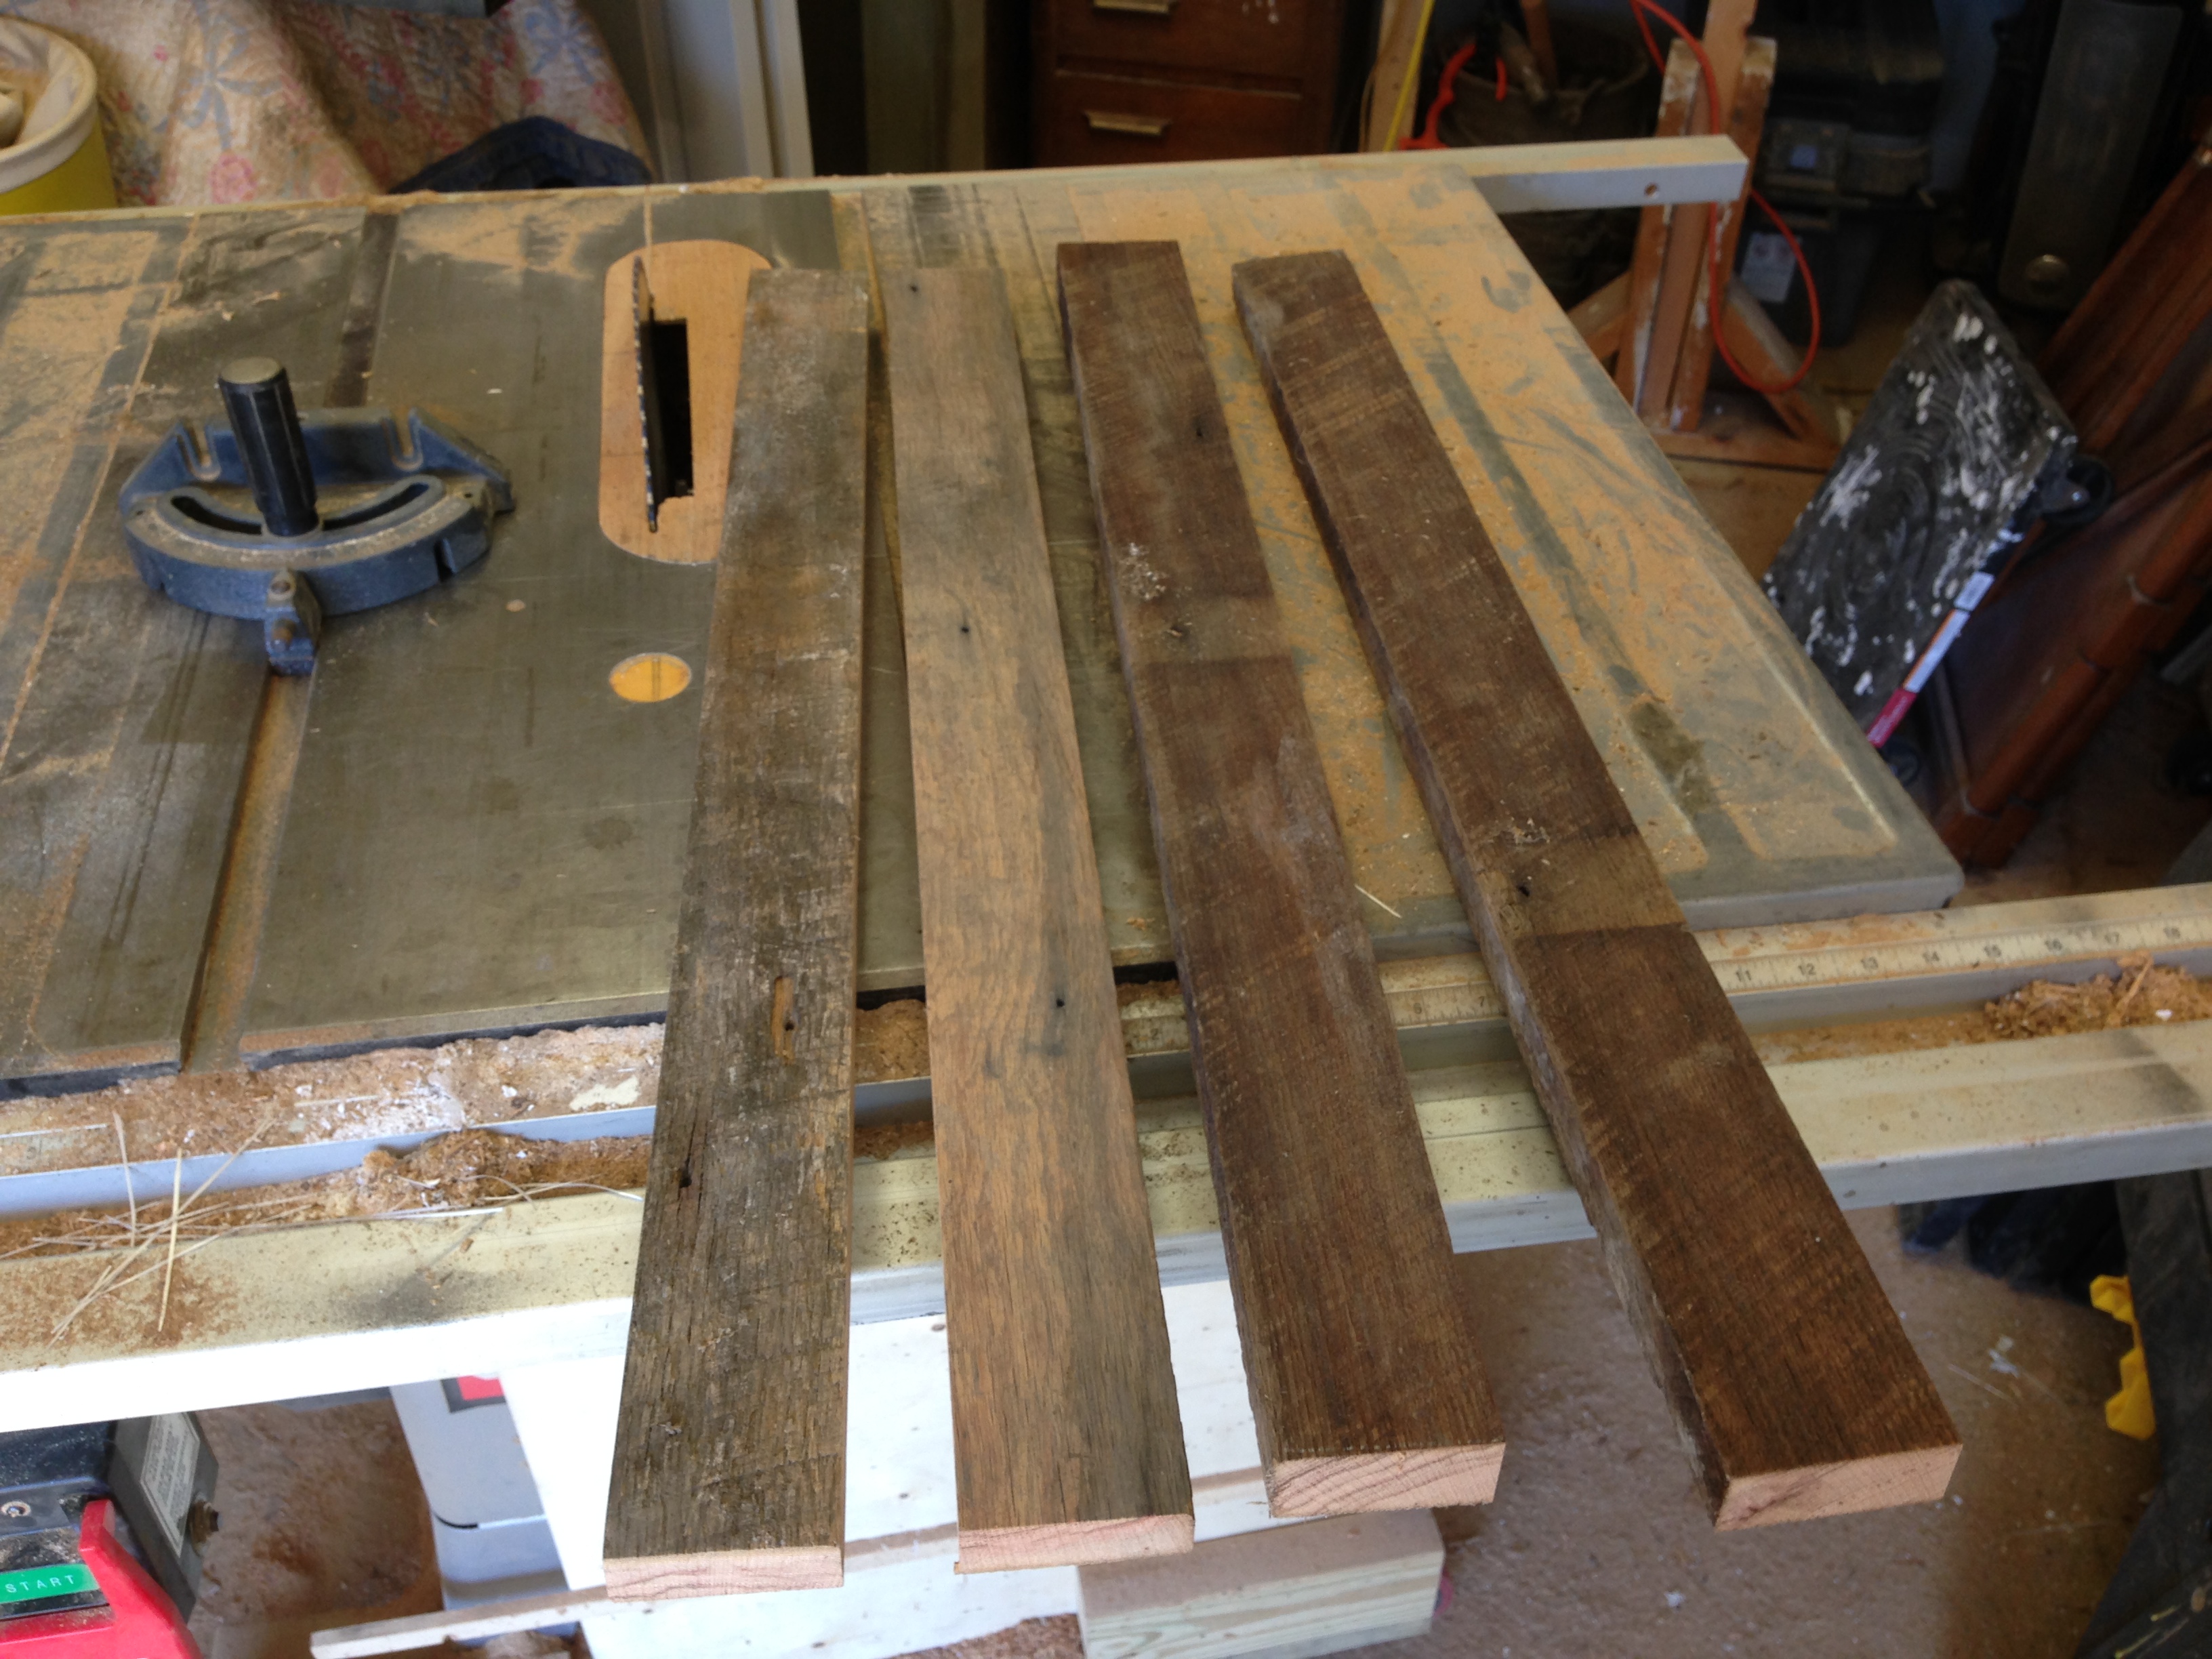
The remaining two boards were first ripped in half length-wise, then in half to form four rough pieces of approximate size 30″ x2.5″ x 0.75″. Each piece was then ripped to final dimension of 2 1/2″ wide and cross cut to 29″ long.
The pairs of pieces were glued and clamped together to form two supports, 28″ long by approximately 2 1/2″ x 1 1/2″ wide. The table saw was set up, moving the blade to 45 degrees with the rip fence set such that a 1/4′ wide cut could be made to remove material on each of the four vertical edges of the supports. The remaining support now has a hexagonal cross section with faces now slightly smaller than previously. The supports were then sanded to a smooth finish.
Assembly
Assembly is simple with just wood glue, some 24 gauge pin nails, and 2 1/2 inch wood screws.
First, the lower and upper bases are assembled for each stand by aligning the upper and lower bases their, gluing and nailing. (Clamp as necessary). To find the common axes, it is easiest to draw light lines on the lower base connecting diagonal corners and then placing the upper base such that those corners align with the diagonal lines.
Turn the lower base over and find the center of the lower base. Drill a single hole through the middle of both bases with a drill bit slightly larger than the 2 1/2″ wood screws that you plan to use. Countersink the hole to accept the head of the wood screw. Perform a similar procedure on the upper 5″x5″ base, finding the center and drilling a pilot hole.
Locate the center of the top and bottom of each support and drill pilot holes in each. As these holes will need to accept the wood screws but firmly secure the bases to the supports, select a drill size that is appropriate for the wood screws you are using. The drill size should be as large as the screw shaft minus the threads, so only the threads are engaging the wood. Selecting a drill size that is too small could cause the wood to split.
Apply a small amount of glue to the bottom of each support and attached the lower base assembly to the support with the selected wood screw. Repeat the process for the upper base. Ensure that the faces of the supports are square with each base before the glue dries.
Depending on the size of the speakers that you plan to mount, you may wish to proportionally scale the dimensions for the upper and lower bases to provide proper support for the speakers. Additionally for larger speakers you may also choose to drill additional holes in the top upper base to allow you to attach the speakers to the upper base using small wood or drywall screws.
Finishing
To remain consistent with the other pieces in the Woodbridge collection, I chose a finish of 1 part Jacobean oil-based stain to 10 parts mineral spirits. The mixture was sparingly brushed on to the entire speaker stand assembly and allowed to dry. Additional dry brushing was performed to even out any of the finished area. To complete the project, steel wool (00000) was used to remove any grain raised by the stain.


