I hate to waste good wood, or even bad wood for that matter. Yes, I have even gone to the extreme of re-sawing Cherry firewood, instead of burning it, to make small boxes and trays. So feeling the need to repurpose a 5’x8′ birch island top that I made as a temporary during the Cricket Cottage remodel should not come as a surprise.

The original countertop before it left the shop for Cricket Cottage. It would return to the shop a few months later to be re-purposed into a media center.
I spent a lot of time building an oversized countertop for my sister’s kitchen island at Cricket Cottage. I laminated together a couple A-Grade birch plywood sheets, edging with 1″x3″ poplar before applying numerous coats of a custom blend of English chestnut and dark walnut stains followed by a half-dozen coats of tung oil.
It was a worthy and durable solution while she waited for the final countertop which was to be constructed from Ash barnwood taken from a barn on my grandfather’s farm that was built in the early 1900’s . The new counter arrived and it was time to make the switch.
Again, not wanting to throw any wood away, even if it was only plywood, I quickly assessed opportunities to repurpose the counter. A media center was on the list for an upstairs office and with a little convincing, I was able to negotiate a new home for the wood that had served well as a counter.
Now, how to build a media center out of finished and unfinished, laminated and unlaminated wood, without wasting any and buying a little extra as possible.
To get started, we hand cut the existing counter into three long 2’x8′ strips. I loaded them in my truck and headed home to give the wood a second life.


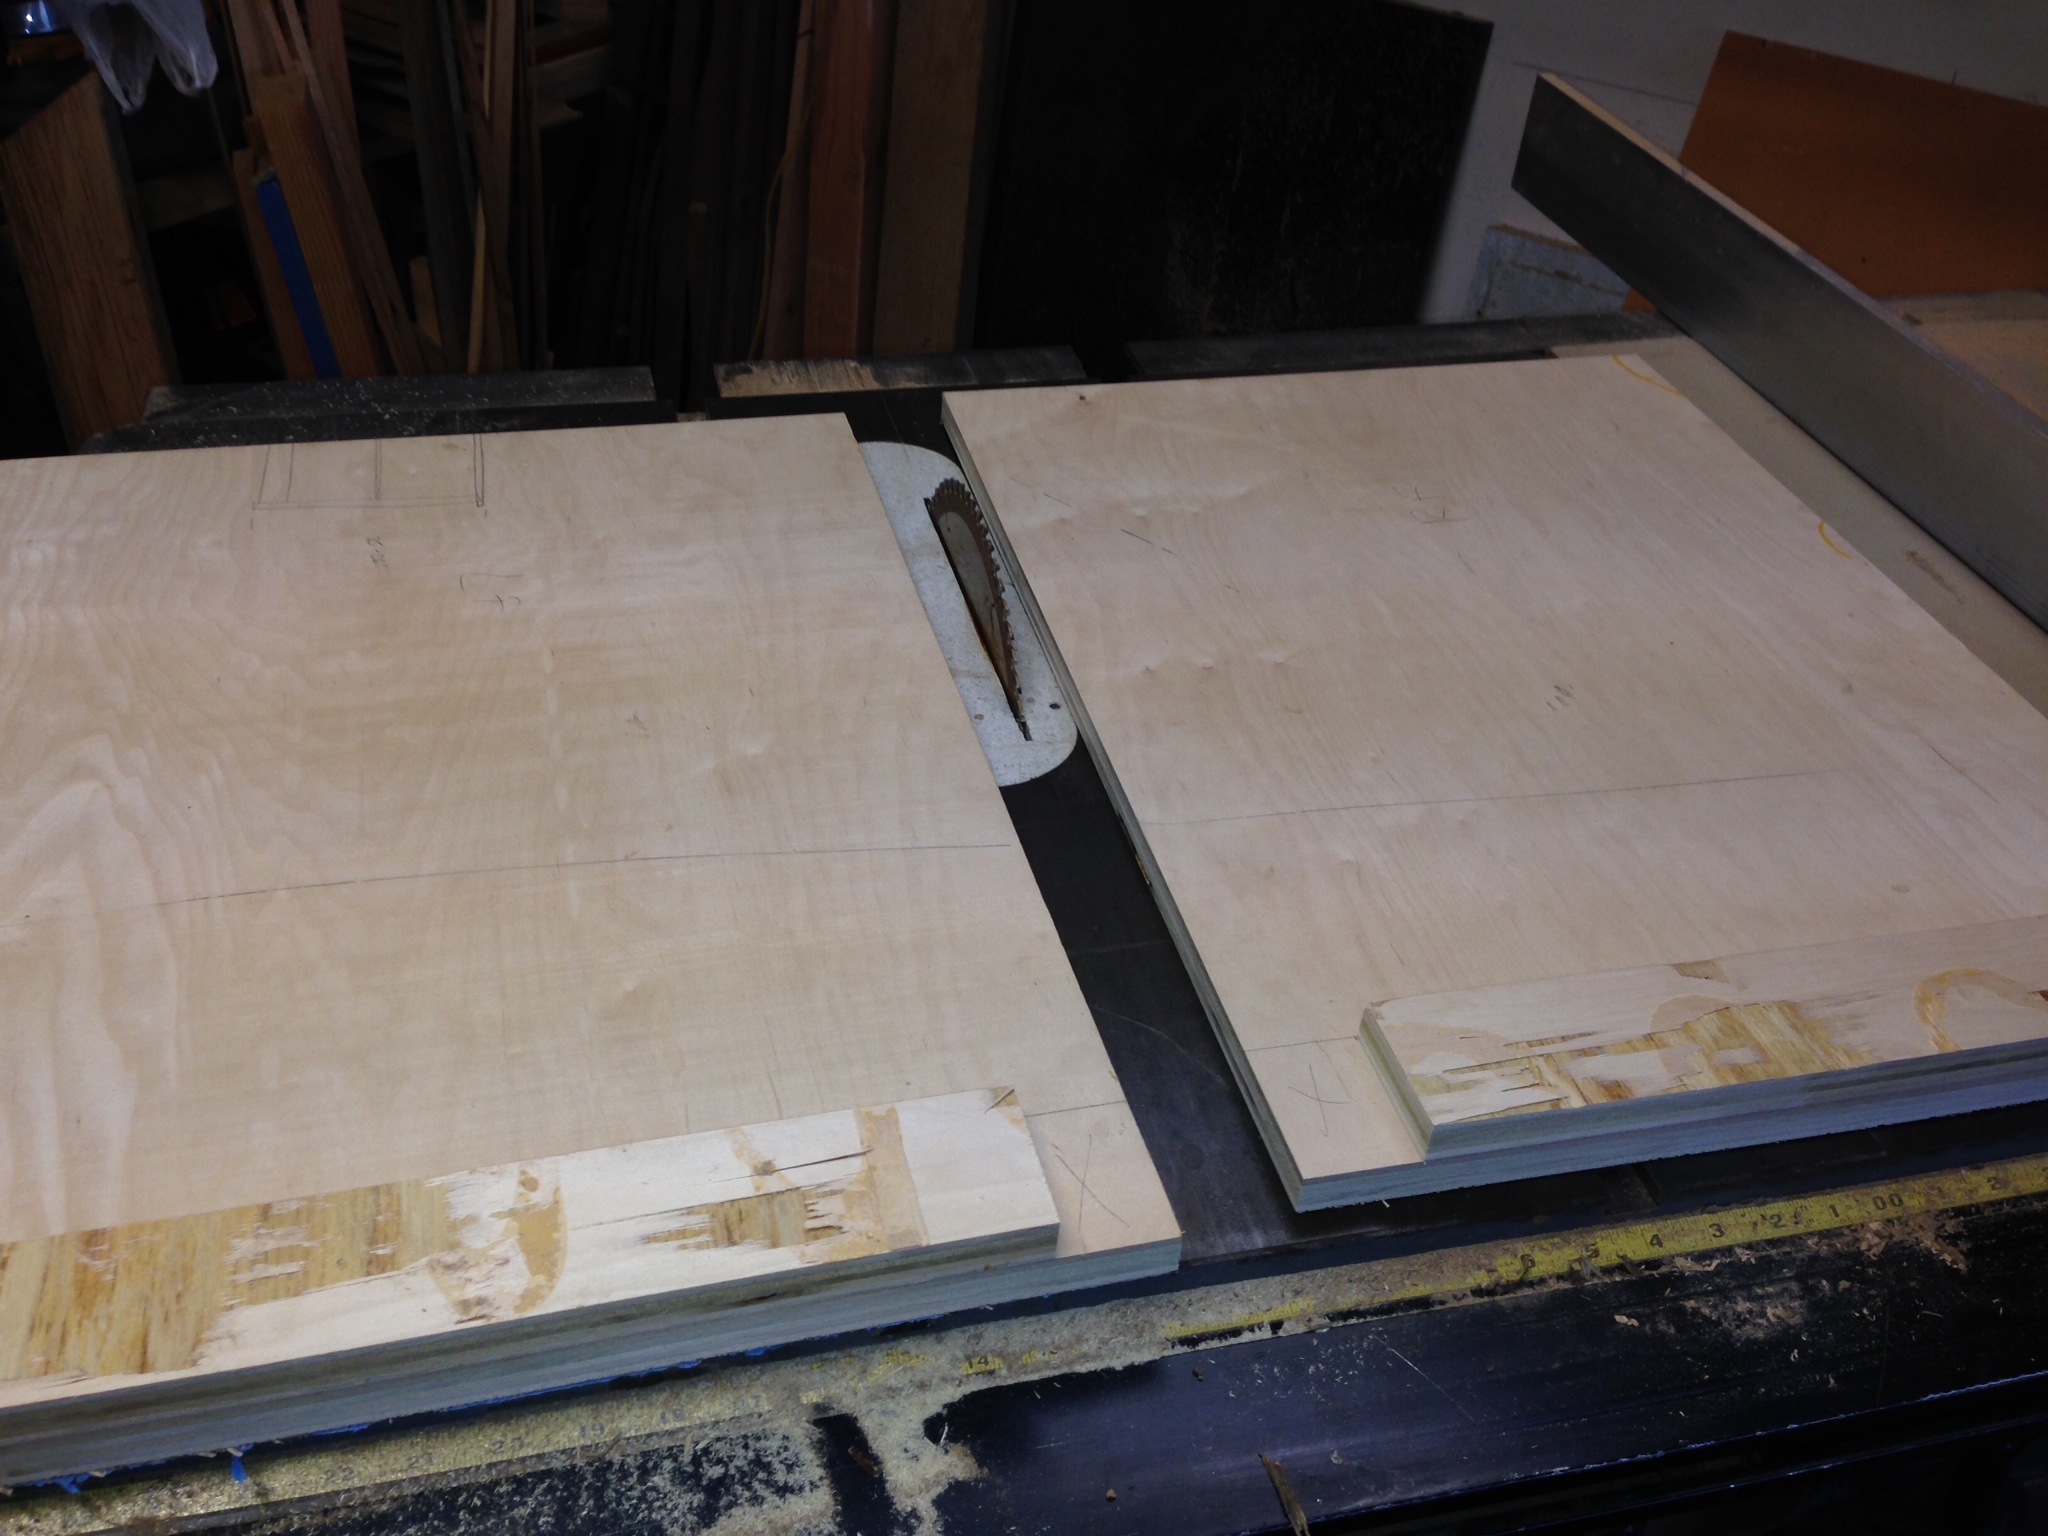

The three pieces shown above were further trimmed down. The two longer pieces will become the top and bottom of the media units. The third piece was cut again into two side pieces with additionl pieces trimmed for the toe kick.
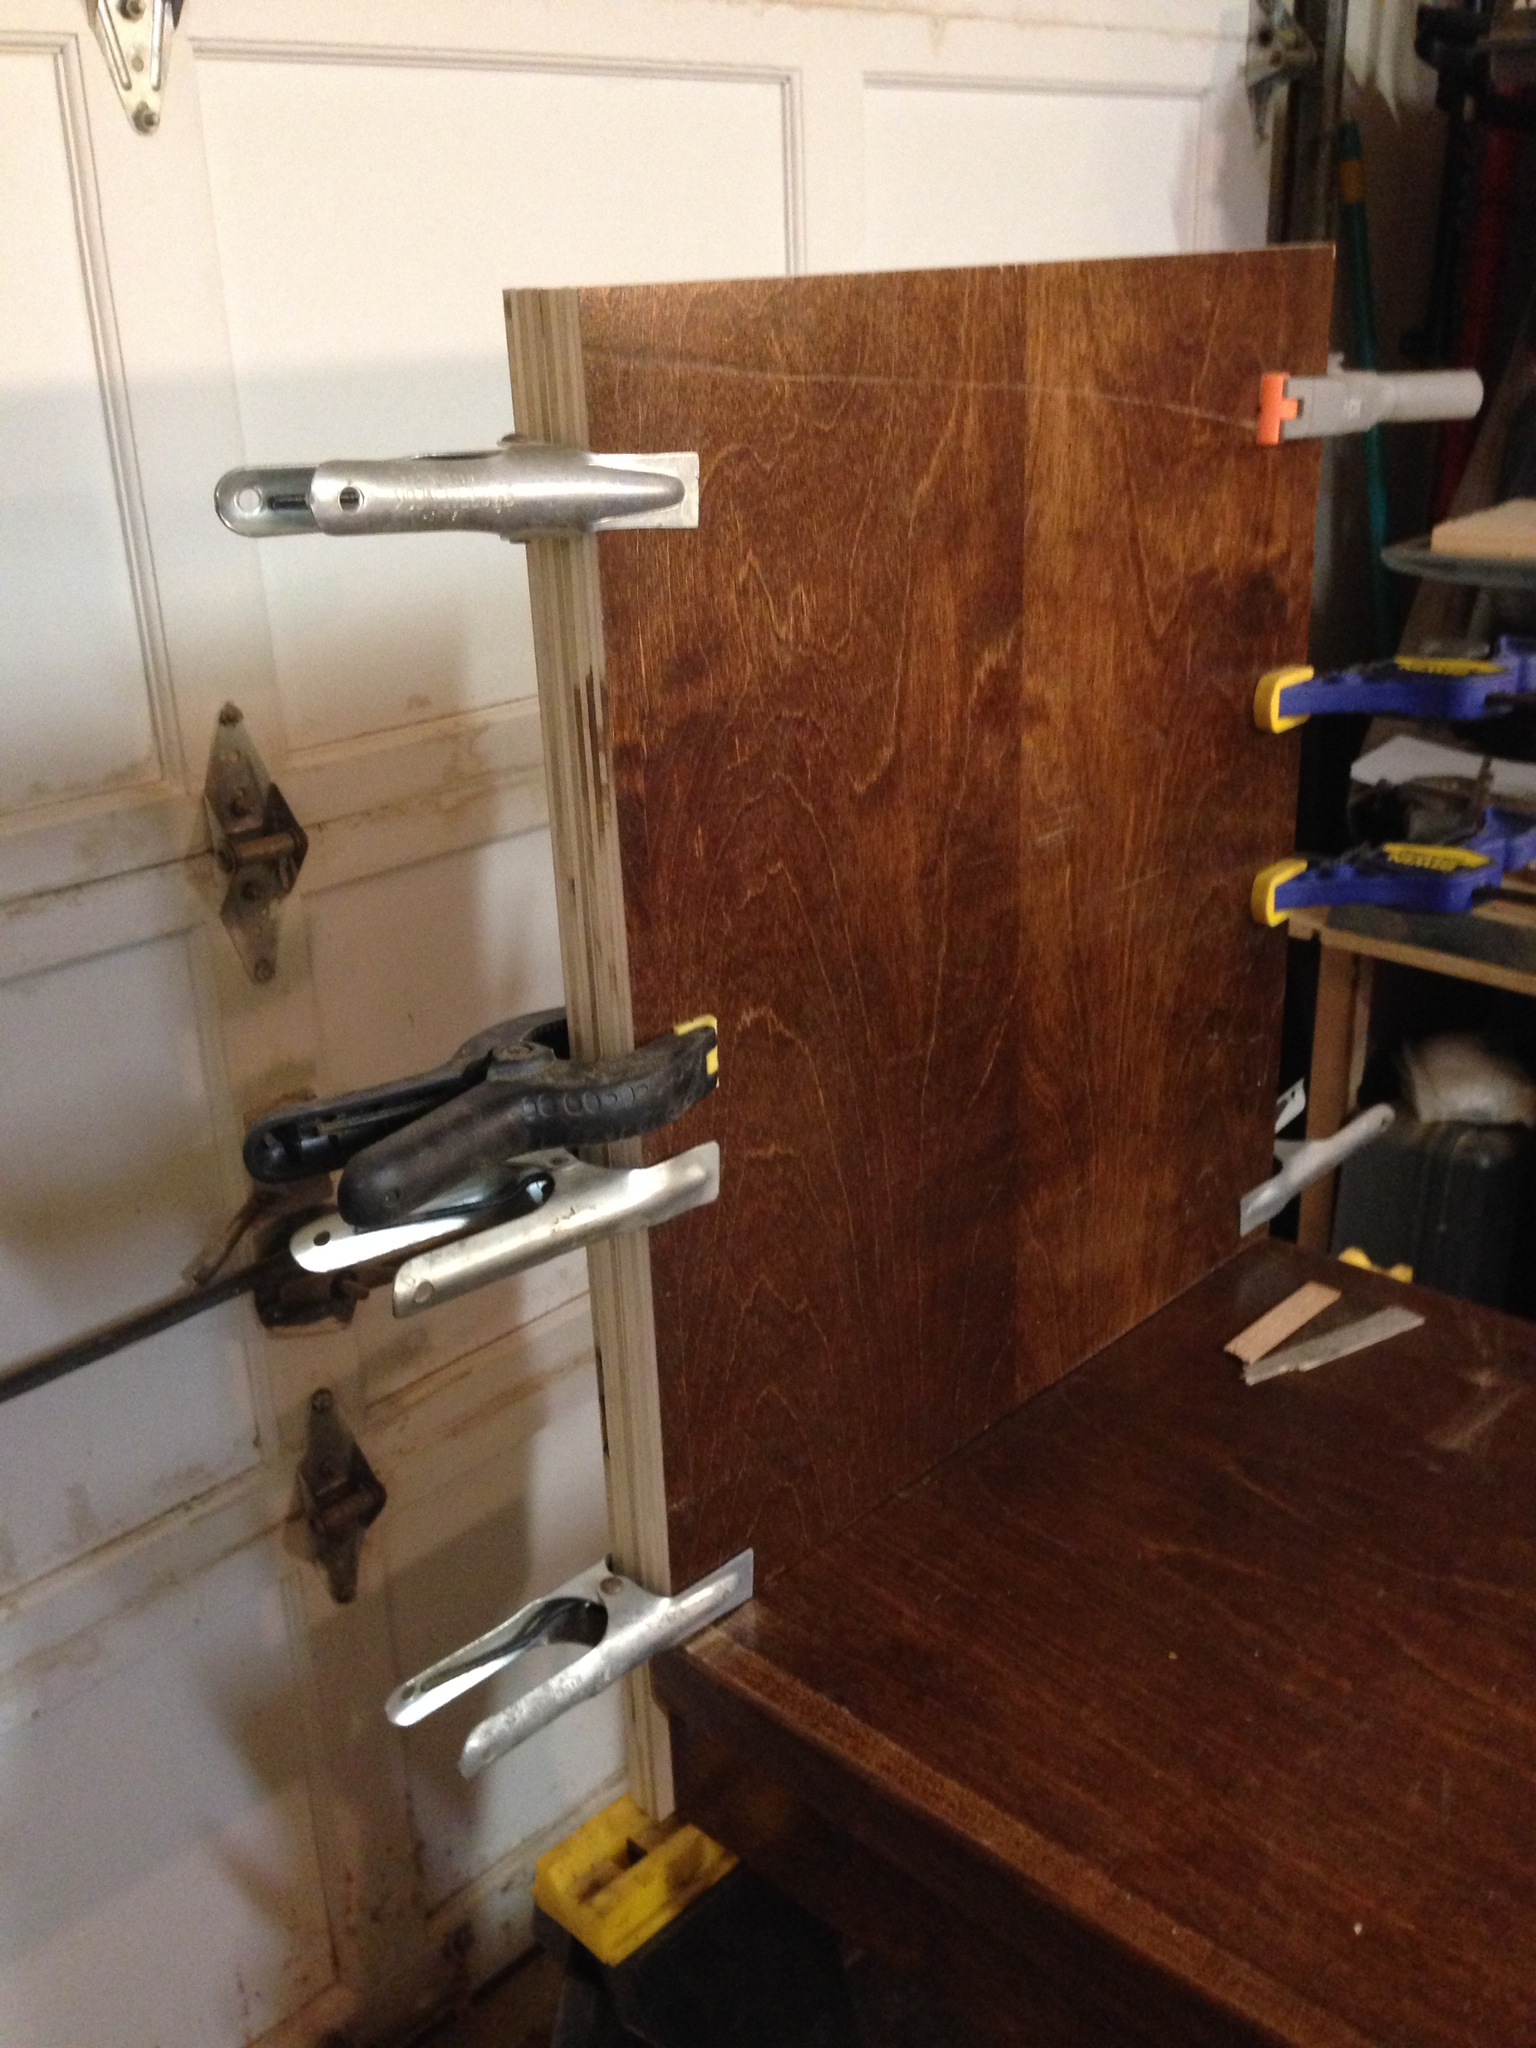
The side pieces were booked together and glued to create two finished sides and a very sturdy 1.5″ thickness. Cleats were added to the sides to allow the bottom shelf to be attached, glued and clamped. The toe kick was also glued and clamped.

With the remaining pieces, a center section was constructed with two shelves spaced to allow larger and smaller audio visual equipment. The top was attached to the sides with glue and pocket screws. All edges were faced with 1×2″ pieces of trim. Almost all trim pieces were recovered from the original island top.
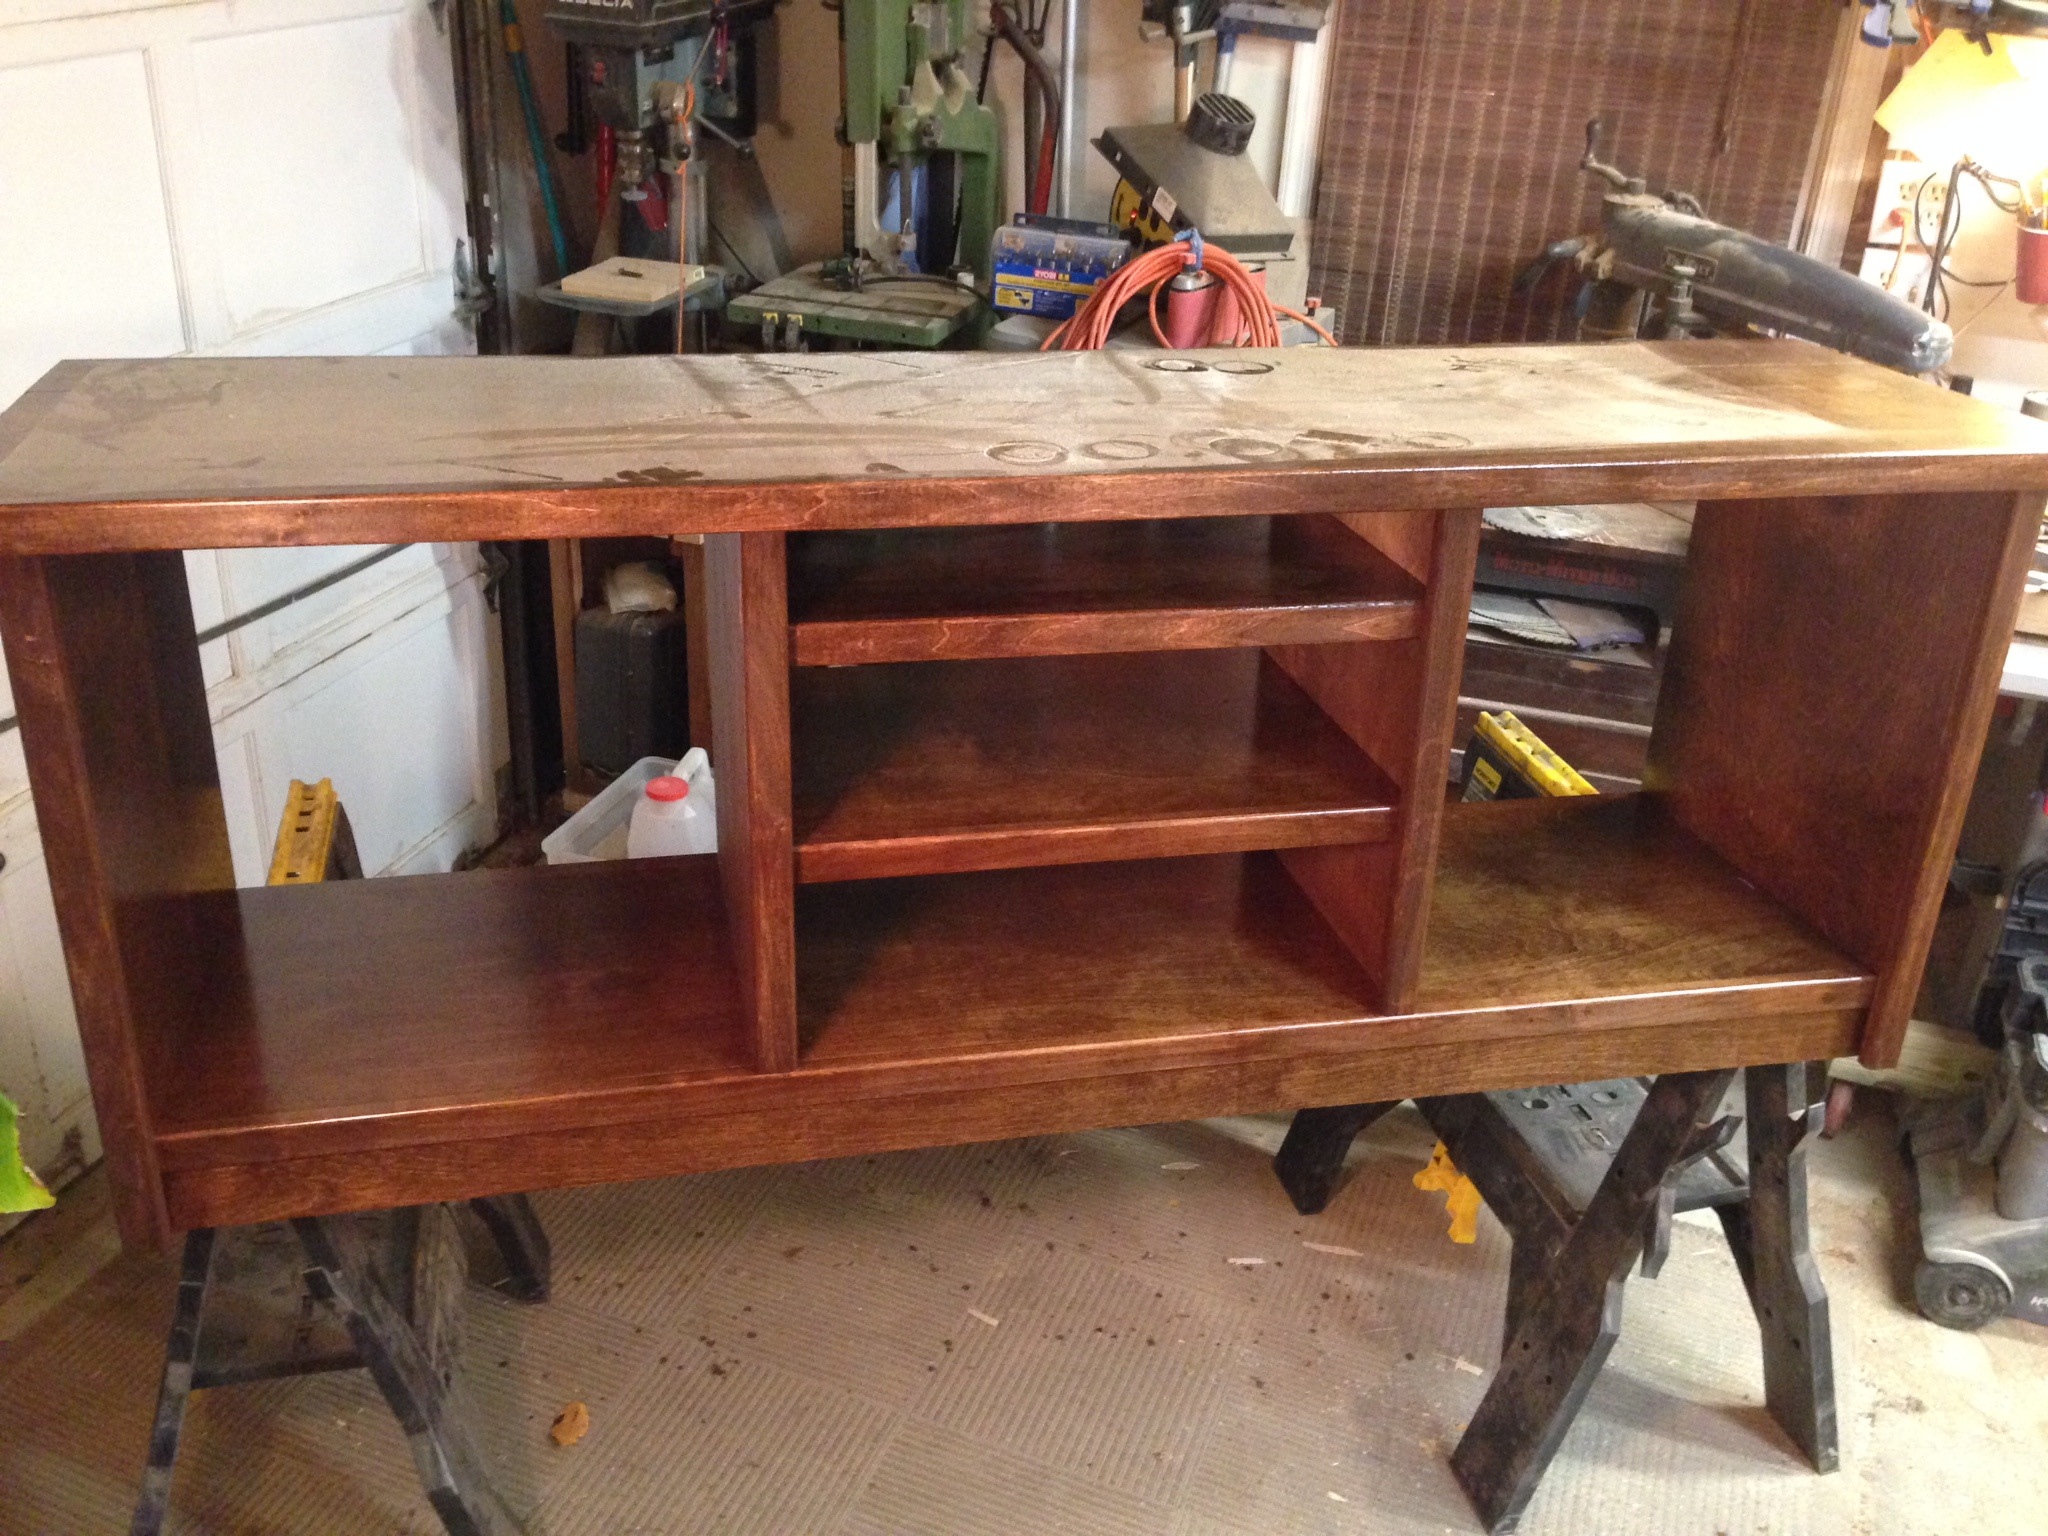

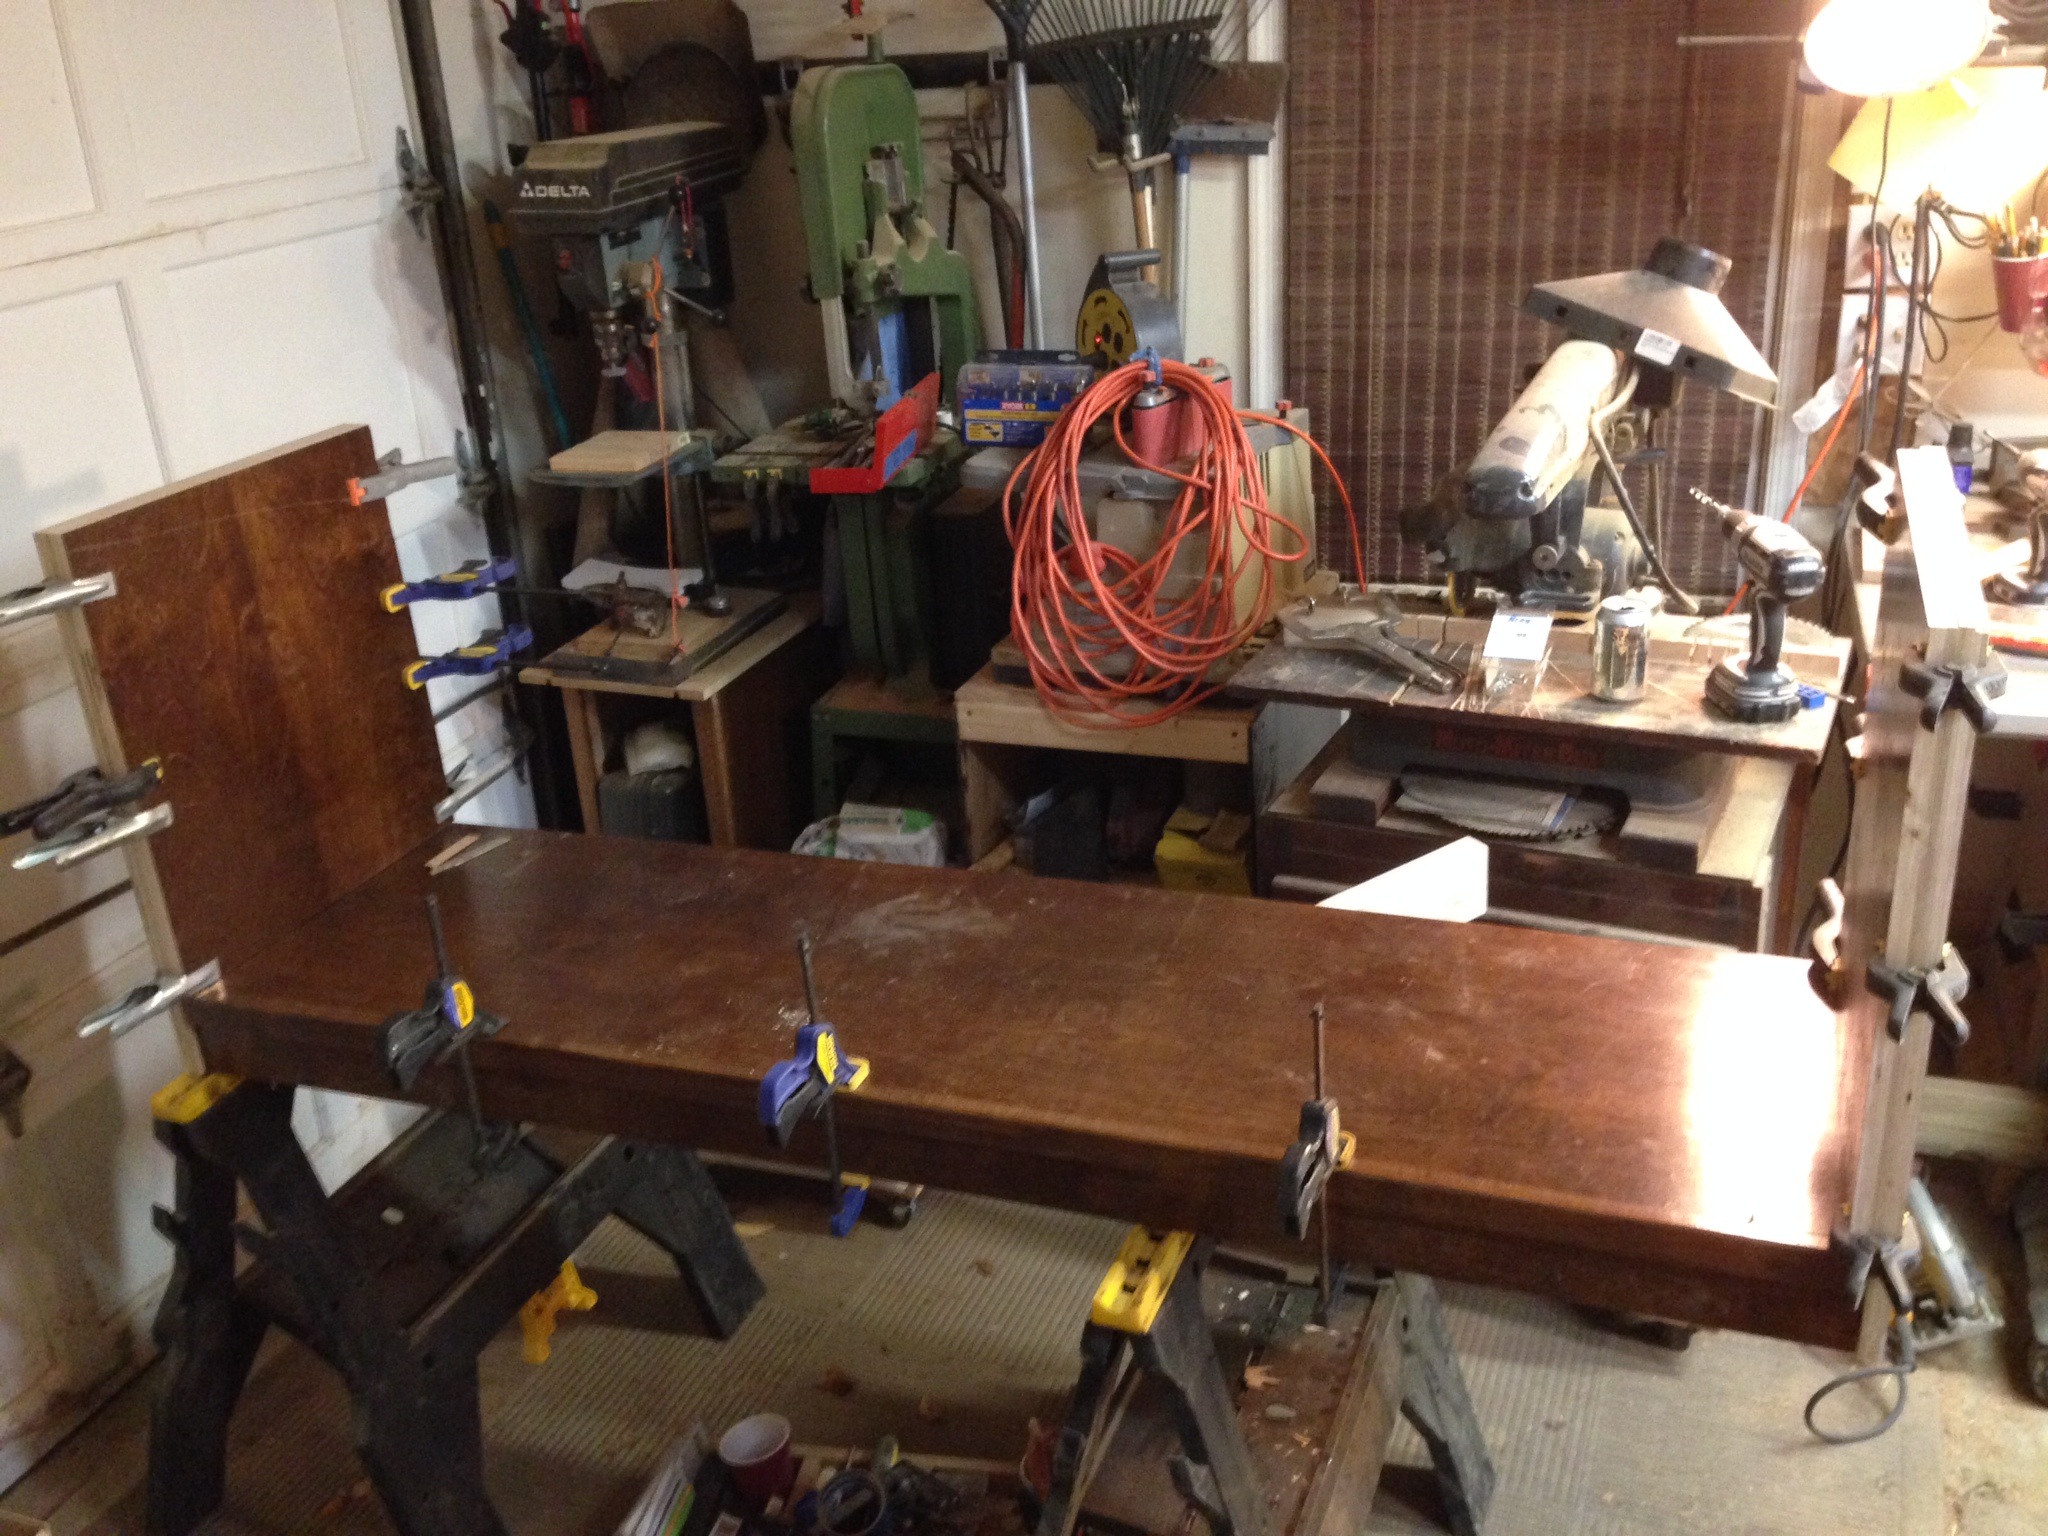
Once the entire media center construction was complete, the entire unit was given a fresh coat of stain and tung oil and loaded back in the truck for the return trip to cricket cottage.

This project was quite satisfying as we were able to salvage the original countertop and turn it into a nice piece of furniture for a family member. The project only took about five evenings to complete over a two week time frame. Additional costs were minimal and I am certain that the media center is far better than what can be purchased at your typical store. I hope it provides value for the years to come.

Finished media center waiting to be located and loaded with equipment.

Final Media Cabinet


